23
English
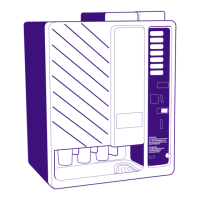
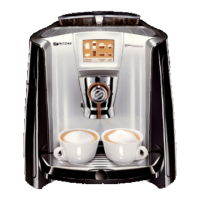
fig. 18
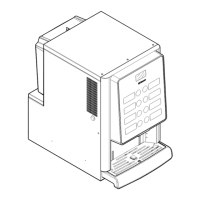
fig. 19
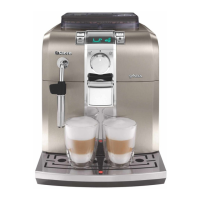
fig. 20
A
B
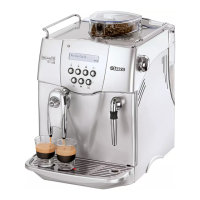
fig. 21
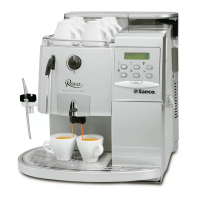
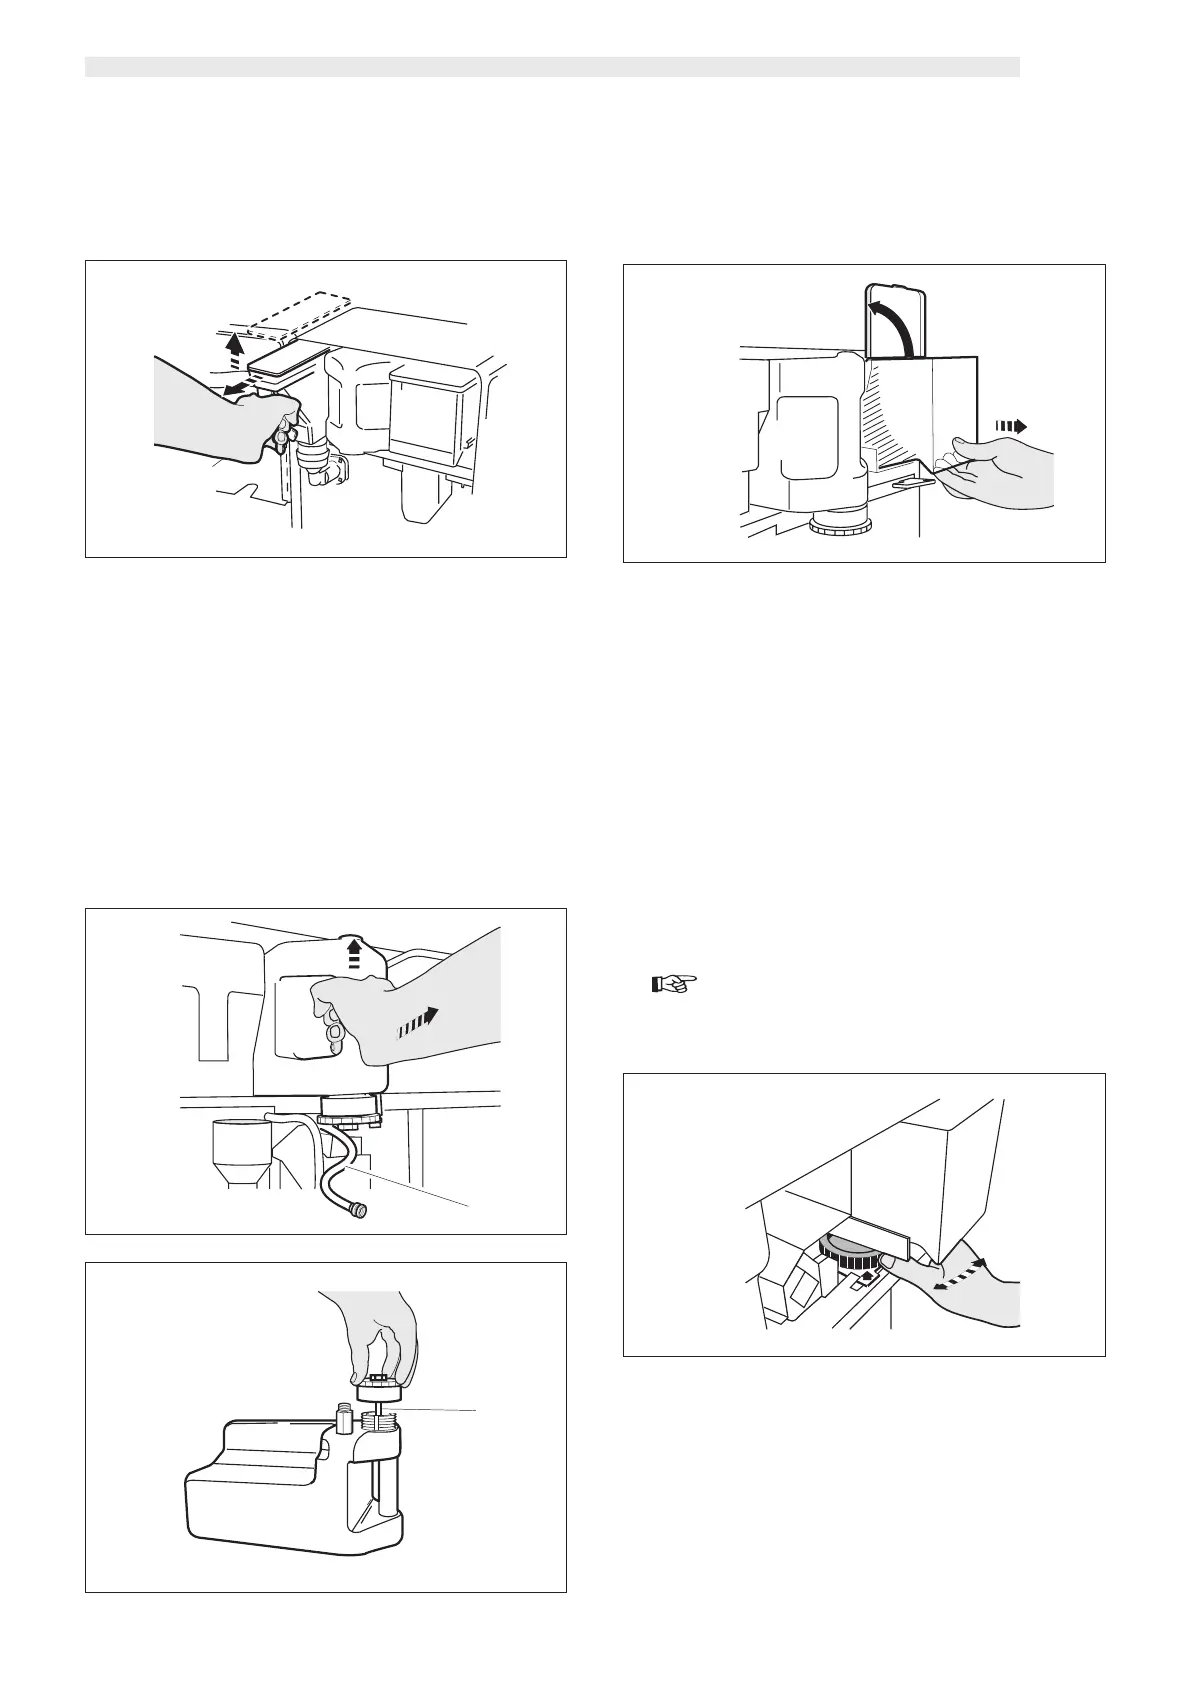
fig. 22
- Insert the soluble product without exceeding 2/3 of maxi-
mum capacity.
- Close the cover and completely reinsert the container in its
seat.
Water tank
Proceed in filling the water tank (except for the versions with direct
waterworks connection).
- Disconnect the tube (ref. A, fig. 19) from the tank by acting on
the automatic coupling.
- Extract the tank from its seat by slightly lifting the handle (fig.
19).
- Unscrew the ring nut, extract the valve and fill the tank with
fresh drinkable water.
- Reinsert the valve in the hole making sure that the aspiration
tube (ref. B, fig. 20) is inserted inside the tubular handle, and
re-screw the ring nut.
Coffee container
Proceed in filling the coffee bean container:
- Pull the coffee container outward, lift the cover and fill the
container with coffee beans (fig. 21).
Grinding adjustment
- Adjust the coffee grinding indicator on one of the following
values by turning the knob (fig. 22):
Italy.. ........................................................ 4-7
Spain. .................................................... 5-8
France – Switzerland. ............ 5-8
Germany – Austria. .................. 6-9
USA - Canada. ............................ 6-14
- Insert the required token (or coins) in the slot, press the button
corresponding to coffee dispensing and check product quali-
ty. If coffee is dispensed too slowly, it’s necessary to adjust
grinding on a higher value; if on the contrary coffee is dis-
pensed too fast, place the indicator on a lower grinding val-
ue.
Warning
Once grinding has been adjusted it’s necessary to dispense
at least two coffees to notice the difference.
Operations to be performed on the vending
machine
- Enable electric functions (main switch in the “I” position).
- Fill the vending machine water circuit according to the follow-
ing procedure:
- Open the door
- Insert the key (ref. 30, fig. 23) in the safety micro-switch
operation opening (ref. 31, fig. 23).
4
6
8