SALCOR INC
Page 6 of 14
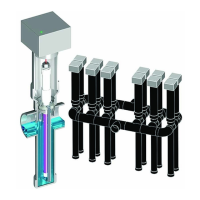
3. Carefully slide the lamp cable through the top of the white 1-inch PVC pipe handle.
The lamp cable wire with the 4-pin lamp socket connector should extend out about 6
inches past the bottom end of the 1-inch white PVC handle which has a threaded
female pipe adapter already bonded to it.
Top End of PVC Handle with newly bonded adapter
Threaded Bottom End of PVC Handle
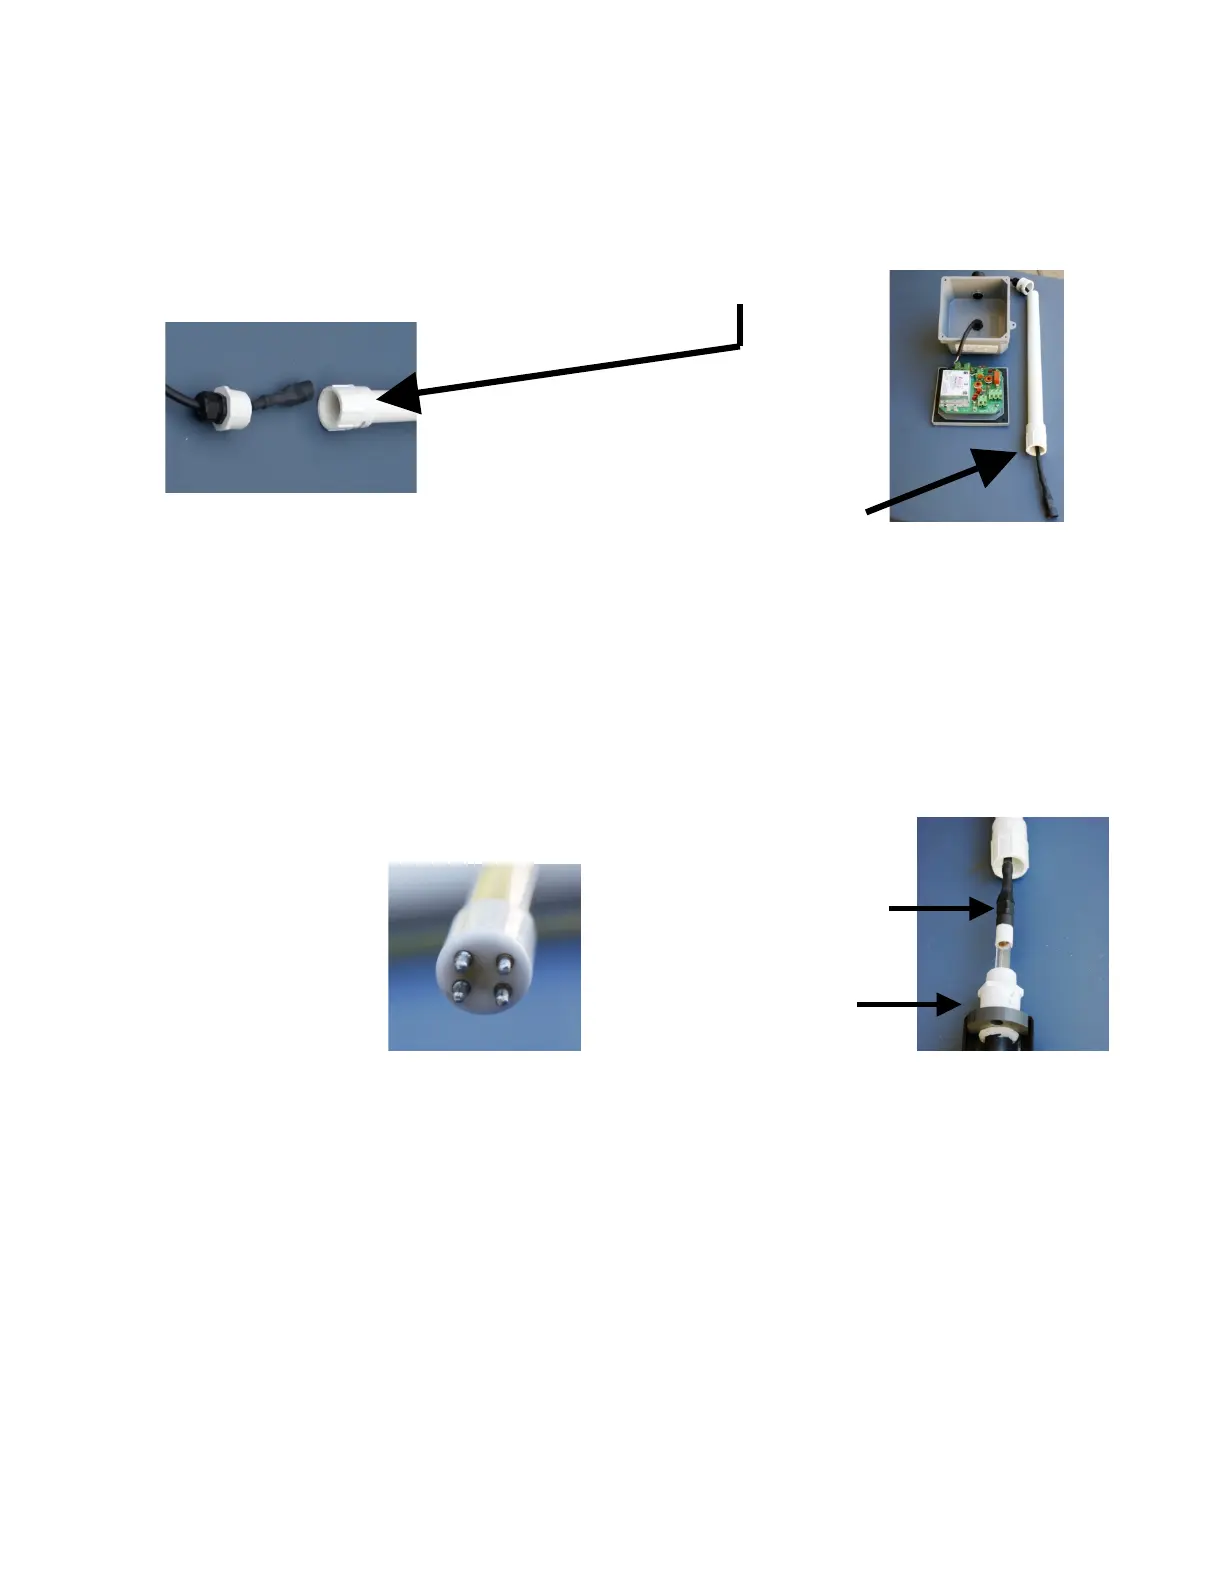
4. Carefully connect the 4-pin socket connector of the lamp cable to the UV lamp pins.
Note: the pins are not arranged in a square formation.
a. Apply Dielectric Grease to the inside of the boot.
b. Push the 4-pin socket onto the pins on the UV lamp end. Make sure that the
4-pin socket connector is fully connected onto the pins. The socket to lamp
pins connection is electrically critical to maintain the proper operation of the
lamp. It is extremely important that there is a fully mated complete
connection between the socket and the UV lamp pins.
Lamp connector
Pins are not
Arranged in
a square shape
CAUTION!! The UV Lamp, the Quartz Tube, and the Teflon® Sheath
Covering ARE ALL VERY FRAGILE, So Handle Them With Care.
5. Carefully slide the UV lamp into the quartz tube in the frame assembly. Make sure
that the UV lamp has BOTTOMED OUT in the Quartz Tube, that is, that the UV
lamp is FULLY SEATED in the Quartz Tube. Do not force the UV lamp into the
Quartz Tube, as UV Lamp may break the bottom of the Quartz Tube. Make sure that
the UV Lamp is completely enclosed in the Quartz Tube.