SALCOR INC
Page 7 of 14
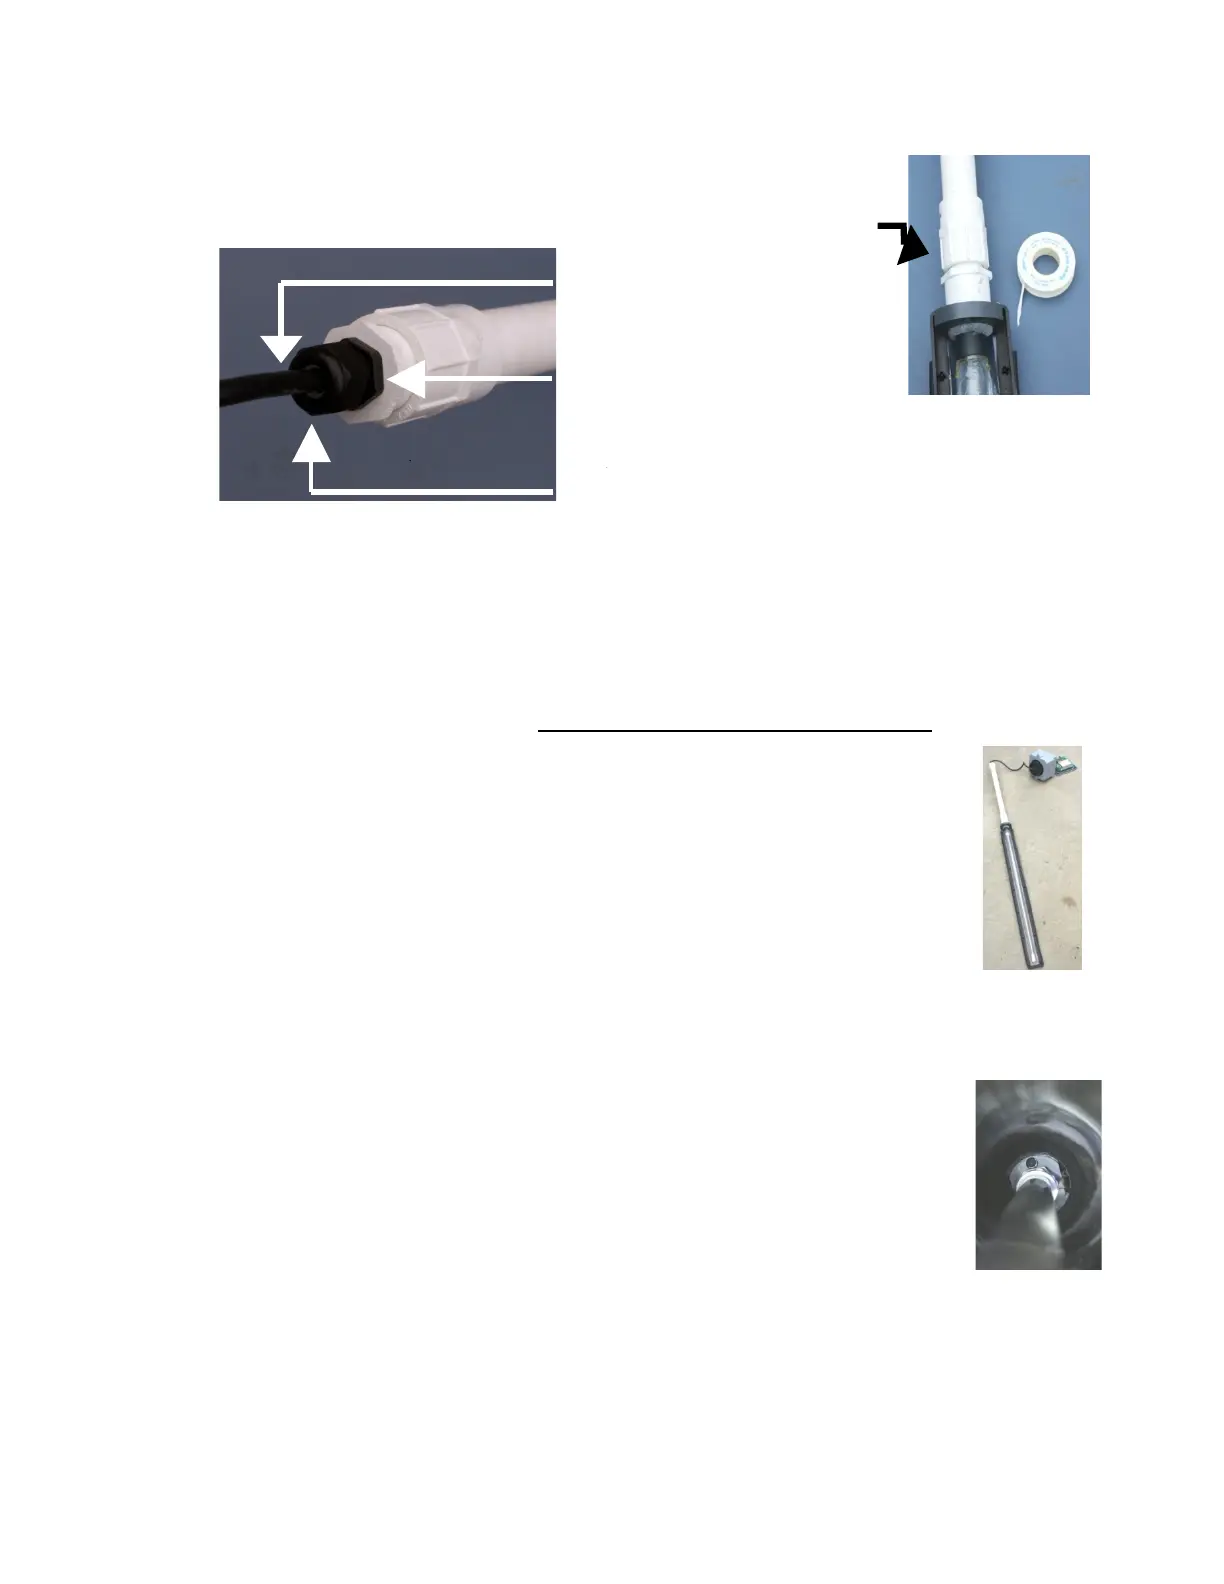
6. Wrap both ends of the threaded white PVC 1-inch lamp handle pipe pieces with
Teflon® tape.
a. First, screw the bottom threaded end of the 1-inch lamp
handle onto the top end of the aluminum frame assembly.
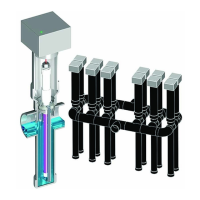
Tighten the Gland Nut
b. Second, screw the black threaded reducer into the top end of the handle pipe. It
is important that Teflon ® tape is used to seal all of the threads to maintain
waterproof operation of the lamp.
c. Pull Any Extra Cable up Through the Gland Nut.
d. Tighten the gland nut to approximately 22 in/lb to make the UV lamp chamber
watertight. CAUTION!! DO NOT OVER TIGHTEN!
7. Inspect the Teflon® sheath.
a. If necessary, use a clean soft cloth and isopropyl (rubbing)
alcohol to clean and remove any fingerprints from the Teflon®
sheath.
b. Lubricate the rubber gaskets with either water or glycerin.
Note: Do not use silicone or petroleum based lubricants on the gaskets.
PVC handle on the anodized aluminum frame assembly
8. Gently insert the entire frame/handle assembly into the riser/chamber assembly using
the white PVC handle. Make sure that the wide part of the sub-
assembly is at right angles to the inlet and outlet pipes. The correct
rotational orientation of the frame in the disinfection chamber is
required for successful UV Unit operation. The frame must be at a right
angle to the incoming effluent.
9. Tuck the extra lamp cord wire into the top of the riser pipe.
10. Place the round coupling on the bottom of the junction box into the top of the 4-inch
riser pipe, and secure it with the setscrew.