INSTALLATION
Please read the important safety information at the start of this manual before
you begin to install the thermostat.
Location
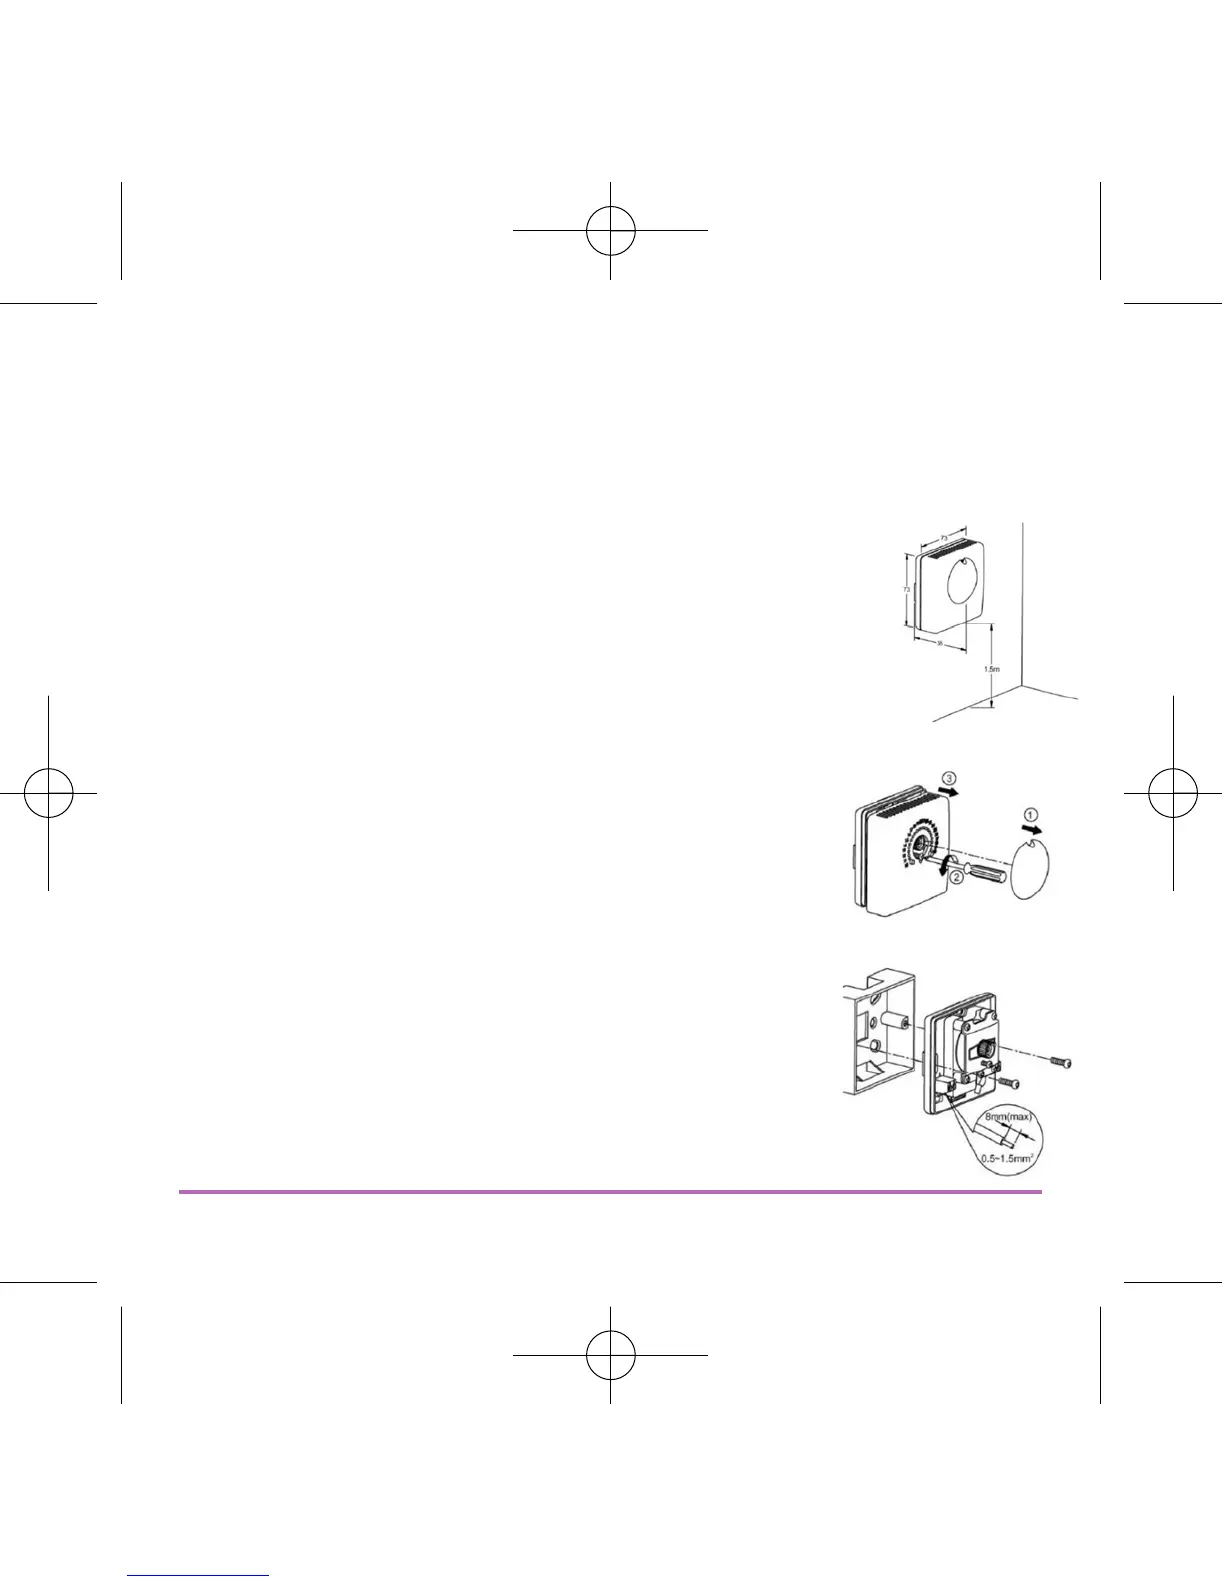
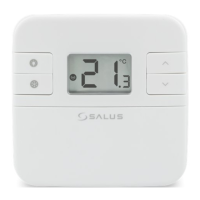
The ideal position to locate the RT100 thermostat is about 1.5m
above floor level, in a location where the thermostat is accessible,
reasonably lit and free from extremes of temperature and draughts.
Do not mount the thermostat on an outside wall, above a radiator
or in a location where it may be subjected to direct sunlight.
The RT100 can be mounted onto a back box, pattress or directly to
the wall.
Preparing for Installation
The electrical connections to the RT100 are made inside the
case. To gain access to the wiring terminals, first remove the
setting dial by gently pulling it forwards. After removing the
dial, undo the case securing screw with a small crosshead
screwdriver; you will now be able to pull the case forwards to
remove it.
Preparing for Electrical Connection
After passing the wiring through the cable entry point, the
RT100 can be secured into position by the use of two screws.
The terminals in the RT100 will accept conductor sizes
between 0.5 mm2 – 1.5 mm
2
, and the cable ends should be
stripped of no more than 8mm of insulation.
RT100 INSTRUCTION MANUAL
5