EB 8097 EN 11
Installation
4 Installation
4.1 Notes on installation
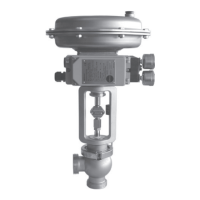
− The valve must be installed in the upright
position with the actuator on top.
For valves with welding ends, after loosening
the clamp (5.4), remove the entire valve con-
struction from the valve body before welding
it into the pipeline.
− Make sure the valves are installed free of
stress. Check to ensure the plug stem
moves smoothly.
− Flush the pipeline thoroughly before in-
stalling the valve.
− If the valve bonnet is designed for con-
nection to a steam line, connect the com-
pression-type ttings to the steam supply
line.
A pressure in the steam line connection
(steam or sterile uid) that is higher than the
pressure in the valve itself may affect the
process medium inside the valve due to it be
mixed with the steam (or sterile uid).
Observe the relevant hygiene regulations.
For compliance with 3-A regulations, a
gasket according to the recommendations of
the 3-ASanitary Standards Inc.
(uBulletin2011-3 at
uhttp://www.3-a.org) is required for a
Type3347 Valve with threaded connections
according to DIN11851/DIN11887.
4.2 Signal pressure line
Connect the signal pressure line for valves
with actuator with fail-safe action "actuator
stem extends" to the connection on the bot-
tom diaphragm case, and for valves with ac-
tuator with fail-safe action "actuator stem re-
tracts" to the connection on the top dia-
phragm case.
In the Type3277 Actuator, the lower signal
pressure connection is located at the side of
the yoke under the bottom diaphragm case.
5 Operation
The actuator's direction of action can be re-
versed, if required. Refer to the mounting
and operating instructions of the pneumatic
actuator:
uEB8310-X for Type3271 and Type3277
NOTICE
!
NOTICE
!
Note

 Loading...