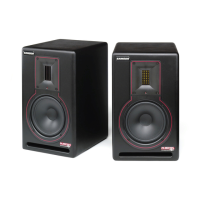
Connecting the Rubicon R5a and R6a
• Lower your mixer’s master outputs to all the way off.
• Connect the mixer’s left Control Room output to the left-side Rubicon R5a and R6a LINE INPUT and
the mixer’s right Control Room output to the right-side Rubicon R5a and R6a LINE INPUT.
• Set the Rubicon R5a and R6a’s input Volume control to the 2 o’clock position.
•
Run an audio signal (like some music from a CD) through your mixer and raise the Control Room level
to a comfortable listening level.
Rubicon R5a and R6a Quick Connections
Note: Before plugging in and turning on, remember the “last on first off” rule of power amplifiers (and pow
-
ered monitors). When powering up your system, be sure that all the wires are connected, turn your mixer and
any other outboard gear on, and then last turn your Rubicon R5a or R6a’s on. When powering down, turn your
Rubicon R5a or R6a’s off first and then your mixer and outboard gear.
The Rubicon R5a and R6a connections can be made via one of the three rear panel Audio Inputs. You can
use RCA inputs for unbalanced -10dBV level signals, or either the 1/4-inch or XLR inputs for balanced +4dBu
level signals. Follow the simple steps and diagram below for a quick connection using a standard recording
console’s control room outputs.
ENGLISH
9