Do you have a question about the Samsung Electric Range NE63 8 Series and is the answer not in the manual?
Details important safety precautions and warnings to prevent hazards during installation and operation.
Lists necessary tools, included parts, and additional materials for range installation.
Specifies clearances, dimensions, and site requirements for correct range placement.
Instructions for using the rear filler kit to fill gaps in freestanding cutout cabinets.
Defines required clearances above the cooking surface and between the countertop and cabinet bottom.
Advises on proper handling to prevent damage, like not lifting by the cooktop or door handle.
Outlines voltage, frequency, grounding, and circuit breaker specifications for safe electrical hookup.
Details how to remove the rear access cover to reach the terminal block for wiring.
Step-by-step guide for connecting a 3-wire power cord with strain relief.
Procedure for connecting a 4-wire power cord, including ground connections.
Instructions for connecting the range using conduit and wire preparation.
Procedure for connecting a 4-wire conduit, including ground connections.
Crucial step to secure the appliance and prevent tipping hazards.
Covers bracket installation, leveling the range, and checking adjustments for stability.
Steps to position the range, engage the anti-tip bracket, and power up the appliance.
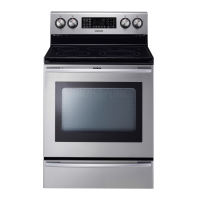
| Type | Electric Range |
|---|---|
| Series | 8 Series |
| Oven Capacity | 6.3 cu. ft. |
| Number of Burners/Elements | 5 |
| Self-Cleaning | Yes |
| Wi-Fi Connectivity | Yes |
| Color | Stainless Steel |
| Convection | Yes |
| Width | 30 inches |
| Number of Oven Racks | 2 |
| Warming Drawer | Yes |
| Control Type | Touch Control |
| Cooktop Surface | Smooth Ceramic Glass |