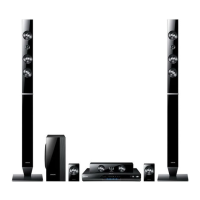
Installing the Speakers on the Tallboy Stand
* HT-D553K/D553WK only - Front Speakers
* HT-D555K/D555WK only - Front/Surround Speakers
Turn the Stand Base upside-down and connect it to the Stand.
Insert small screws (4*20, For connecting Stand & Stand
Base) clockwise into the four holes marked using a
screwdriver as shown in the illustration.
CAUTION : When you use a torque screwdriver, be
careful not to put excessive force. Otherwise, it runs
idle or can be damaged. (torque screwdriver- below 15
kg.f.cm)
Connect the upper Speaker to the assembled Stand.
Insert another large
screw (5*15, For connecting Speaker
& Stand)
clockwise into the hole on the rear of the
speaker using a
screwdriver.
This is the appearance after the speaker is installed.
Follow this steps to install other speaker.
!
Stand
Speaker
Connecting The Speakers
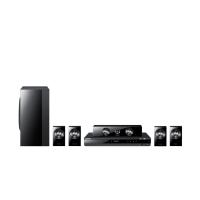
* HT-D550K/D553K/D555K only
Press down the terminal tab on the back of the speaker.
Insert the black wire into the black terminal (–) and the red wire into the red
terminal (+), and then release the tab.
Connect the connecting plugs to the back of the product by matching the
Colors of the speaker plugs to the speaker jacks.
Black
Red
NOTE
HT-D550WK/D553WK/D555WK do not have rear speaker connectors on the main unit. The rear speakers
are connected to the Wireless Receiver Module. See pages 19~20.
The rear speakers for HT-D550K/D553K/D555K can also be connected to the Wireless Receiver Module
(SWA-5000) if you purchase it separately. See pages 19~20.
✎
`
`
In case of HT-D550K

 Loading...