Installation
4
English
Installation
5
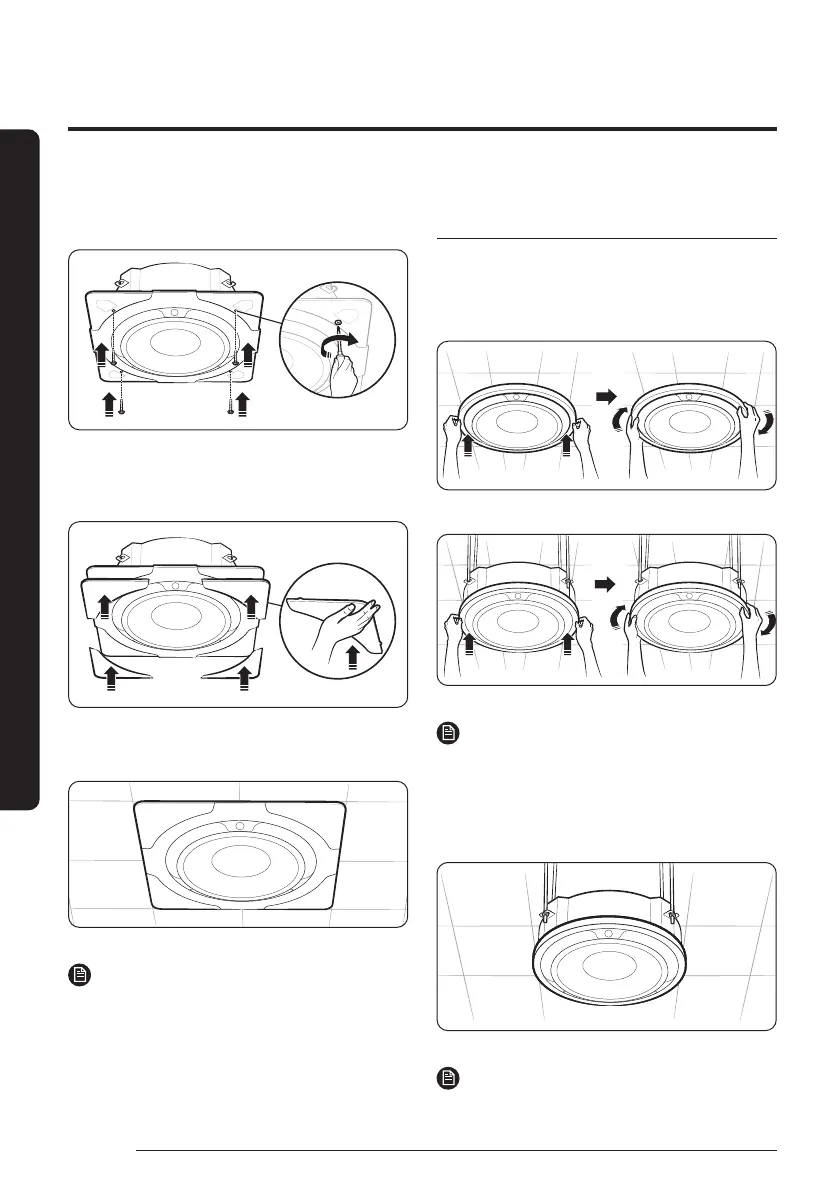
Insert halfway the four screws into the four holes on the
panel front. Then fasten the screws tightly until there is
no gap between the ceiling and the panel front.
6
Place each cover panel on a corner of the panel front.
Then push the cover panel upward until it is firmly
assembled to the panel front.
7
Check whether the panel front is firmly fixed to the
indoor unit body.
NOTE
• Make sure that the screws are fastened tightly until
there is no gap between the ceiling and the panel.
• If the panel is installed incorrectly, air may leak out.
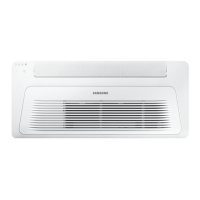
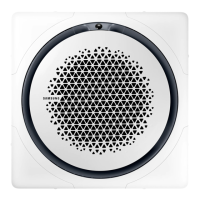
Installing the circular panel on the
indoor unit
1
Insert the decoration panel the indoor unit body. Then
rotate the decoration panel clockwise until it is assembled
firmly.
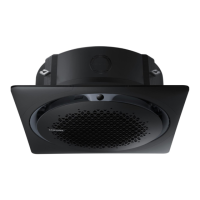
• Ceiling type
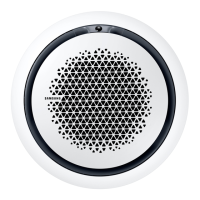
• Open type
NOTE
• Make sure that the panel is assembled firmly: rotate the
decoration panel until you feel that it is clamped by the
internal structure.
2
Check whether the decoration panel firmly fixed to the
indoor unit body.
NOTE
• If the panel is installed incorrectly, air may leak out.
DB68-12502A-01_IM_SYS 360 Panel WiFi_GB_EN_.indd 4DB68-12502A-01_IM_SYS 360 Panel WiFi_GB_EN_.indd 4 2023-09-26 오후 3:49:132023-09-26 오후 3:49:13