Scanning
32
Windows XP/Server 2003
1
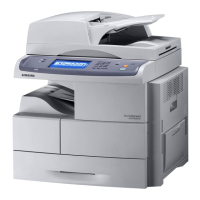
Load the document(s) face up into the DADF (or ADF).
OR
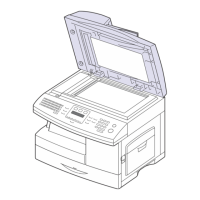
Place a single document face down on the document
glass.
2
From the
Start
menu on your desktop window, select
Settings
,
Control Panel
, and then
Scanners and
Cameras
.
3
Double click
your scanner driver
icon. The Scanner and
Camera Wizard launches.
4
Choose your scanning preferences and click
Preview
to
see how your preferences affect the picture.
5
Click
Next
.
6
Enter a picture name, and select a file format and
destination to save the picture.
7
Follow the on-screen instructions to edit the picture after it
is copied to your computer.
Windows Vista
1
Load the document(s) face up into the DADF (or ADF).
OR
Place a single document face down on the document
glass.
2
Click
Start
→
Control Panel
→
Hardware and Sound
→
Scanners and Cameras
.
3
Click on
Scan a document or picture
. Then
Windows
Fax and Scan
application is opened automatically.
N
OTE
: To view scanners, user can click on
View scanners
and cameras
.
4
Click
Scan
and then scan driver is opened.
5
Choose your scanning preferences and click
Preview
to
see your preferences affect the picture.
6
Click
Scan
.
N
OTE
: If you want to cancel the scan job, press the Cancel
button on the Scanners and Cameras Wizard.
Windows 7
1
Load the document(s) face up into the DADF (or ADF).
OR
Place a single document face down on the document glass.
2
Click
Start
→
Control Panel
→
Hardware and Sound
→
Devices and Printers
.
3
Click right button of mouse on device driver icon in
Printers and Faxes
→
Start Scan
.
New Scan
application appears.
4
Choose your scanning preferences and click
Preview
to
see your preferences affect the picture.
5
Click
Scan
.
 Loading...

