N
nmillerJul 29, 2025
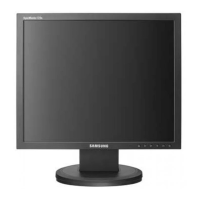
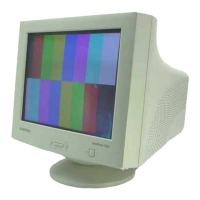
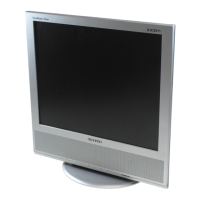
What to do if my Samsung Monitor image is too light or too dark?
- CcartergregoryJul 29, 2025
If the image on your Samsung monitor appears too light or too dark, try adjusting the Brightness or Contrast settings to correct the image display.