Switch Control Con guration
Follow these steps to log in to an installed switch control:
STEP 1. Before arriving at the site, download and install the 6800 Control Software
(which includes IntelliLink Setup Software) on a computer. The software can
by downloaded at this link: sandc.com/en/support/sc-customer-portal/.
The video describing this process can be viewed at sandc.com/videos.
Administrative privileges are required to install this software.
STEP 2. At the site, make sure the control has power by performing a lamp test. Press
the TEST LAMPS button, and every LED on the faceplate should illuminate.
See Figure 1 on page 7.
STEP 3. If the lights do not come on, make sure the battery is connected and push the
BATTERY ON button on the control board inside the control. See Figure 3.
Instruction Sheets 1045-510 and 1045-540 have more information about the
battery.
STEP 4. When the control is powered, connect the computer to the control by a cable to
one of the DATA PORTS on the faceplate. Use a USB A to B cable or a serial
cable. Wi-Fi can be used to connect to a control that has the Wi-Fi option.
STEP 5. On the computer, double-click on the IntelliLink icon to launch the software.
STEP 6. Click on the Local Connection button to open the Product Selection dialog
box. All installed S&C devices will be listed.
STEP 7. Click on the Series 6800 IntelliTeam II/SG entry. Then, click on the serial
button.
STEP 8. Click on the IntelliLink button to launch IntelliLink Setup Software and log
in. Contact S&C or your system administrator to get the default user name and
password when a custom password has been assigned.
Log In to the Control
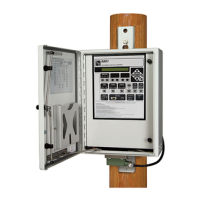
Figure 3. The Battery On (BAT ON) button on the top circuit board inside the control.
Battery On
push-button
Ac On LED
Charge On
LED
8 S&C Instruction Sheet 1045-511