
L
Linda MooreAug 3, 2025
What to do if Sani king Perform-Max 920 Accessories is under chlorinating?
- MMatthew MccoyAug 4, 2025
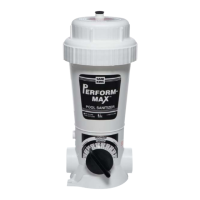
If your Sani king Accessories system is under chlorinating, there are several things you can check. First, consider decreasing the circulation time, as you may be circulating the water more than necessary depending on your pump size. Also, check the pressure relief valve to ensure it is neither loose nor missing, and replace it if needed. A loose or missing valve, which is a clear plastic piece approximately 1” long installed inside near the base, can provide another avenue for water to reach the chlorine. Contact your dealer to have your back pressure tested. If over 8 psi consider a larger eye-ball fitting in the return jet.