11
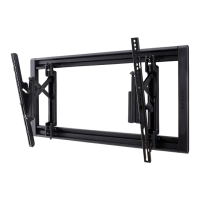
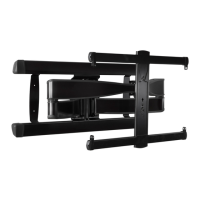
Wood Stud Installation
54 6
13
14
13
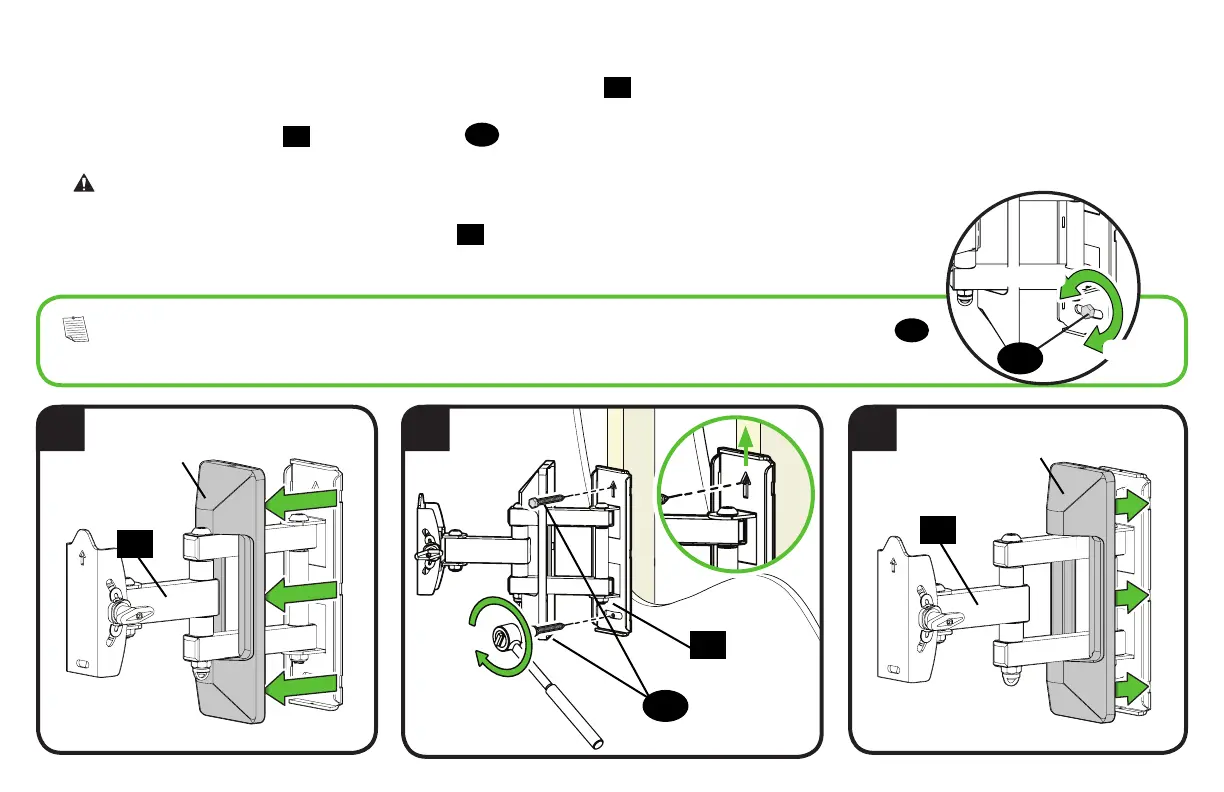
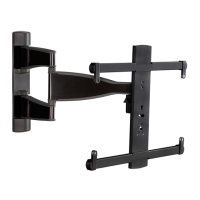
4. Slide the cover to expose the mounting holes in wall plate assembly
13
.
5. Install wall plate assembly
13
using two lag bolts
14
. Tighten the lag bolts only until they are pulled firmly against the wall plate.
CAUTION: Improper use could reduce the holding power of the lag bolt. DO NOT over-tighten the lag bolts.
6. Reattach the cover onto the wall plate assembly
13
.
Cover
Cover
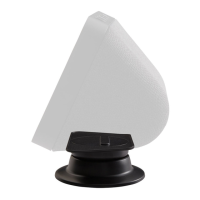
Tighten
Loosen
14
NOTE: If needed, you can make small level adjustments to the wall plate by loosening the bottom lag bolt
14
and shifting the wall plate until level. Tighten the bottom lag bolt when adjustments are complete.
13