Do you have a question about the Sanus BXF230 and is the answer not in the manual?
Access video guides, HeightFinder, and customer support for installation assistance.
Read instructions fully, understand risks, and follow all safety guidelines for proper use.
Ensure TV weight does not exceed 175 lbs and wall construction is wood studs or concrete.
Gather necessary tools including tape measure, pencil, level, screwdriver, and drill bits.
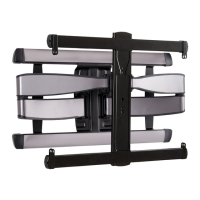
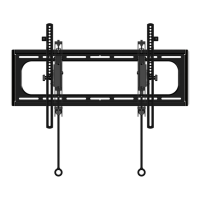
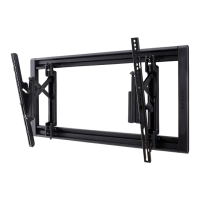
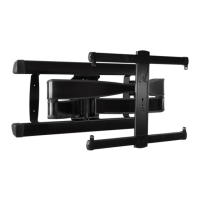
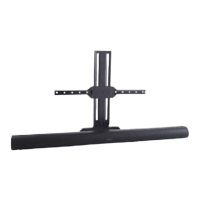
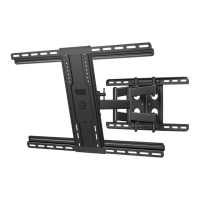
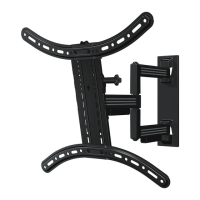
Review detailed dimensions of the TV interface, wall plate, and assembled mount.
Remove TV stand, install accessories, and protect the TV screen before starting.
Choose the right screw diameter and length, using spacers if necessary, based on TV back type.
Follow steps to prepare, align, loosely assemble, center, secure, and tighten the TV bracket.
Choose the correct installation path based on wall construction: wood studs or concrete.
Follow detailed steps to locate studs, position template, drill, and securely fasten the wall plate.
Follow steps to position template, drill holes, insert anchors, and securely fasten wall plate to concrete.
Hang, secure, and close covers to attach the arm assembly to the wall plate.
Hang the TV onto the arm assembly, attach, and securely tighten the mount.
Route cables through the arm and attach covers, ensuring enough slack for arm movement.
Adjust the mount to ensure the TV is perfectly level after installation.
Modify tilt tension knobs to set the TV angle for optimal viewing.
Adjust arm extension/retraction tension using the designated screw.
Slide the arm assembly horizontally for desired TV placement on wood stud walls.
Disconnect cables, loosen screws, release the TV, and lift it from the arm assembly.
Remove TV, disconnect cables, loosen screws, and lift the arm assembly from the wall plate.
Register your mount at SANUS.com to maximize warranty benefits and access support.
Tag #sanusspaces on social media for a chance to be featured.
| Material | Steel |
|---|---|
| Color | Black |
| Tilt | Yes |
| Adjustable Height | No |
| Cable Management | Yes |
| Mounting Type | Wall |