Do you have a question about the Sanus VLF728-B2 and is the answer not in the manual?
Access installation video, HeightFinder tool, and customer support contact information for assistance.
Remove TV stand and protect the TV screen by placing it on a soft surface before mounting.
Install any necessary accessories that may require the TV to be removed from the wall.
Details acceptable mounting surfaces: wood studs and solid concrete or block. Avoid drywall alone.
Lists the necessary tools for installation, including tape measure, pencil, level, drill, and wrenches.
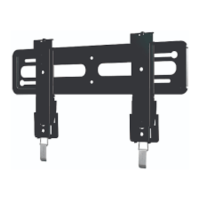
Identifies all parts and hardware required for attaching the TV brackets to your television.
Guide to choosing the correct screw diameter (M6 or M8) that fits your TV's VESA mounting holes.
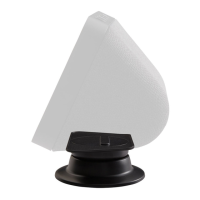
Determine if short or long screws and spacers are needed based on your TV's back panel design.
Measure the TV's width and adjust the horizontal bracket span to match for proper alignment.
Configure the bracket assembly based on TV height (300mm or less, or greater than 300mm).
Loosely attach brackets and center them on the TV back, confirming alignment before tightening.
Fasten the TV brackets securely using interface screws and ensure all screws are fully tightened.
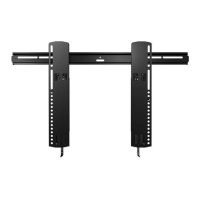
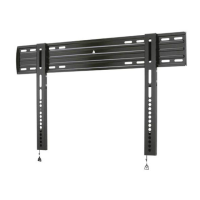
Lists components for attaching the wall plate, including template, wall plate, lag bolts, and anchors.
Find wall studs, confirm their position and centerlines, and mark screw hole locations accurately.
Place the template, use HeightFinder for precise placement, and drill pilot holes into the center of studs.
Open the wall plate covers and securely tighten all lag bolts to ensure a firm wall attachment.
Place the template on the concrete surface and mark the drilling positions for anchors.
Drill holes into concrete and insert anchors flush with the surface for secure mounting.
Open the wall plate covers and securely tighten lag bolts to ensure a firm attachment to the concrete wall.
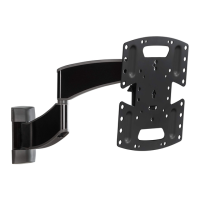
Lists components for attaching the TV to the wall plate, including arm assembly, securement screw, and hex keys.
Lift and hang the heavy arm assembly onto the wall plate, ensuring correct alignment and centering for concrete.
Tighten locking screws to secure the arm assembly and close the cable management covers.
Carefully lift and hang the TV onto the mounted arm assembly.
Tighten the securement screw to ensure the TV is firmly attached to the arm assembly.
Route cables with sufficient slack and attach cable covers for a clean and organized installation.
Adjust TV levelness using specific screws and tilt angle using the tension knob for optimal viewing.
Adjust arm extension/retraction tension and perform lateral shift for optimal TV positioning.
Safely disconnect cables, remove securement screw, use release cord, and lift the TV off the mount.
Open covers, loosen screws, and detach the arm assembly from the wall plate.
Guidance on using TV spacers for flat or round back TVs and for managing cable clearance.
Provides detailed measurements for the TV interface and wall plate, including mounting hole patterns.
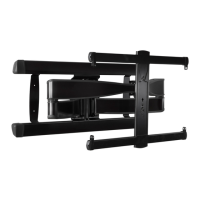
Illustrates extended/retracted states and overall mount dimensions for reference.
Register your SANUS product online to enter monthly sweepstakes for a chance to win prizes.
Share photos of your installed mount using #sanusspaces to be featured in the SANUS Inspiration Gallery.
| Tilt | Yes |
|---|---|
| Swivel | Yes |
| Model | VLF728-B2 |
| Construction Material | Steel |
| Color | Black |
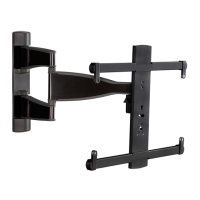
| Type | Full-Motion Mount |
| Extension Range | 28 in |
| Tilt Range | 15° |
| Product Type | Full-motion TV wall mount |