Do you have a question about the Sanus F215 and is the answer not in the manual?
Watch a video for easy DIY project guidance.
Get precise drill placement for first-time success.
US-based experts available via phone or chat.
Verify TV weight and wall type before installation.
List of necessary tools for wood stud and concrete installation.
Measurements for attaching the bracket to the TV.
Measurements for the wall mounting plate.
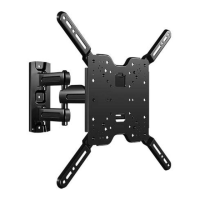
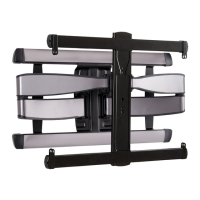
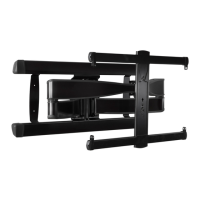
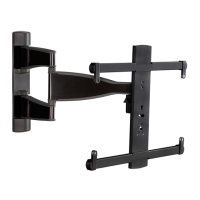
Details on tilt, roll, and extension capabilities.
Lists and identifies all parts and hardware for initial assembly.
How to measure your TV's VESA pattern for compatibility.
How to assemble the faceplate and brackets based on TV pattern.
Determine the correct screw size for your TV's mounting holes.
Choose appropriate screws/spacers for flat or irregular TV backs.
Secure the assembled faceplate to the back of your TV.
Find wall studs and mark their center lines for mounting.
Place the template on the wall and ensure it is level.
Drill pilot holes into the stud using the specified drill bit.
Attach the full motion arm to the wall plate using lag bolts.
Use the template to mark hole locations on concrete or block.
Drill pilot holes into the concrete or block wall.
Insert anchors and attach the full motion arm with lag bolts.
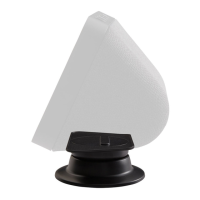
Install the nut cap on the wall plate assembly.
Fold the arm section against the wall for stability.
Hook the TV onto the arm using the hanging tab.
Secure the TV to the arm with the locking screw and washer.
Route cables through channels on the arm for a clean look.
Space clips evenly and attach them to the tunnel(s).
Secure the tunnel assembly to the wall by pressing clips.
Adjust the tilt tension knob for easy movement and stability.
Loosen and tighten the locking screw to level the TV.
Disconnect cables and remove the locking screw.
Carefully lift the TV away from the wall plate assembly.
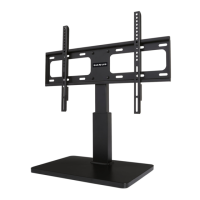
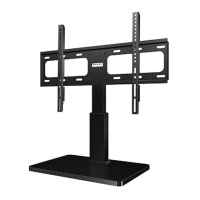
| Product Type | TV Stand |
|---|---|
| Color | Black |
| Adjustable Height | No |
| Cable Management | Yes |
| Assembly Required | Yes |
| Compatible TV Sizes | Up to 65 inches |