13
WELCOME! THANKS FOR
CHOOSING SANUS VUEPOINT.
THIS IS GOING TO BE EASY!
LET’S GET STARTED.
STEP 1
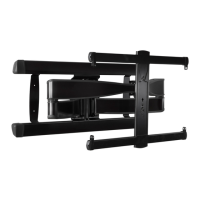
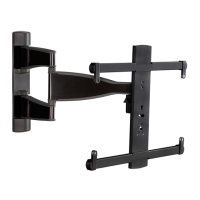
Attach TV brackets to back of TV.
STEP 2
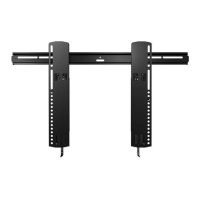
Attach wall plate to wall using
provided hardware.
STEP 3
Hang TV on arm.
Our live, US-based install
experts are standing by to help.
Call us at:
Or, chat at:
Get it right the rst time!
HeightFinder
™
shows you
where to drill.
Use it now at:
Want to watch a video that
shows how easy this is?
Watch it now at:
WELCOME! THANKS FOR
CHOOSING SANUS VUEPOINT.
THIS IS GOING TO BE EASY!
LET’S GET STARTED.
STEP 1
Attach TV brackets to back of TV.
STEP 2
Attach wall plate to wall using
provided hardware.
STEP 3
Hang TV on arm.
Our live, US-based install
experts are standing by to help.
Call us at:
Or, chat at:
Get it right the rst time!
HeightFinder
™
shows you
where to drill.
Use it now at:
Want to watch a video that
shows how easy this is?
Watch it now at:
43
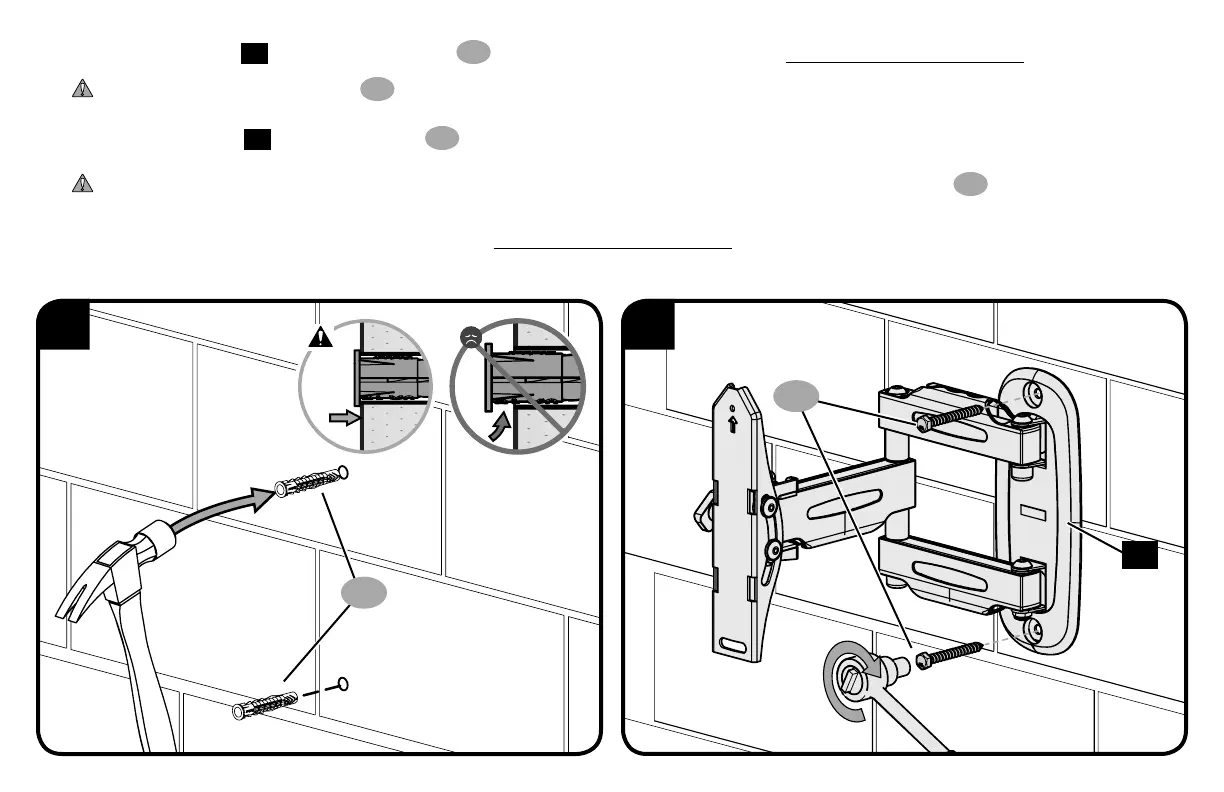
3. Remove the template
17
and insert two anchors
C2
(Fischer UX 10 x 60R - included in the Concrete Installation Kit CMK1*).
CAUTION: Be sure the anchors
C2
are seated flush with the concrete surface.
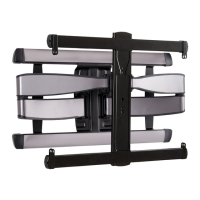
4. Install full motion arm
18
using two lag bolts
C1
. Tighten the lag bolts only until they are pulled firmly against the wall plate.
CAUTION: Improper use could reduce the holding power of the lag bolt. DO NOT over-tighten the lag bolts
C1
.
*
Contact Customer Service at 1-888-333-9952 to have the Concrete Installation Kit CMK1 shipped directly to you.
C2
C1
18