a
Short screw and washer
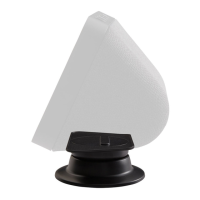
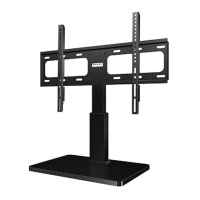
a Flat-back TVs
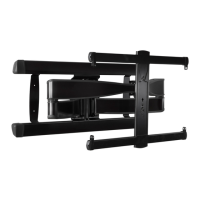
b Rounded-back TVs or extra space needed
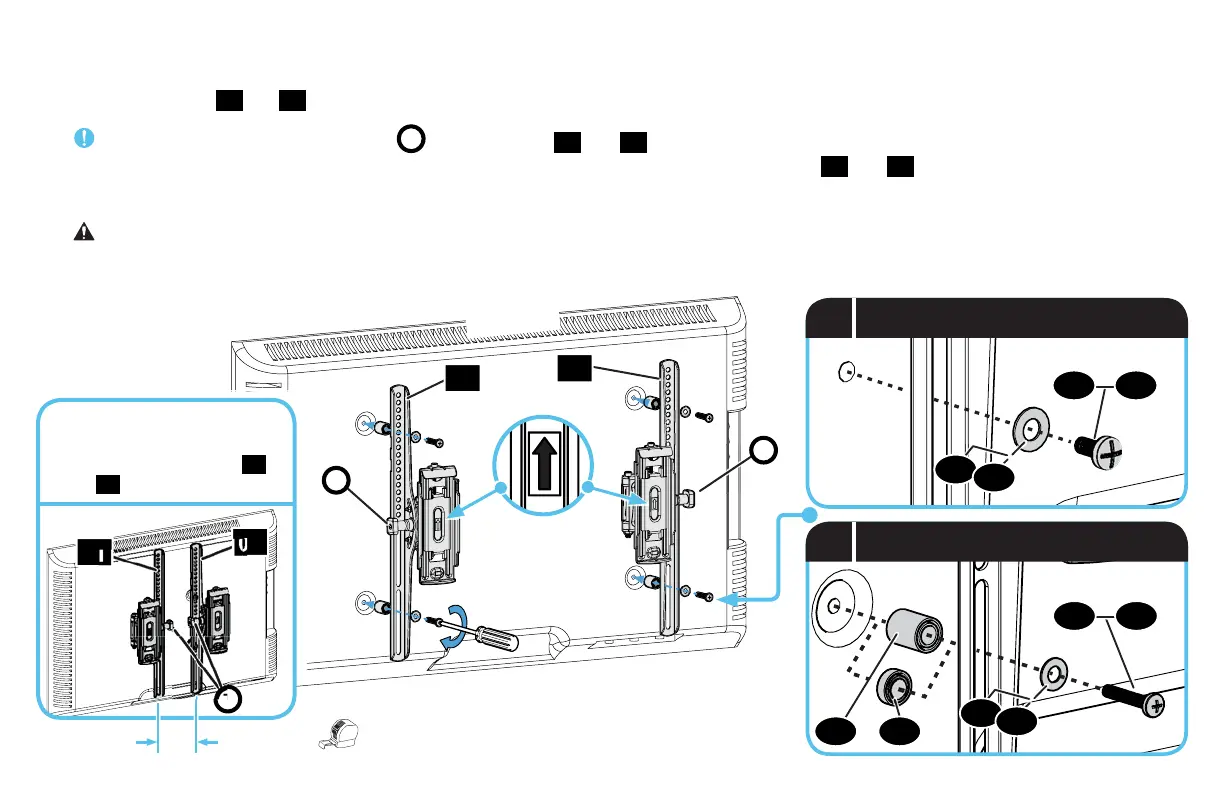
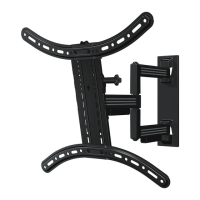
1.3 Attach Brackets to TV
Center the TV brackets
01
and
02
over your TV hole pattern as shown - making sure the brackets are level.
IMPORTANT: The tilt tension knob
T
on TV brackets
01
and
02
should normally be oriented to the outside edges, EXCEPT for TVs
with 100 mm (4 in. wide) mounting hole spacing - these TVs require switching the TV brackets
01
and
02
.
Install using the spacer, TV screw and washer combination you selected for your TV.
CAUTION: Avoid potential personal injuries and property damage! DO NOT use power tools for this step. Tighten the screws only enough to
secure the TV bracket to the TV. DO NOT overtighten the screws.
9
14
16
15
17
14
15
T
02
01
T
13
13
03
03
TOP OF TV
ONLY for 100 mm (4 in.)
TV mounting hole spacing,
switch the TV brackets
01
and
02
on your TV.
02
01
T
100 mm (4 in.)