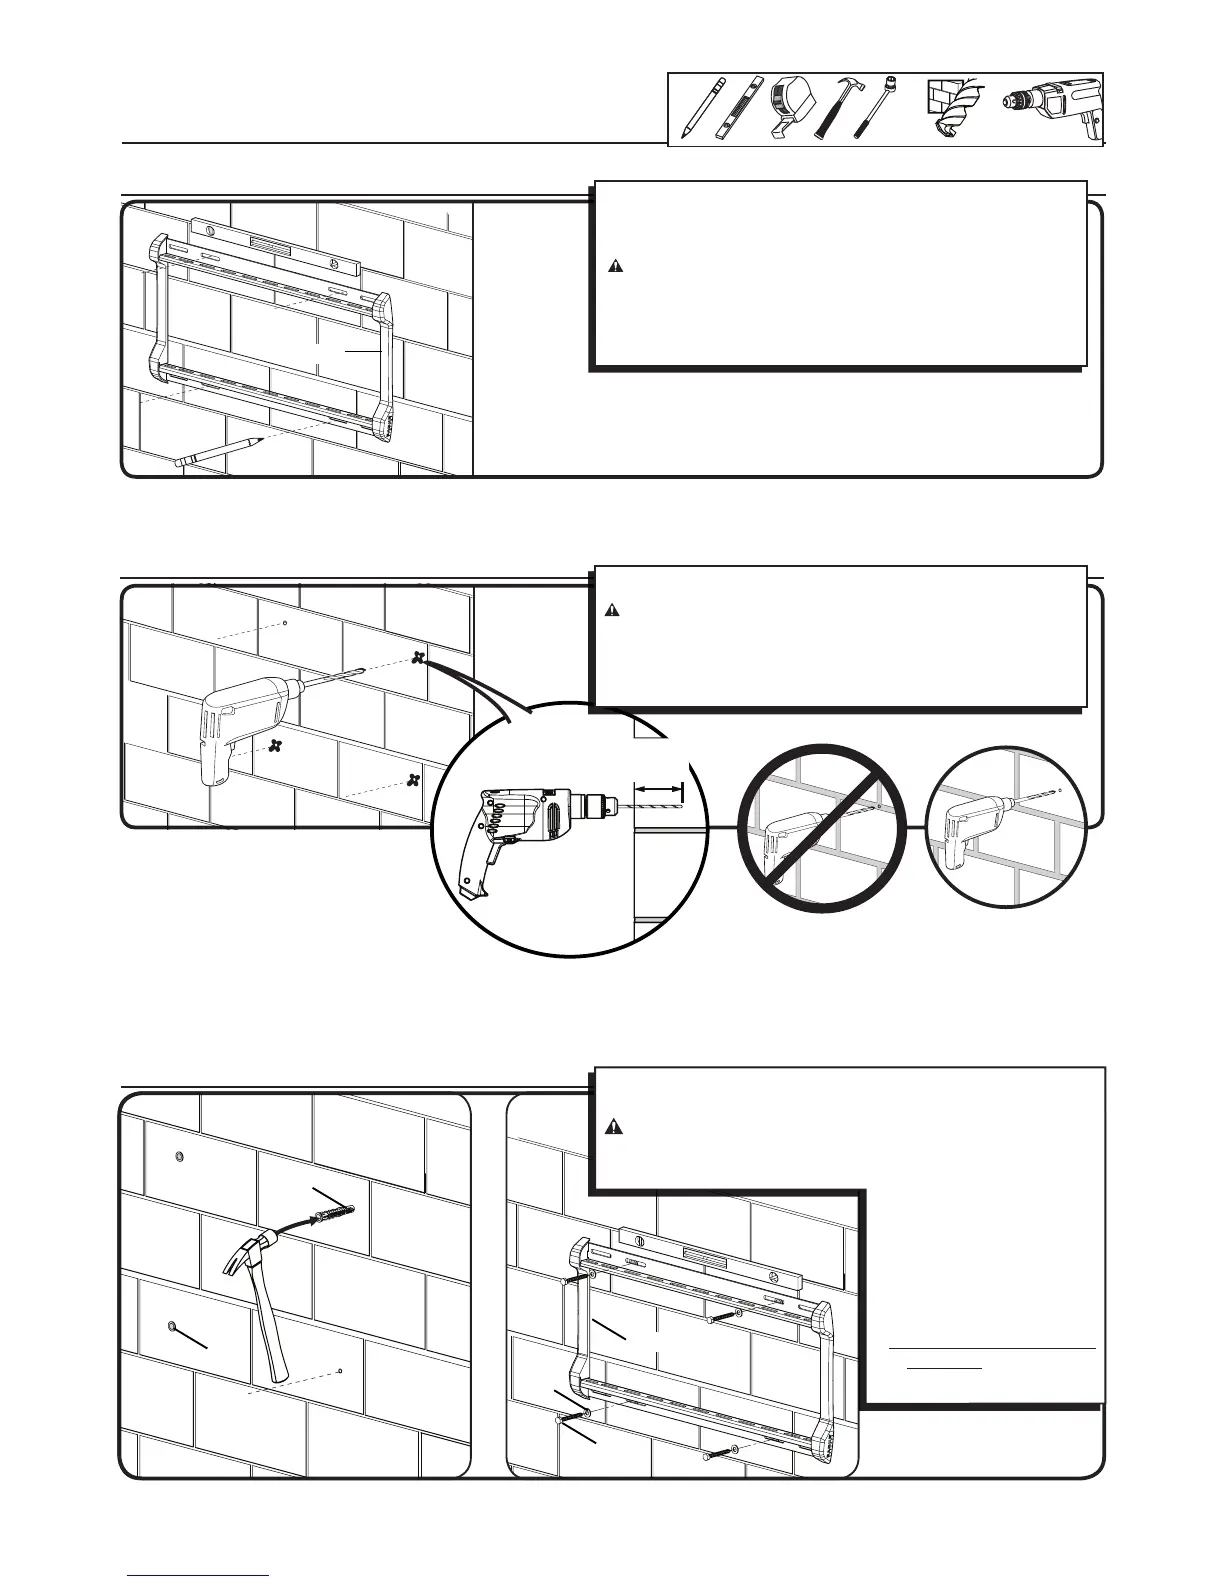
Insert lag bolt anchors [18]. Then insert lag bolts [17] through the
wall plate [02] and into the anchors.
CAUTION:
Avoid potential injuries or property damage!
Improper use could reduce the holding power of the lag bolt. To
avoid potential injuries or property damage:
ÙBe sure the anchors [18] seat
flush with the concrete
surface.
ÙTighten the lag bolts [17]
only until the washers [16]
are pulled firmly against
the wall plate [02].
ÙDO NOT over-tighten the lag
bolts [17].
[18]
[18]
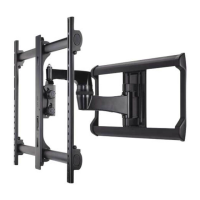
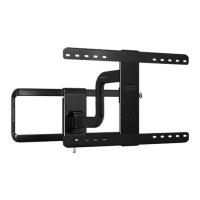
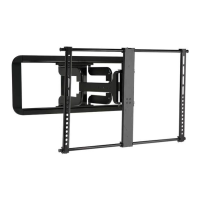
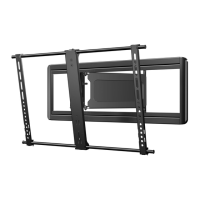
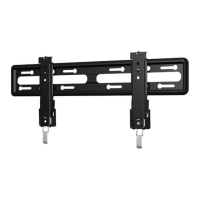
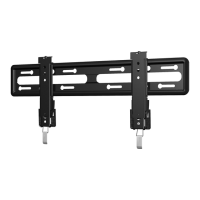
[02]
[17]
[16]
2-2 Drill pilot holes
Drill pilot holes as illustrated.
CAUTION:
Avoid potential injuries or property damage!
Ù Pilot holes MUST be drilled to a depth of 89 mm (3.5 in.) using
a 10 mm (3/8 in.) diameter drill bit.
Ù Never drill into the mortar between blocks.
[02]
For assistance in determining wall plate location, see Height Finder
at sanus.com.
Level the wall plate [02] and mark the hole locations.
CAUTION:
Avoid potential injuries or property damage!
Ù Mount the wall plate [02] directly onto the concrete surface.
Ù Minimum solid concrete thickness: 203 mm (8 in.)
Ù Minimum concrete block size: 203mm x 203 mm x 406 mm (8
x 8 x 16 in.)
 Loading...