I
ADJUSTING THE CLOCK
—.—— -“-
Example: To set “PM 6:30,
6. Press the ➤>/ ➤
>1 or l<+ /4< (or+ or -TIME SET) button to set the
1.
2.
3.
4.
5.
Press the WON button to turn the power on.
Press the CLOCK button. The clock display appears.
Press the MEMORY (or ADJUST) button within 10 seconds.
r When using the main unit, use the MEMORY, ➤>/>H and
K</<+ buttons.
When using the remote control, use the ADJUST, + and – TIME
SET buttons.
,1,
“minutes.”
,1/
7. Press the MEMORY (or ADJUST) button. The clock starts.
The time can be set accurately by pressing the MEMORY (or
ADJUST) button when a time signal is heard.
H1“!
iil.1-11-l
IL. UU
The hours display blinks.
To display the clock during operation, press the CLOCK button. Press
Press the ➤>/ EM or H</4+ (or + or – TIME SET) button to set the
it again to return to the original display.
“hours.”
When the display blinks because of a power failure, reset the time.
,1/
1:1 ~~;
~:~[
Press the MEMORY (or ADJUST) button.
,1,
The minutes display blinks.
BEFORE OPERATION
-..........“.——
Turning the power on and off
Press the c5/ON button. The displays light. (After connecting the reams
lead, when you press the WON button for the first time, the volume reset
feature automatically sets the initial volume level.)
To turn the power off, press the c5/ON button again. The clock display
remains lit. (If the clock has not been set, the display enters the
demonstration mode.)
When the mains lead is connected to the AC outlet, the unit will
respond to commands from the remote control.
\
Smart start function
If the following buttons are pressed when the unit is in standby, the unit
turns on automatically and the selected function is set.
CD section
CD,
➤/11, DISC 1, DISC 2, DISC 3,
OPEN/CLOSE
Tuner section
TUN/BAND
Cassette section
TAPE A/B, ➤
Video/DVD section VI DEO/DVD
Remote control
➤/n, TUNER/BAND, TAPE+VB, ➤ ,
VIDEO/DVD
Selecting the function
Press the d&ired function button (CD, TAPE A/B, TUN/BAND or VIDEO/
DVD).
The function is automatically selected when CD play or tape playback is
started, or when the TUN/BAND button has been pressed (except during
recording or tape dubbing).
When the function selection is changed, CD play or tape playback is
automatically stopped.
Adjusting the volume
Turn the VOLUME control, (or press the + or – VOLUME button on the
remote control). The volume level apDears by numbers (VOL O - VOL
MAX) and bar-graph on the display.
To reduce the volume temporarily (muting)
Press the MUTE button on the remote control. “MUTE blinks on the
display. To restore the previous volume setting, press the MUTE button
again. “MUTE disappears.
Bass expander system
Press the BASSXPANDER button to enhance the bass sound. “BASS”
appears on the display.
The initial setting of this function is ON.
Selecting the sound mode
Press the SOUND PRESET button to select the sound mode matching the
music to be listened to.
POP: Pops, etc.
ROCK: Rock music, etc.
CLASSIC: Classical music, etc.
JAZZ: Jazz, etc.
Demonstration mode
If the DISPLAY button is pressed, the display enters the demonstration
mode. To cancel this mode, press the DISPLAY button again.
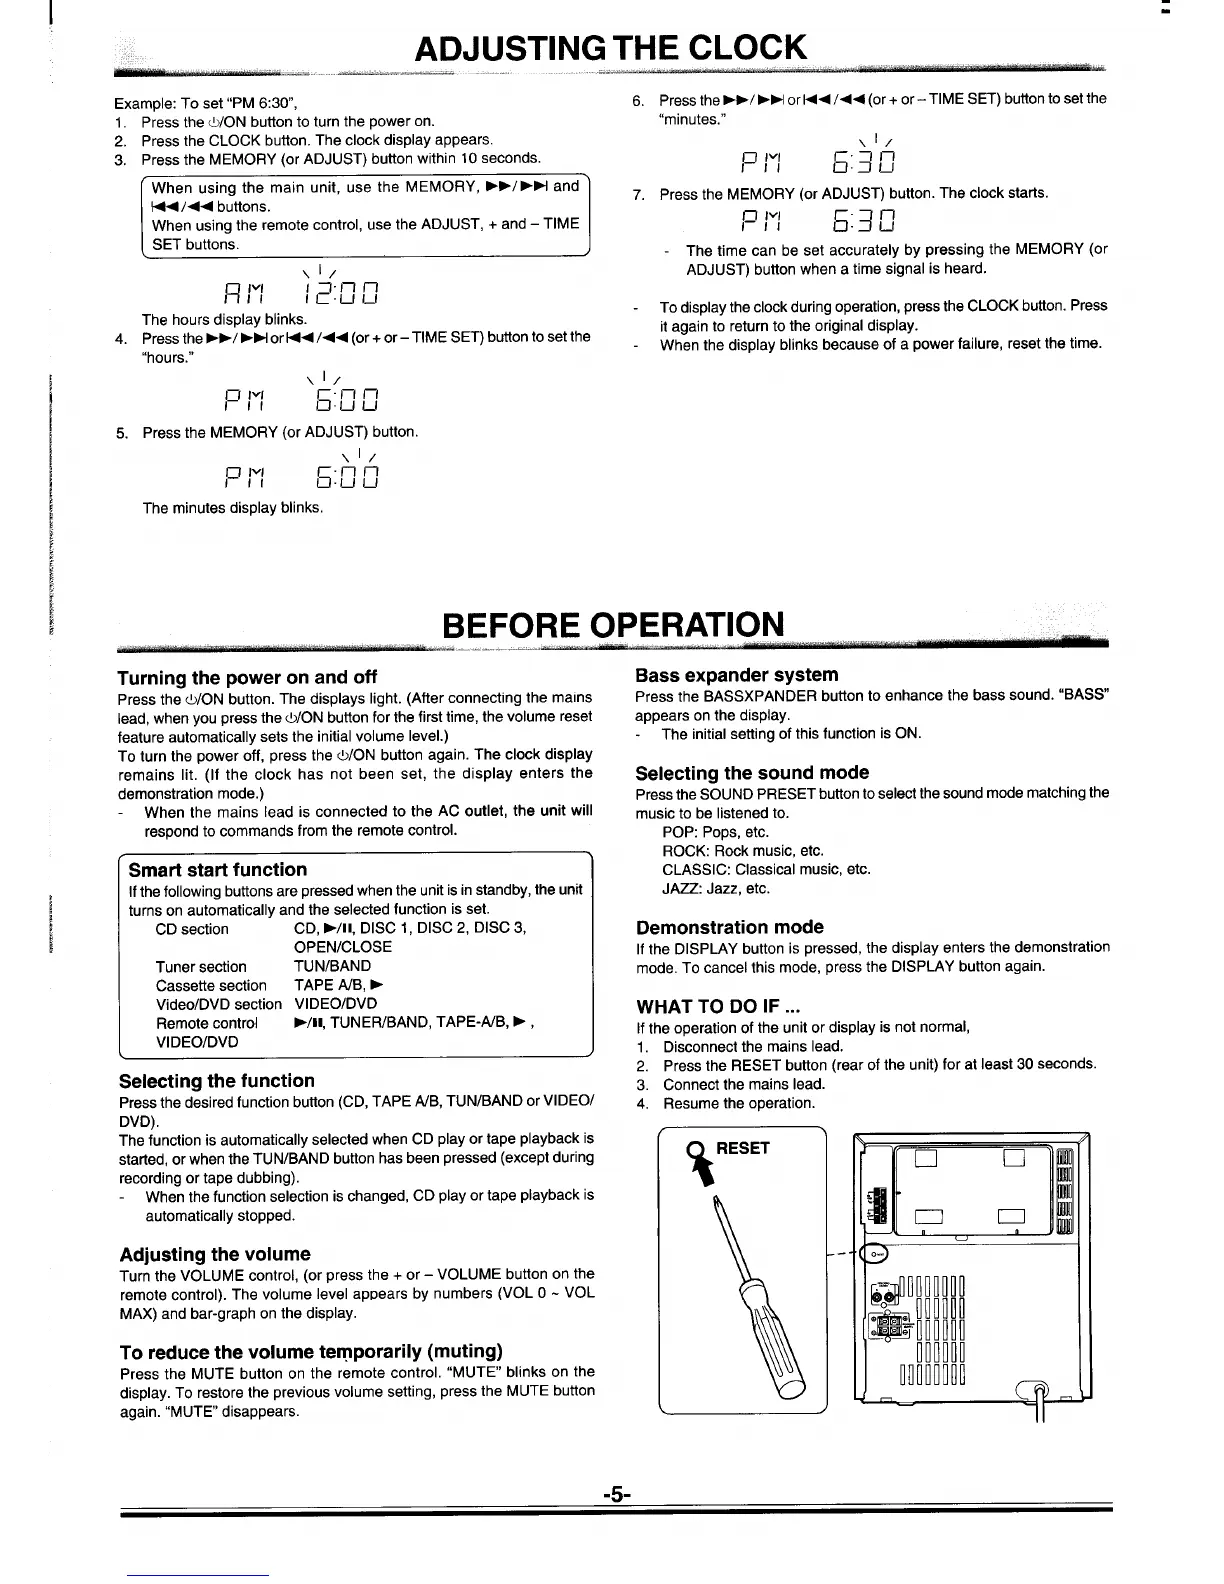
WHAT TO DO IF ...
If the operation of the unit or display is not normal,
1.
2.
3.
4.
Disconnect the mains lead.
Press the RESET button (rear of the unit) for at least 30 seconds.
Resume the operation.
%
RESET
 Loading...