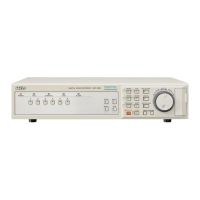
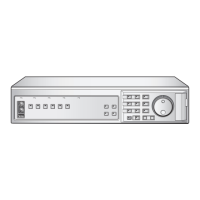
About Configuration via Menus
15
English
■ To apply the security lock:
Press and hold the SHUTTLE HOLD for about
three seconds.
a The LOCK indicator turns on to indicate that the security
lock is turned on.
¡Subsequent operations require the entry of the correct password as
appropriate.
■ To initialize the hard disk:
Press the MENU button to open the MAIN MENU
screen, and choose “3. GENERAL SET”.
On the GENERAL SET screen, choose “4. HDD
SET”.
Choose “DISK INITIALIZE” and turn the S-dial
clockwise.
A WARNING screen appears. Choose “YES”, and
then turn the S-dial clockwise.
a The hard disk is initialized.
When you are done, press the EXIT/OSD button.
5
4
1
■ To change the automatic scrolling interval:
Press the MENU button to open the MAIN MENU
screen, and choose “4. SCREEN SET”.
On the SCREEN SET screen, choose
“2. SEQUENCE”.
¡If you want to specify different scrolling interval for each camera,
choose “INDIV.” for “2. SEQUENCE”.
Set the scrolling interval (1 to 30 SEC).
¡Selecting “INDIV.” option allows you to configure different scrolling
interval for each camera.
When you are done, press the EXIT/OSD button.
4
 Loading...