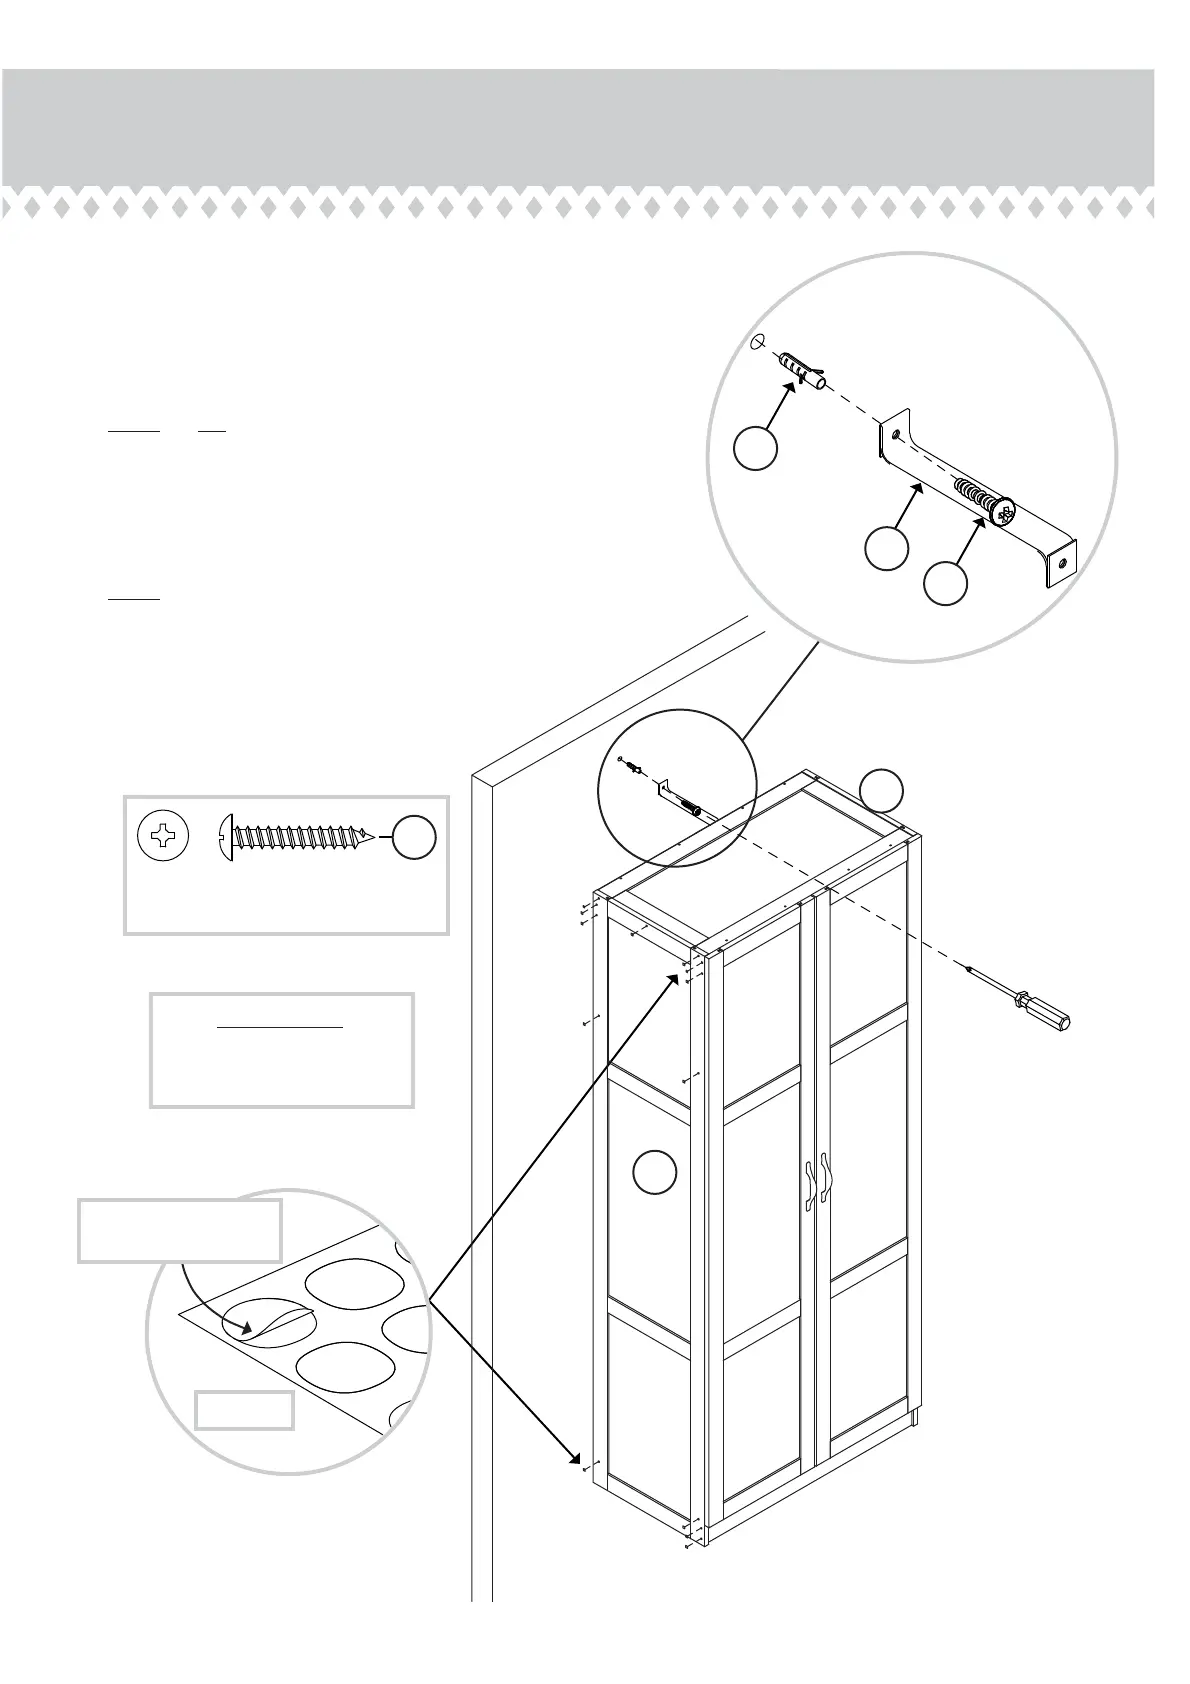
Step 14
å
Position your unit in its fi nal location against a wall.
å
Use a 1/4" drill bit to make a hole in your wall for the WALL ANCHOR.
å
Fasten the SAFETY STRAP (6) to the wall using a 1" PAN HEAD
SCREW (12) and SAFETY DRYWALL ANCHOR (5).
å
NOTE: Do not turn the SAFETY DRYWALL ANCHOR (5) into a wall
stud. If you prefer to fasten the SAFETY STRAP (6) to a wall stud, go
to your local hardware store for proper hardware.
å
Peel twenty-six APPLIQUES (7) from the applique card and stick
them over the heads of the SCREWS in the ENDS (A and B).
å
NOTE: Please read the back pages of the instruction booklet for
important safety information.
å
This completes assembly. Clean with your favorite
furniture polish or a damp cloth. Wipe dry.
5
6
14
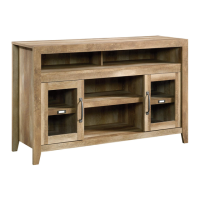
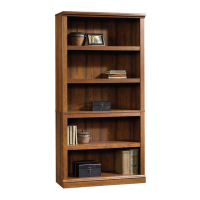
No load
Weight Limits:
Top Shelf - 50 lbs.
Adjustable Shelf - 25 lbs. each
Bottom - 50 lbs. total
1" PAN HEAD SCREW
(1 used in this step)
14
Page 18 www.sauder.com 419188
Peel the APPLIQUES
from the applique card.
A
B
(26 used)