Step 1
Look for this icon. It means a
video assembly tip is available at
www.sauder.com/services/tips
å
Assemble your unit on a carpeted fl oor or on the empty
carton to avoid scratching your unit or the fl oor.
å
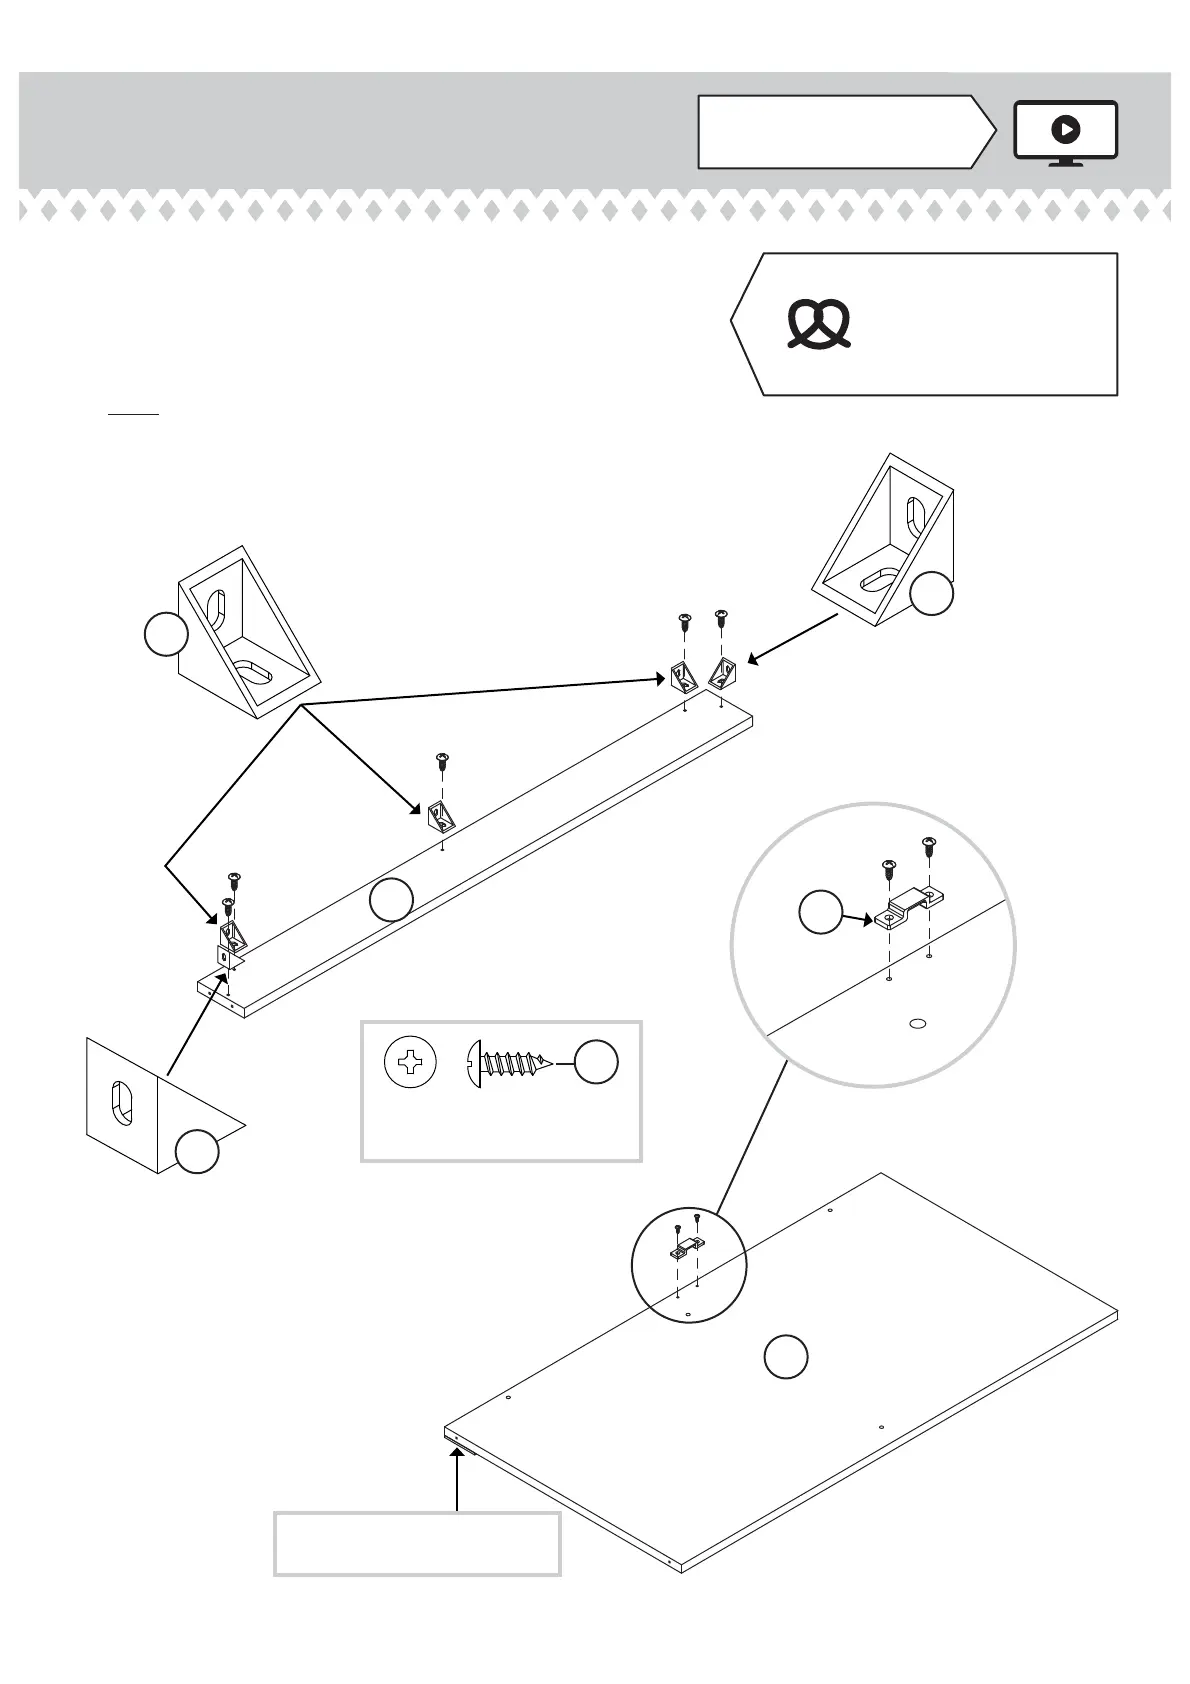
Fasten fi ve ANGLE BRACKETS (1) to the SKIRT (L). Use
fi ve 1/2" PAN HEAD SCREWS (18).
å
NOTE: Be sure the edges of the ANGLE BRACKETS are
even with the edges of the SKIRT.
å
Fasten the BOTTOM BRACKET (9) to the BOTTOM (E).
Use two 1/2" PAN HEAD SCREWS (18).
1
1/2" PAN HEAD SCREW
(7 used in this step)
18
Some assembly
(and snacks) required.
L
1
1
E
9
The molding on the other surface
of the BOTTOM should be here.
Page 5
www.sauder.com419188