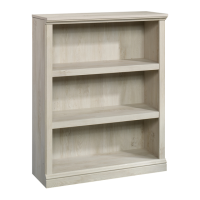
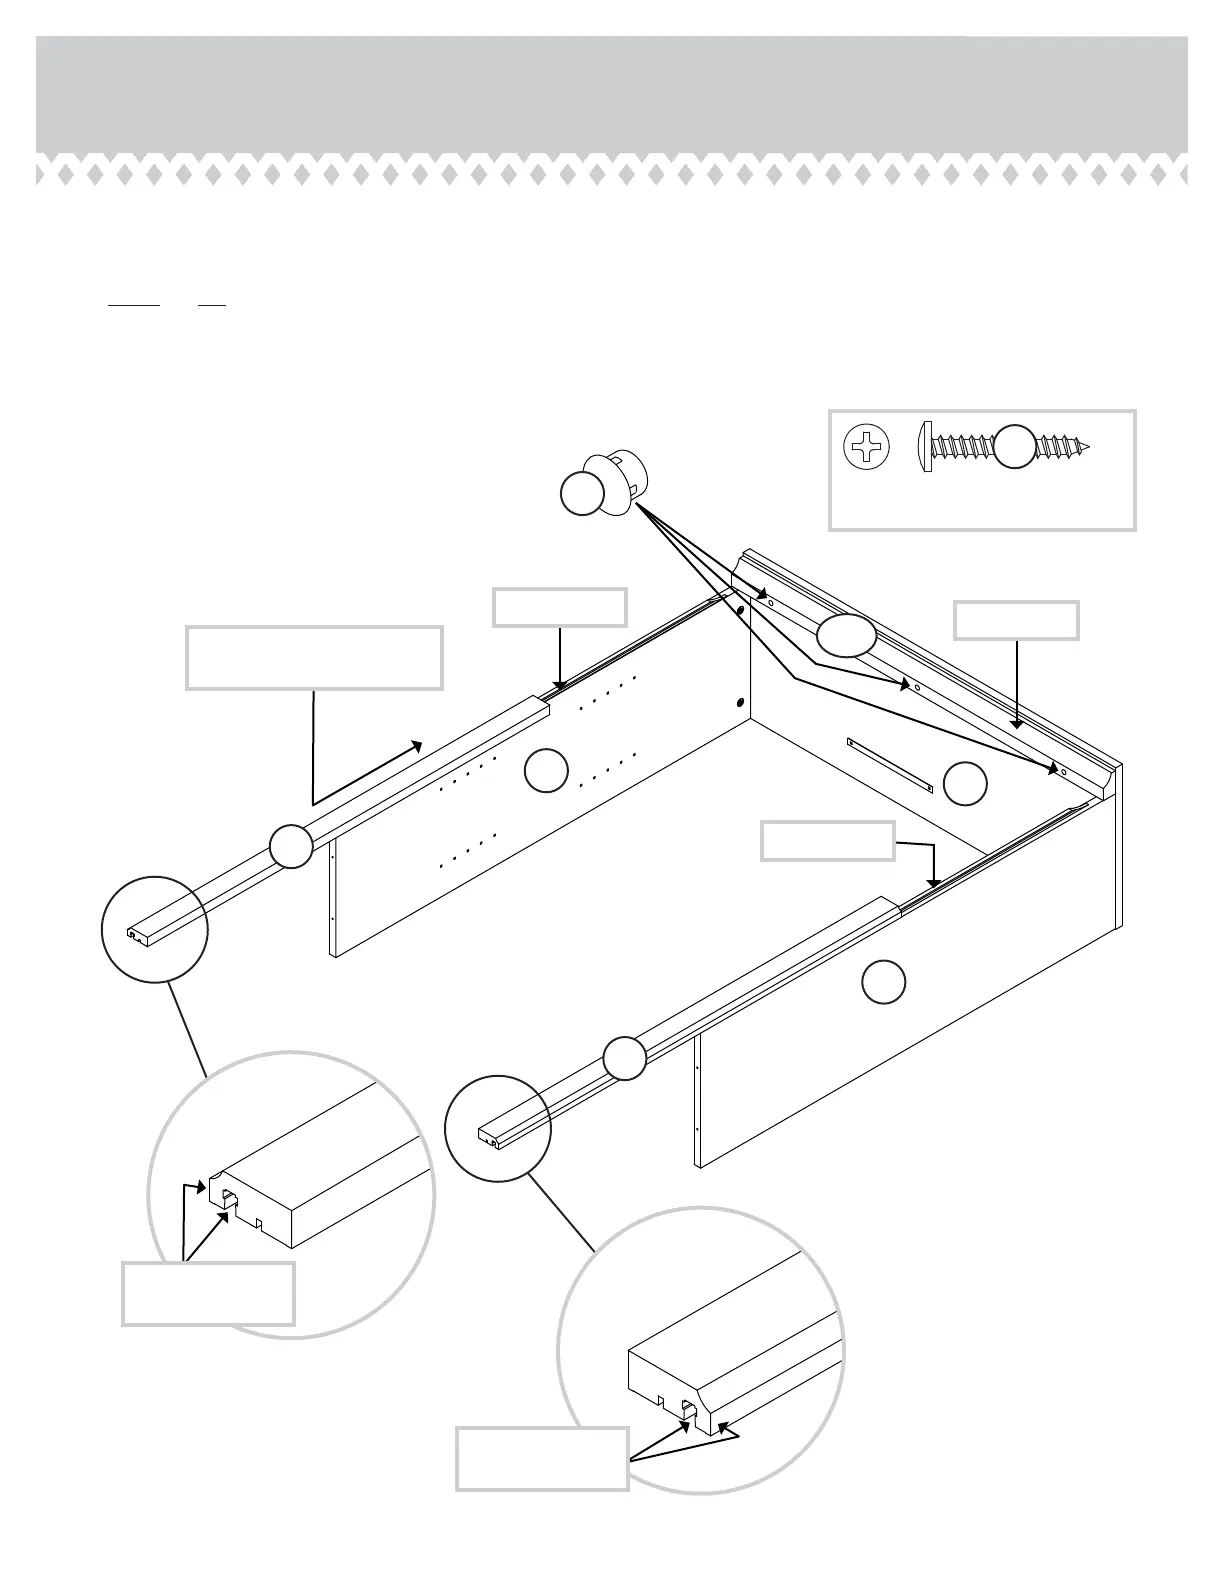
Step 4
å
Fasten the TOP MOLDING (M25) to the TOP (E2). Use three BLACK 1-1/8" PAN
HEAD SCREWS (9S).
å
NOTE: Do not overtighten the SCREWS into the TOP.
å
Insert three HOLE PLUGS (80P) into the holes in the TOP MOLDING (M25).
å
Slide the END MOLDINGS* (K) onto the notched edges of
the ENDS (A2 and B2).
å
* U.S. Patent No. 5,499,886
423033 www.sauder.com/servicesPage 8
Notched edge
Notched edge
A2
B2
K
K
Slide the END MOLDINGS (K)
onto the notched edges.
The large groove is
closer to this edge.
The large groove is
closer to this edge.
Curved edge
E2
80P
BLACK 1-1/8" PAN HEAD SCREW
(3 used in this step)
9S
M25