Page 17
4.2 Selecting the product type
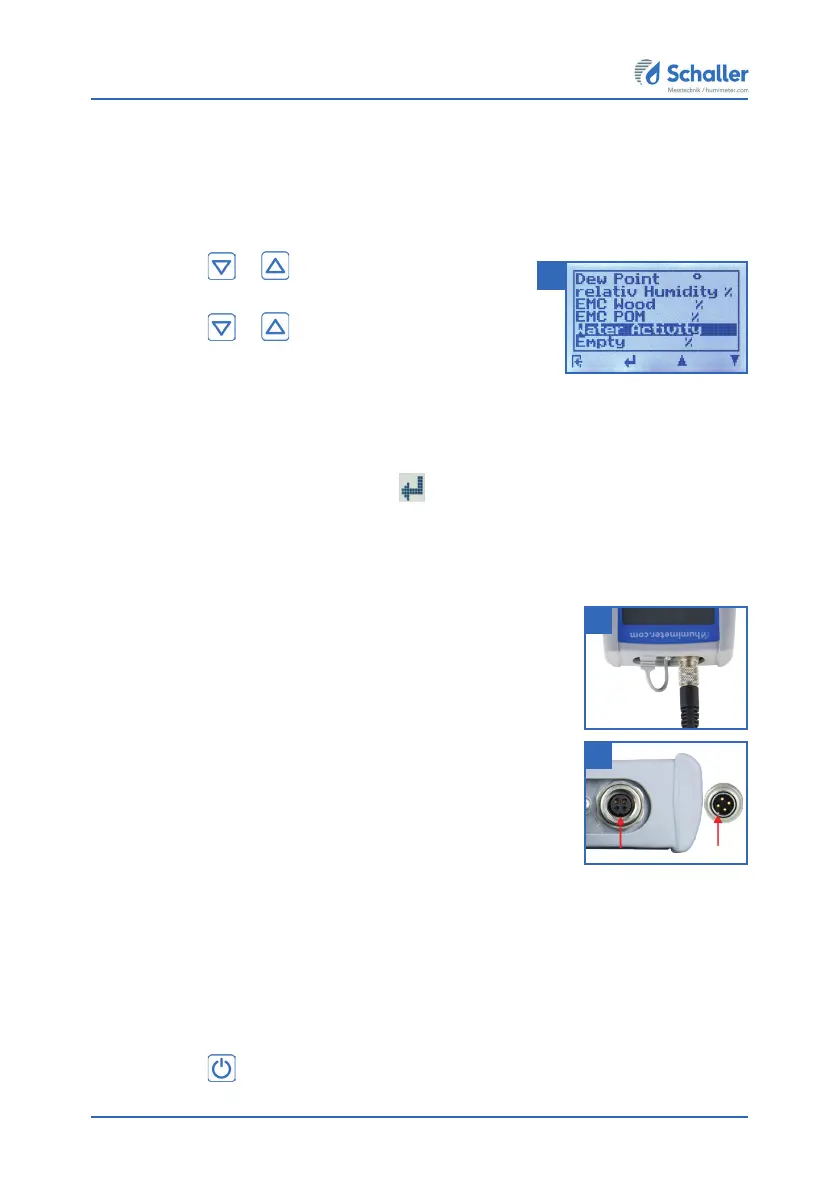
To do so: The device has to be in the product selection menu.
For an overview of the different product types and the criteria for selecting them,
please refer to "7. Product types".
1. Press the
or button to move from one
product to the next Or
2. Press the
or button for 2 seconds to open
the product type overview (figure 6).
3. Use the arrow keys to move from one product type
to the next
4. and keep any of them pressed to scroll through the types.
5. Confirm your selection by pressing
.
» The product type you selected will now be shown at the top of the display.
4.3 Exchanging the sensors
• If a sensor is already connected, unscrew it counterclock-
wise.
• Then plug the desired sensor into the device until both
threads make contact.
» Pay attention to the elevation in the connector and its
correct positioning (figure 8).
» Do not use excessive force to plug in the sensor, which is
very easy to operate.
• Now tighten the thread.
4.4 Taking a measurement
• For information on how to take a measurement, see section "5. The measuring
process".
4.5 Switching the device off
To do so: The device has to be in the product selection or Data Log menu. It is not pos-
sible to switch off the device when it is in the main menu.
• Press the
button for 2 seconds.
6
7
8

 Loading...