Fix-EZ™ Installation Manual
8/12
MI-018CA
072216
© Schletter Canada Inc.
• 3181 Devon Drive • Windsor, Ontario N8X 4L3 • Tel: (519) 946 – 3800 • Fax: (519) 946 – 3805
E-mail: mail@schletter.ca • www.schletter.ca
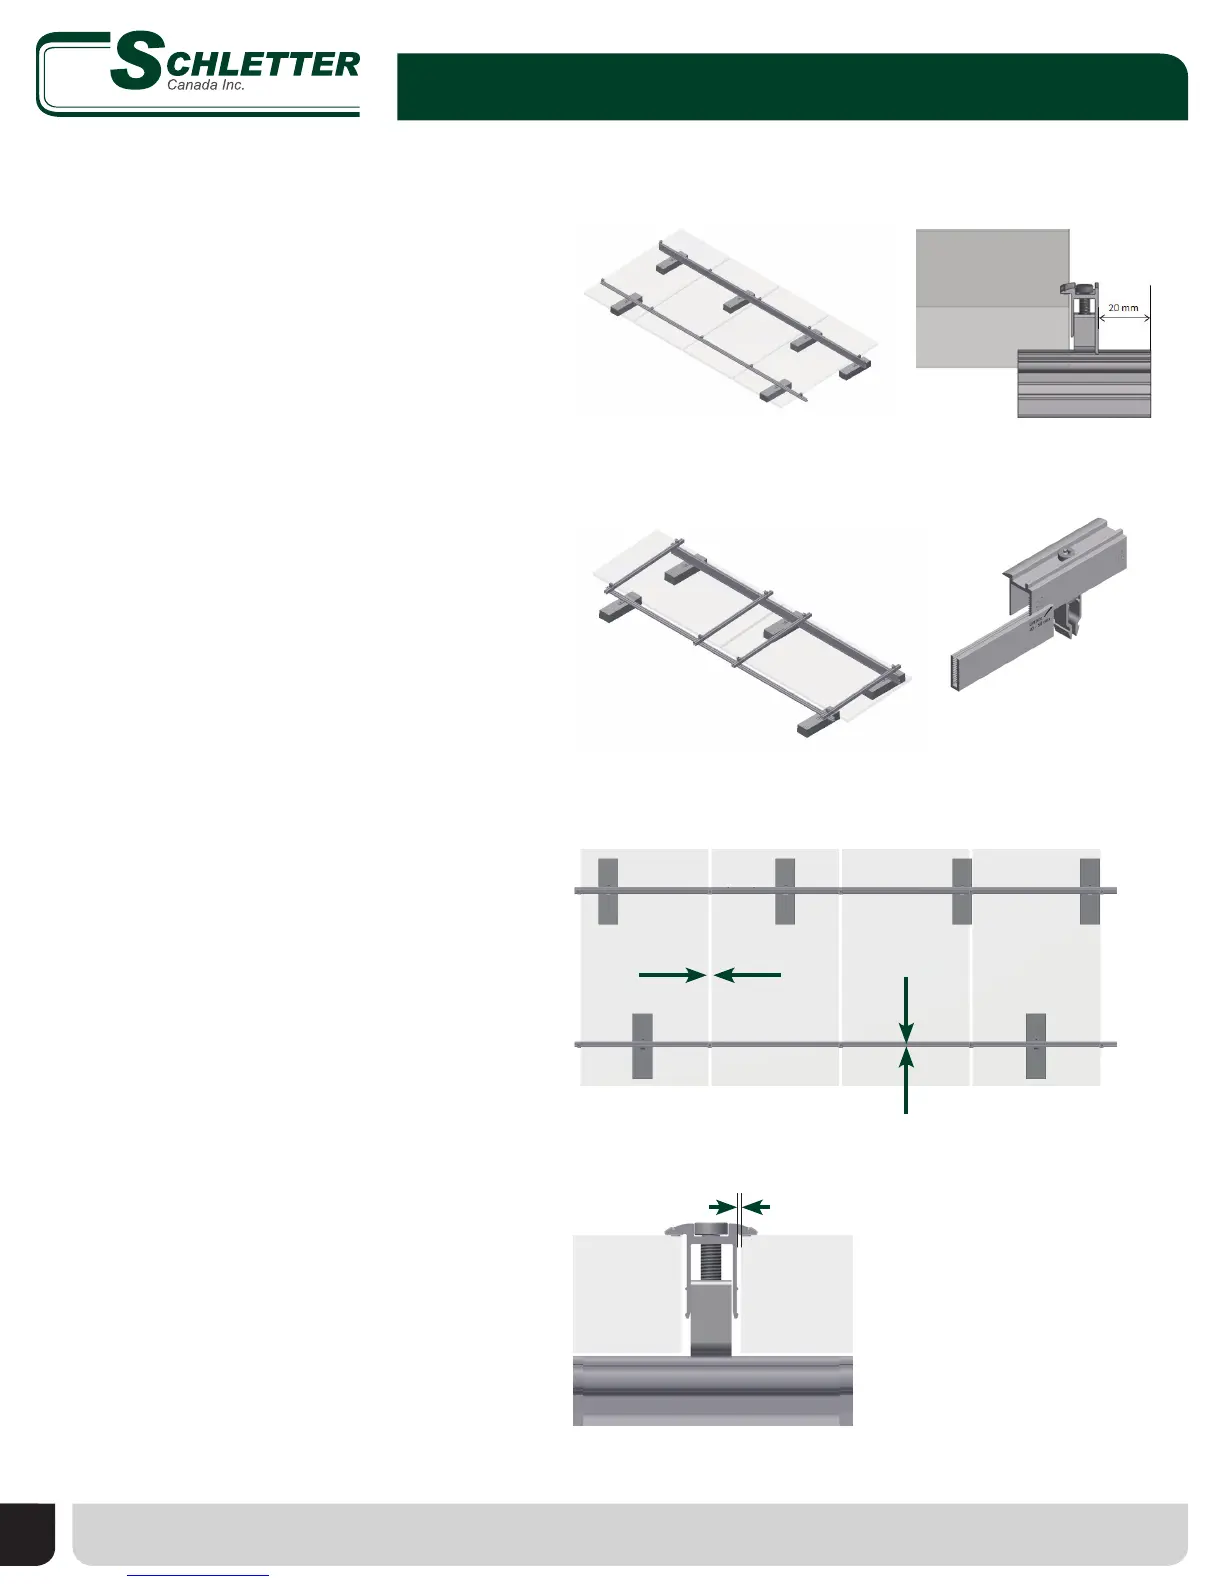
1. Position Modules
1. Position Modules
2. Secure Modules
Module Mounting
• Position end clamps approximately 20
mm from end of rail.
• Position rst module and secure with
prepositioned end clamps; do not
fully tighten.
• Attach middle clamps to rail on the
exposed side of rst module.
• Place second module and secure using
middle clamp; do not tighten.
• Repeat until end of row, then secure
exposed side with end clamps.
• Torque to specication.
• If project calls for re barrier, see page 9
for re barrier and module installation.
• Attach end clamps approximately 20 mm
from ends of top rail.
• Position module and secure using
end clamps.
• Repeat until end of row.
• Verify that the module clamp is fully
engaged on the rail and is aligned with
the module frame.
• Secure in place to specied torque.
• Please observe the clamping points
specied by the module manufacturer.
• Use of impact driver is
not recommended.
Fix-EZ in portrait orientation
Fix-EZ in landscape orientation
Allowable gaps between modules
23 mm
max.
1.5 mm maximum
middle clamp to
module oset
A. Portrait
B. Landscape
If adjustable end clamps are
provided, slide attachment on
to desired height.