37
• Place the container on a base with paper and ll it with the nishing material already prepared. Screw the
container tightly in the paint spray;
• Always put your paint spray on at and clean surfaces. Otherwise, the equipment may aspirate dust and
other foreign bodies, or even turn over, causing accidents.
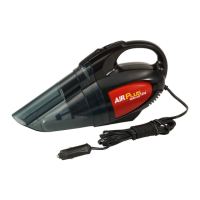
• Adjust the spray image of your AIR PLUS SPRAY SCHULZ (see Figure 9.5)
• After preparing the paint in your spray, connect the plug into the inlet of the electrical grid;
• Whenever you replace the paint, perform any maintenance or cleaning of the product, disconnect the plug
from the inlet of the electrical grid.
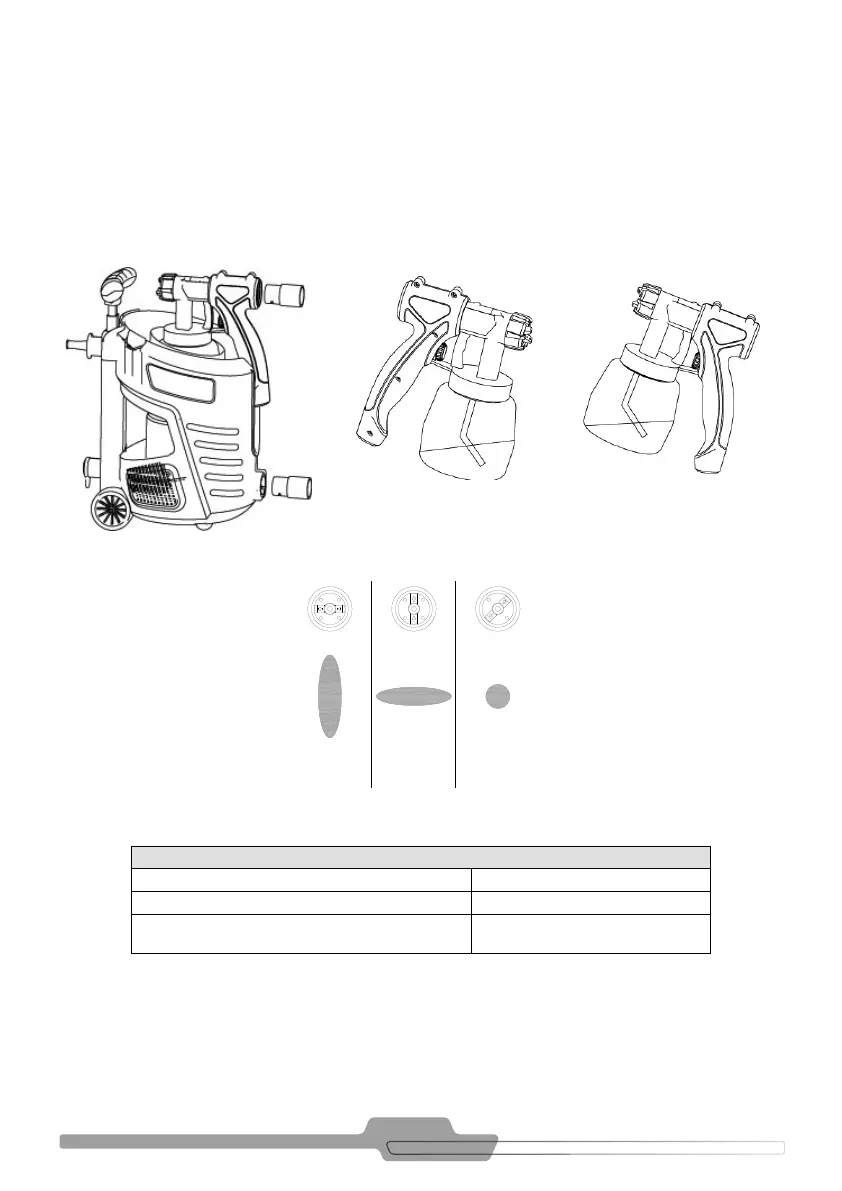
FIGURE 9.5
FIGURE 9.3FIGURE 9.2 - SPRAY GUN 700W FIGURE 9.4
Note: It is advisable to test the spraying on a white sheet of paper, to determine the position and the correct
amount of the material to be applied.
POSSIBLE ADJUSTMENTS OF THE SPRAYING IMAGE
Figure 9.5a = vertical at jet For horizontal surfaces
Figure 9.5b = horizontal at jet For vertical surfaces
Figure 9.5c = circular Jet
For corners and edges, as well as for areas hard
to reach
TABLE 9.3 - ADJUSTMENTS OF THE SPRAYING IMAGE
A
B
C