Do you have a question about the Schumacher SE-1072 and is the answer not in the manual?
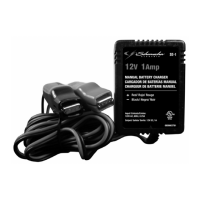
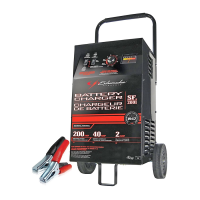
Manual contains important safety and operating instructions for battery charger Model SE-1072.
Instructions on reading markings, battery types, attachments, and cord handling.
Details proper wire size, condition, and pin compatibility for extension cords.
Instructions on what to do with damaged cords, plugs, or the charger unit.
Unplug charger before maintenance; turning off controls does not reduce risk.
Batteries generate explosive gases; manual must be read and followed exactly.
Ensure aid is nearby, keep water/soap ready, and wear protective gear.
Avoid sparks, flames, dropping tools, and remove metal items near battery.
Charger is only for Lead-Acid batteries; do not charge dry-cell batteries.
Never attempt to charge a battery that is frozen.
Remove battery from vehicle if needed, ensuring good ventilation.
Clean terminals and add distilled water to cells as per manufacturer.
Study manufacturer precautions and set voltage/charge rate correctly.
Position charger away from battery, avoid placing above it, and prevent acid drips.
Ensure ventilation and do not place batteries on top of the charger.
Disconnect clips only after switching off and removing AC cord.
Attach clips firmly to battery posts to ensure good connection.
Position AC and DC cords to avoid damage from moving engine parts.
Stay clear of fan blades, belts, pulleys, and other moving parts.
Check polarity and connect to chassis/engine block away from battery.
Disconnect in reverse order: switches off, AC cord, chassis clip, then battery clip.
Check battery post polarity for positive (+) and negative (-).
Connect clips to battery posts and an extension cable safely away from battery.
Disconnect in reverse order, breaking the first connection farthest from battery.
Marine batteries must be removed and charged on shore.
Charger must be plugged into a properly installed and grounded outlet.
Temporary adapters may be used, but ensure proper grounding connection.
Output protected by a 30 Amp fuse; replace only with specified type.
Set switch to match battery voltages; connect batteries in series only.
Select charge rate of either 5 Amp or 10 Amp for selected output voltage.
Time depends on Ampere Hours depleted, adding 20% for inefficiency.
Use hydrometer to measure specific gravity and determine state of charge.
Ammeter tapers to half output; specific gravity between 1.250-1.285.
Store battery charger in a dry area.
Check connections, voltage switch, AC outlet, and fuse.
Check for reversed connections, severely discharged, or defective battery.
Verify partial charge, sulphation, or low AC supply voltage.
Two-year warranty against defective material or workmanship.
Void if misused, mishandled, or repaired by unauthorized personnel.
| Type | Automatic Battery Charger |
|---|---|
| Voltage | 12V |
| Amperage | 2A |
| Input Voltage | 120V AC |
| Output Voltage | 12V DC |
| Compatibility | Compatible with most 12V lead-acid batteries |
| Battery Types Supported | AGM, Gel |
| Features | Reverse hook-up protection |