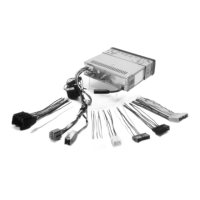
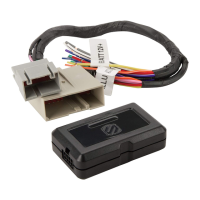
FACTORY WIRING CODES
NOTE: The following connectors are available to easily plug your aftermarket stereo into the factory
harness:
PART# DESCRIPTION
PART# DESCRIPTION
CR012 1984-2002 Chrysler Vehicles
IM01 1990-2002 Universal import
FD021 1986-2002 Ford, Lincoln, Mercury
vehicles
Vehicles Non Premium/
MA01 1988-90 Mercury Tracer
JBL Sound
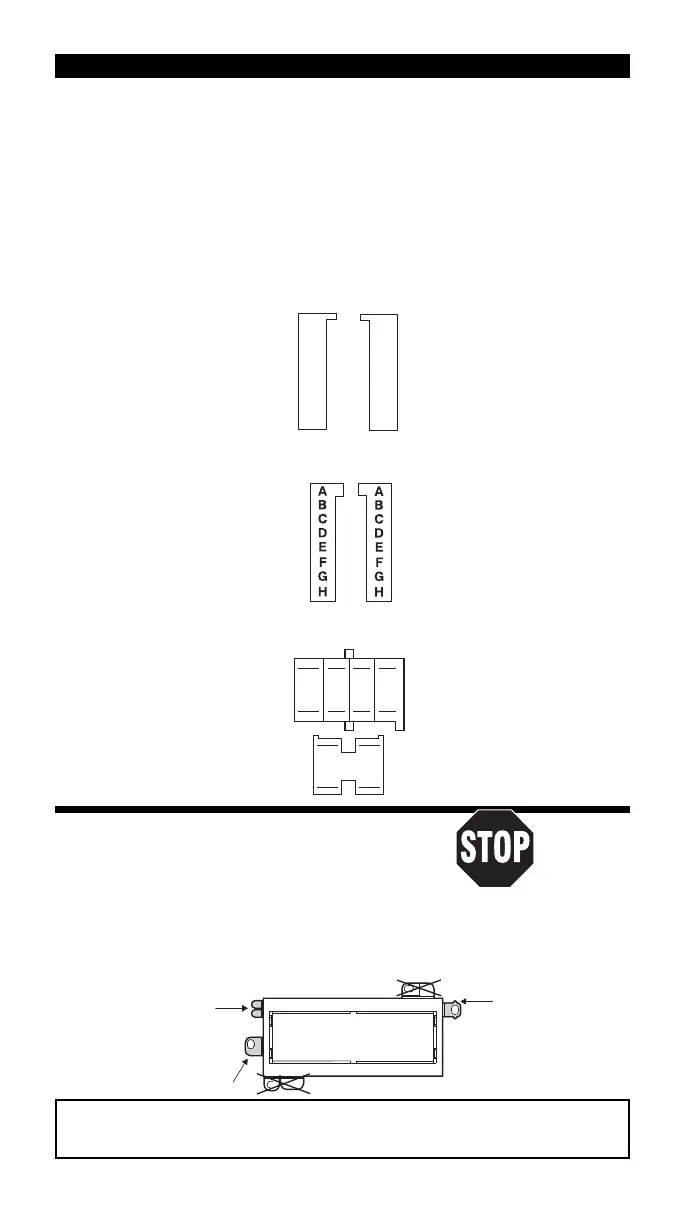
• All wire codes are viewed as looking at the front of the plug with the wires exiting the rear.
• Use these wiring codes as a quide. Your vehicle might differ.
1984-2001 CHRYSLER VEHICLES
Gray Connector - Power/Speaker: Black Connector - Speaker:
1 = 12 Volt Battery/Constant (12V+)
7
6
5
4
3
2
1
1
2
3
4
5
6
7
1 = Right Rear Negative (RR-)
2 = 12 Volt Ignition/Switched (12V+) 2 = Left Rear Negative (LR-)
3 = Radio Light 3 = Right Front Positive (RF+)
4 = Memory Light 4 = Left Front Positive (LF+)
5 = Right Front Negative (RF-) 5 = Right Rear Positive (RR+)
6 = Left Front Negative (LF-) 6 = Left Rear Positive (LR+)
7 = Not Used 7 = Power Antenna
1986-UP FORD VEHICLES
Gray Connector - Power/Speaker: Black Connector - Speaker:
A = 12 Volt Battery/Constant (12V+) A = Left Front Positive (LF+)
B = Not Used B = Left Front Negative (LF-)
C = 12 Volt Ignition/Switched (12V+) C = Left Rear Positive (LR+)
D = Illumination D = Left Rear Negative (LR-)
E = LCD E = Right Front Positive (RF+)
F = Chassis Ground (12V-) F = Right Front Negative (RF-)
G = Power Antenna G = Right Rear Positive (RR+)
H = Remote Turn On (Factory Amplifi er) H = Right Rear Negative (RR-)
1982-86 FORD VEHICLES
Gray Connector - Speaker:
1 = Right Front Positive (RF+)
2 = Right Front Negative (RF-)
3 = Right Rear Positive (RR+)
4 = Right Rear Negative (RR-)
5 = Left Front Positive (LF+)
6 = Left Front Negative (LF-)
7 = Left Rear Positive (LR+)
8 = Left Rear Negative (LR-)
1
5
2
6
3
7
4
8
1
3
2
4
Gray Connector - Power:
1 = 12 Volt Accessory/
Switched (12V+)
2 = 12 Volt Battery/
Constant (12V+)
3 = Illumination/Dimmer
(+12V Variable)
4 = Not Used
1995-00 Chrysler Cirrus
Read pages 2-4
1996-00 Chrysler Sebring “JXI” Convertible
for kit assembly.
1995-01 Dodge Stratus
1996-00 Plymouth Breeze
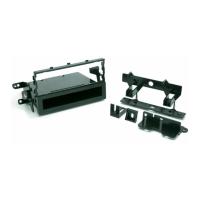
RADIO REMOVAL:
1. Carefully pry out on the radio/heater control trim bezel, unsnap to remove.
2. Extract two 3/8'' bolts holding radio in, unplug and remove radio.
NOTE: The rear of the aftermarket stereo should be supported.
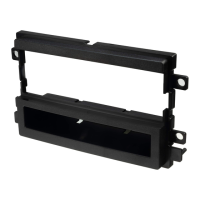
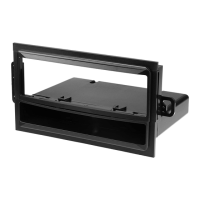
#2190 PANEL
USE THESE SUPPORT TABS AS REQUIRED
Usar tantas de estas pestañas como sea
necesario
USE THIS BRACKET
Usar este braquete
REMOVE ALIGNMENT
PIN - TOP
Quitar la clavija de
alineamiento -
Superior
USE THE SHADED MOUNTING TABS AND THE INDICATED BRACKETS. CUT OFF THE REMAINING TABS AND
DISCARD. FOR DIN ISO INSTALLATION, SEE PAGE 4.
Usar las pestañas sombreadas y los braquetes indicados. Cortar las pestañas restantes y descartarlas.
Para la instalación de radios DIN ISO ver la página 4.
5