It is very important to read through following
safety precautions before using your Seashell
safety and to avoid any damage.
If water leaks, remove the camera housing
and camera from water as quickly as possible
Remove the camera from Seashell camera
housing when not in use for an extended
Avoid direct sunlight, heat or fire.
Do not use Seashell water proof camera
Do not use the neck strap when diving with
Seashell camera housing as it may cause
accidental strangulation.
Do not use Seashell water proof camera
housing for depths below 131 feet.
Do not attempt to make any alteration to
The Seashell is a customized water proof
camera case suitable for many different compact
different outside dimensions, zoom lens locations,
power button and shutter button locations.
patent design of Seashell allows users to co
figure the camera case with the following i
struction to match the type of camera you are
using. Or, with a new camera, the same
There are 6 key steps in configuring a Seashel
Confirming the Seashell fits your camera
Loading the Dove Tail Shims
Installing the Actuator Shafts
Loading the Front Spacers
Installing the Foam Pad to the rear housing
Testing the operation of the camera
Before taking further steps to configure the
Seashell, first ensure that the c
fit and function inside the Seashell. Check
the major dimensions and the location of lens,
shutter button to determine
if the Camera is suitable for the Seashell.
To best understand how the camera and Seashel
work together, please read this manual up to
and including page 13. You can then
back to begin with this step.
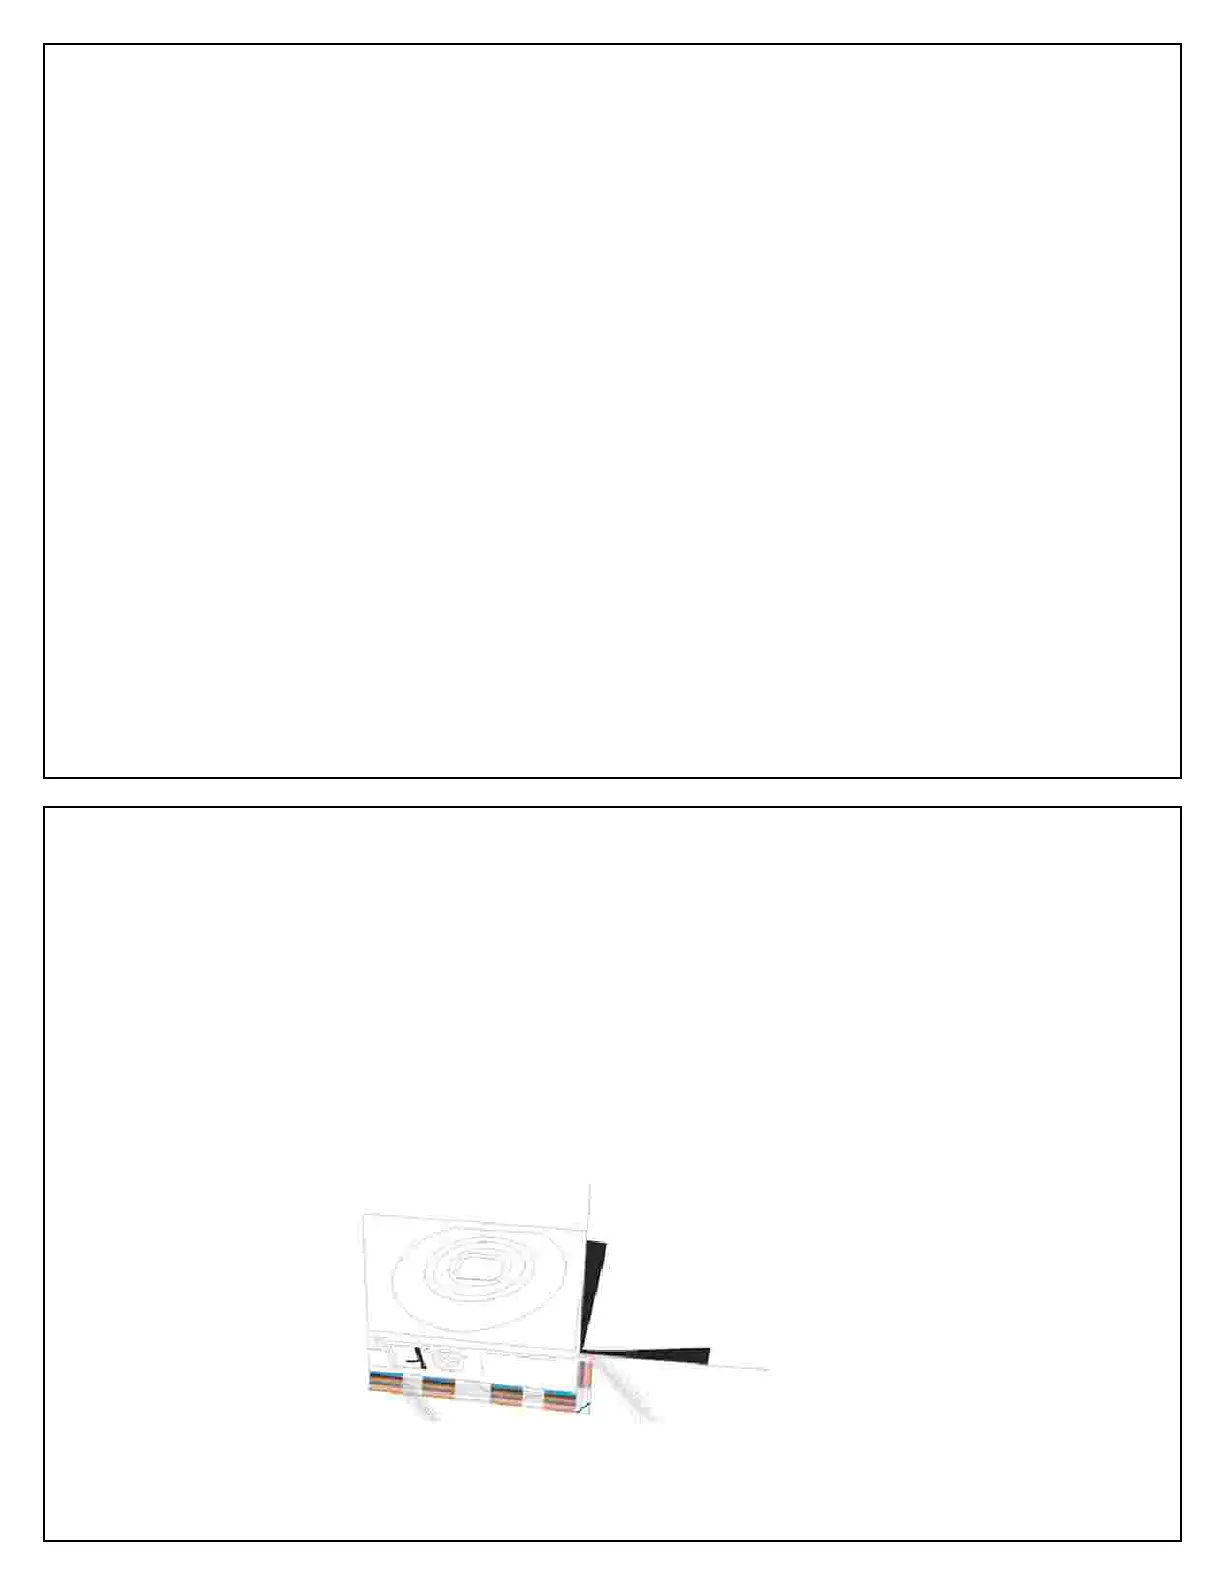
Use the fitting sheet provided. Simply profile
the camera against the fitting sheet to see if
camera’s key features fall within
lines on the sheet. This indicates compatibilit
with the Seashell. Later the fitting sheet can
ne the size of components
required to secure the camera in the housing.
Note: If the camera’s shutter button is only
within reach the of the Seashell’s power Actuator
t, the camera can still be u
Seashell as long as the camera remains
switched on while inside the housing. The
power Actuator may be used for the
place of the shutter Actuator. The auto
feature of the camera must be deactivated.
Ensure the Camera fits the