Attaching the Back Foam Pad onto the
Testing the of the Camera
Follow the measuring procedure from page
12. Then, select the appropriate Back
Foam Pad and start the installation.
Put Seashell camera case on a flat surface
with the rear housing facing up, open the
Put the camera into the front housin
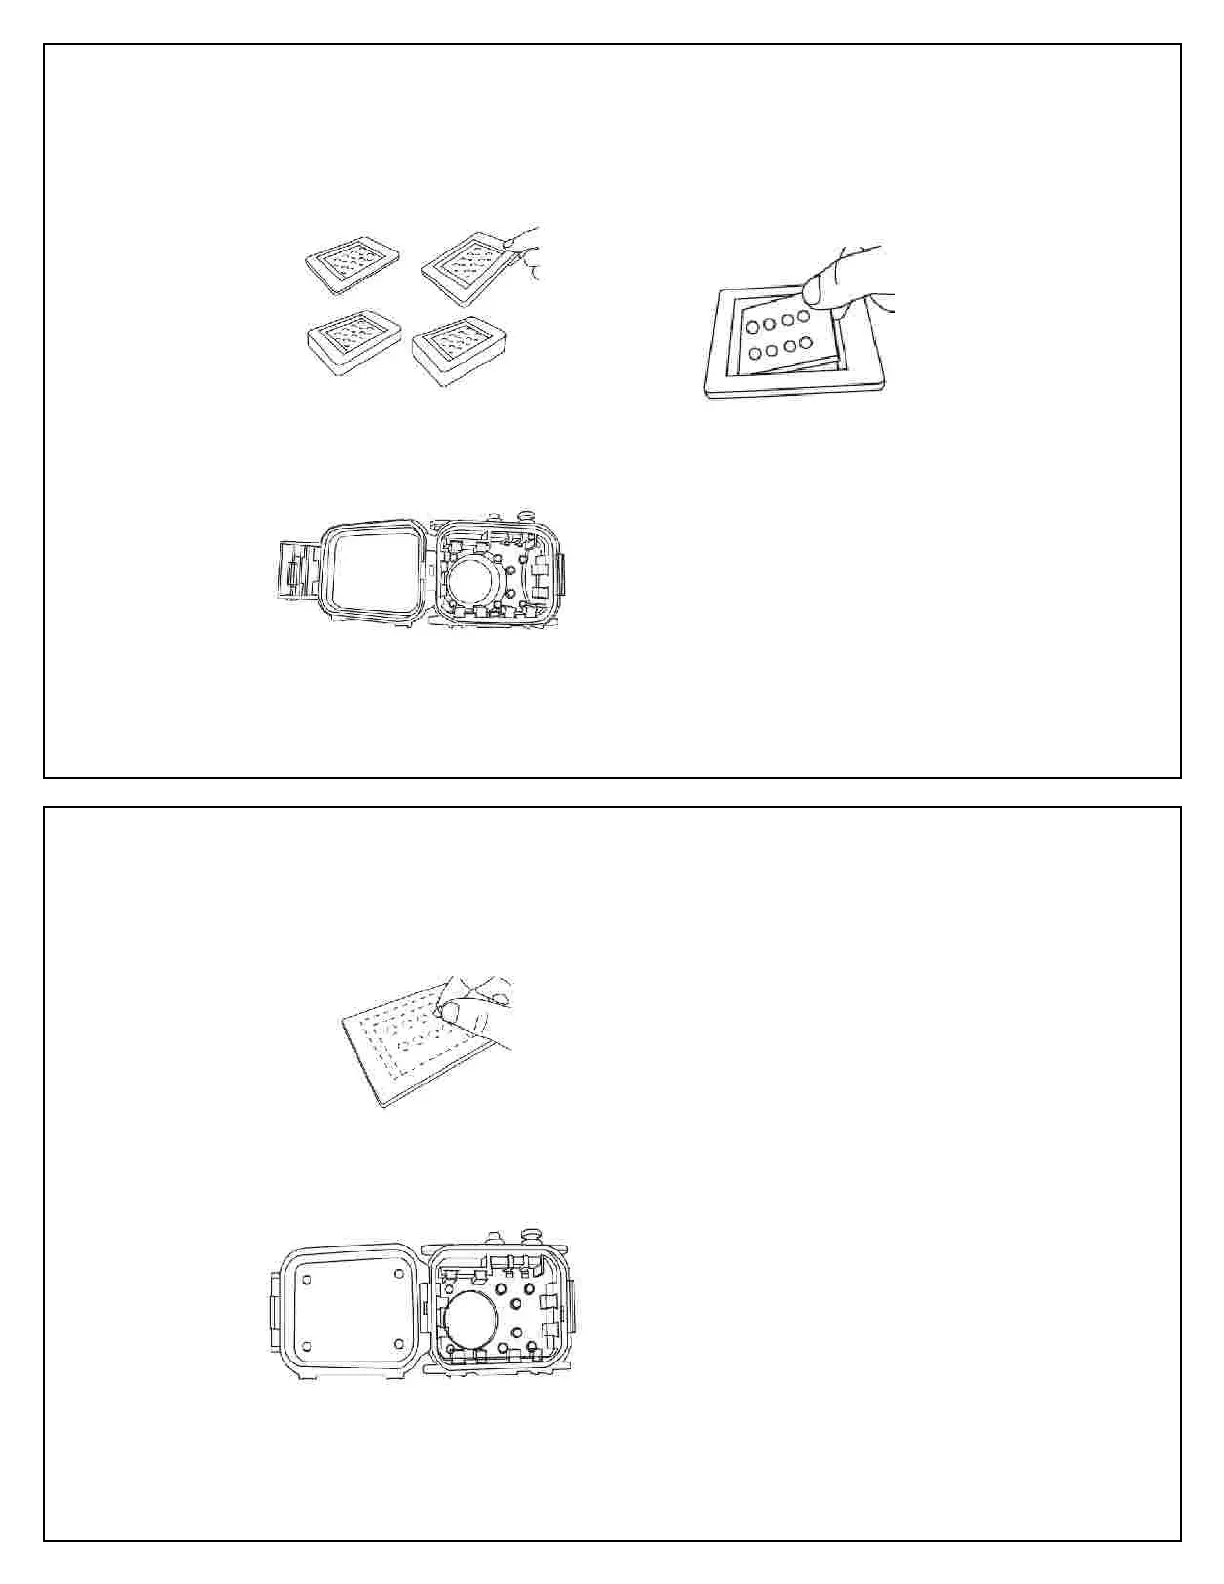
According to the screen size of the camera,
take out the appropriate block from the
Back Foam Pad. If necessary, cut the
to allow access to buttons on
that may be otherwise covered.
Center the Foam Pad, wax paper up, over
the back of the camera to ensure the
Remove the wax paper from the Foam Pad
Close the camera case carefully to “glue”
the Back Foam Pad on the rear housing
e camera case and press the Back
Foam Pad to ensure durable adhesion.
In case a water leak is observed while using
the Seashell camera housing, stop using it,
Failure to do so may cause an electrical or fire
hazard. The camera may also be damaged.
ipe with a cloth or tissue paper
to dry off the camera and the inside of the
housing. Inspect, and apply necessary
Remove round cushions from the unused
remains of the Foam Pad and peel the wax
paper from the round cushions.
Attach the round cushions on the
ing aligned to the four corners or appropriate
places of the camera to hold it properly in
place when the housing is closed
Close the rear housing and lock
Check the operation of the camera.
If necessary, make adjustments to the
Shims, Spacers and Actuator Shafts by