Do you have a question about the Seaward PrimeTest Series and is the answer not in the manual?
Connection points for electrical tests.
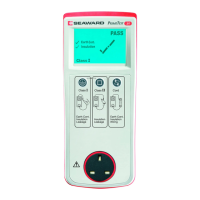
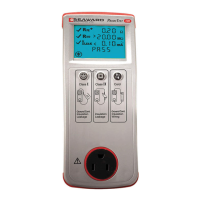
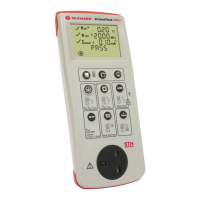
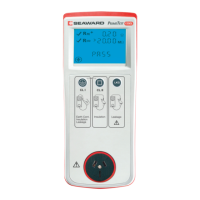
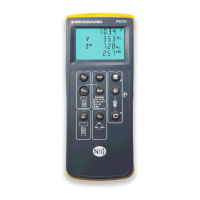
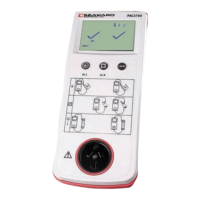
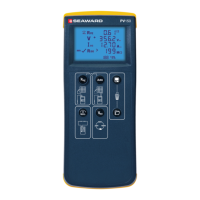
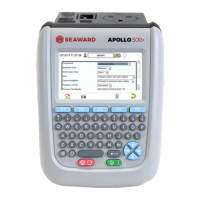
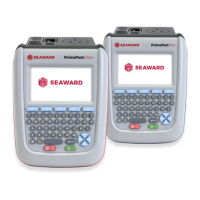
The primary display interface for the instrument.
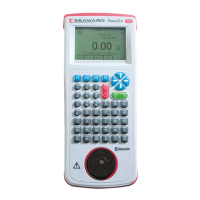
Programmable keys for navigation and commands.
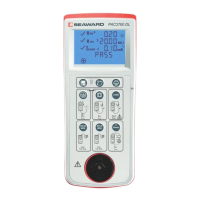
Input method for entering data and text.
Button to halt operations or shut down the instrument.
Button to initiate the instrument or start tests.
Navigation controls for moving through menus.
Socket for connecting the Equipment Under Test.
Standard power input socket for mains connection.
Port for connecting the first test probe lead.
Combined socket for mains power and second probe.
Connection for data transfer or firmware updates.
Port for USB storage devices on specific models.
Firmware update/data storage on certain models.
Integrated camera functionality on Elite+ models.
Access panel for the instrument's battery.
The main portable appliance testing device.
Protective case for transporting the instrument.
Red lead for making connections during testing.
Black lead for making connections during testing.
Short lead to extend IEC power connections.
Power cable for connecting to mains supply.
Cable for transferring data from the instrument.
Document verifying the instrument's calibration status.
This document providing initial setup and usage instructions.
Instructions on how to charge the PrimeTest Series before first use.
Procedure for turning on the instrument and initiating tests.
Procedure for turning off the instrument and stopping tests.
How to navigate to PAT Settings from the Home screen.
Details on the three pages of customizable user preferences.
How to reach the main menu from the Home screen.
Description of available options on menu pages.
How to view stored test data by Site, Location, or Asset ID.
Explanation of function keys in the View Data screen.
How to create, edit, and delete user accounts and set privileges.
Details on changing passwords, creating new users, and copying settings.
Procedure for pairing Bluetooth accessories like scanners and printers.
How to select specific devices from the list for connection.
Steps to set up and pair a Bluetooth printer for label printing.
How to print test labels, including options for logos and QR codes.
Steps to start an electrical safety test using the Auto Mode feature.
Inputting Asset ID, Site, Location, and selecting Test Sequences.
Procedure for completing a test, adding comments, and saving the record.
How to print test labels after a test is completed.
How to find the current firmware version on the instrument.
Step-by-step guide for updating the instrument's firmware.
Links to download user manuals and PATGuard 3 software.
Information on registering the product for warranty activation.
| Earth Continuity Test Current | 200mA |
|---|---|
| Brand | Seaward |
| Category | Test Equipment |
| Display | LCD |
| Power Supply | Battery |
| Test Types | Earth Continuity, Insulation Resistance, Leakage Current |
| Insulation Test Voltage | 500 V DC |
| Resistance Range | 0 Ω |
| Type | Portable Appliance Tester (PAT) |