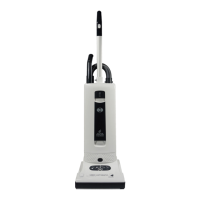
Figure 9
Always disconnect power head from power source before removing any clogs!
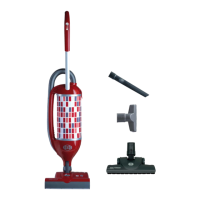
Removing the Brush Roller - Figure 8
To remove the brush roller, press the button marked “PRESS” (10)
and turn the brush roller end cap (7) downward. Turn the brush (19)
slightly to the right and pull it out. We recommend regular removal of
threads and hair which have wound around the brush roller.
Cleaning the Brush Roller
Disconnect power head from power source before attempting to
clean the brush.
The brush should be cleaned regularly. Fibers and hair can be pulled
out of the brush while manually rotating the roller, or the roller can
be removed from the power head to clean it.
Always disconnect power head from power source before dismantling any part of the machine!
!
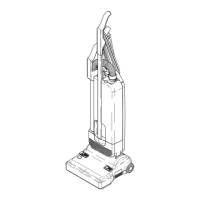
Clogs in the Airflow Pathway - Figure 9
Many clogs can be removed by accessing the airflow pathway via the
orange colored access door (20) located on the underside of the power
head.
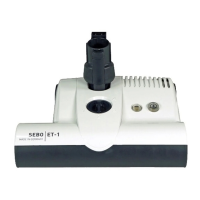
Clogs in the Swivel Neck - Figure 10
Check the swivel neck regularly for blockages. Do not open the
machine. To check for a clog in the swivel neck (3), remove the tele-
scopic tube by pressing the release button (9). Pull the tube out of the
swivel neck. Push the obstruction down the neck with a stick or long
screwdriver and remove it through the orange access door (#20, fig-
ure 9).
Figure 8
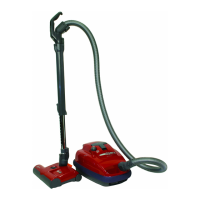
For clogs not in the power head, please refer to your canister vacuum
or central vac unit owner’s manual.
!
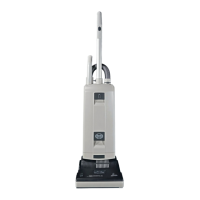
Brush Roller ET-1
12-inch
Part #5010AM
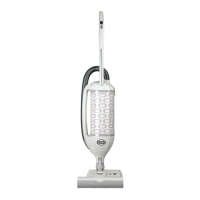
Brush Roller ET-2
15-inch
Part #2838AM
CLOG REMOVAL
 Loading...