● When inserting, please ensure that the film is inserted straight to prevent warping during
transport of the film. Inserting a film even a few millimeters off angle can result in significant
deviation of the film when processing large cut jobs.
● You may insert the film into the device at any point, provided the pressure roller is in the
area of the black and white rectangles on the crossbar.
● Fixate both pressure rollers by flipping the clamping lever on the rear right side of the
device.
● The contact pressure can be changed by tensioning the springs on the individual pinch
rollers, should this be necessary.
Cutting test
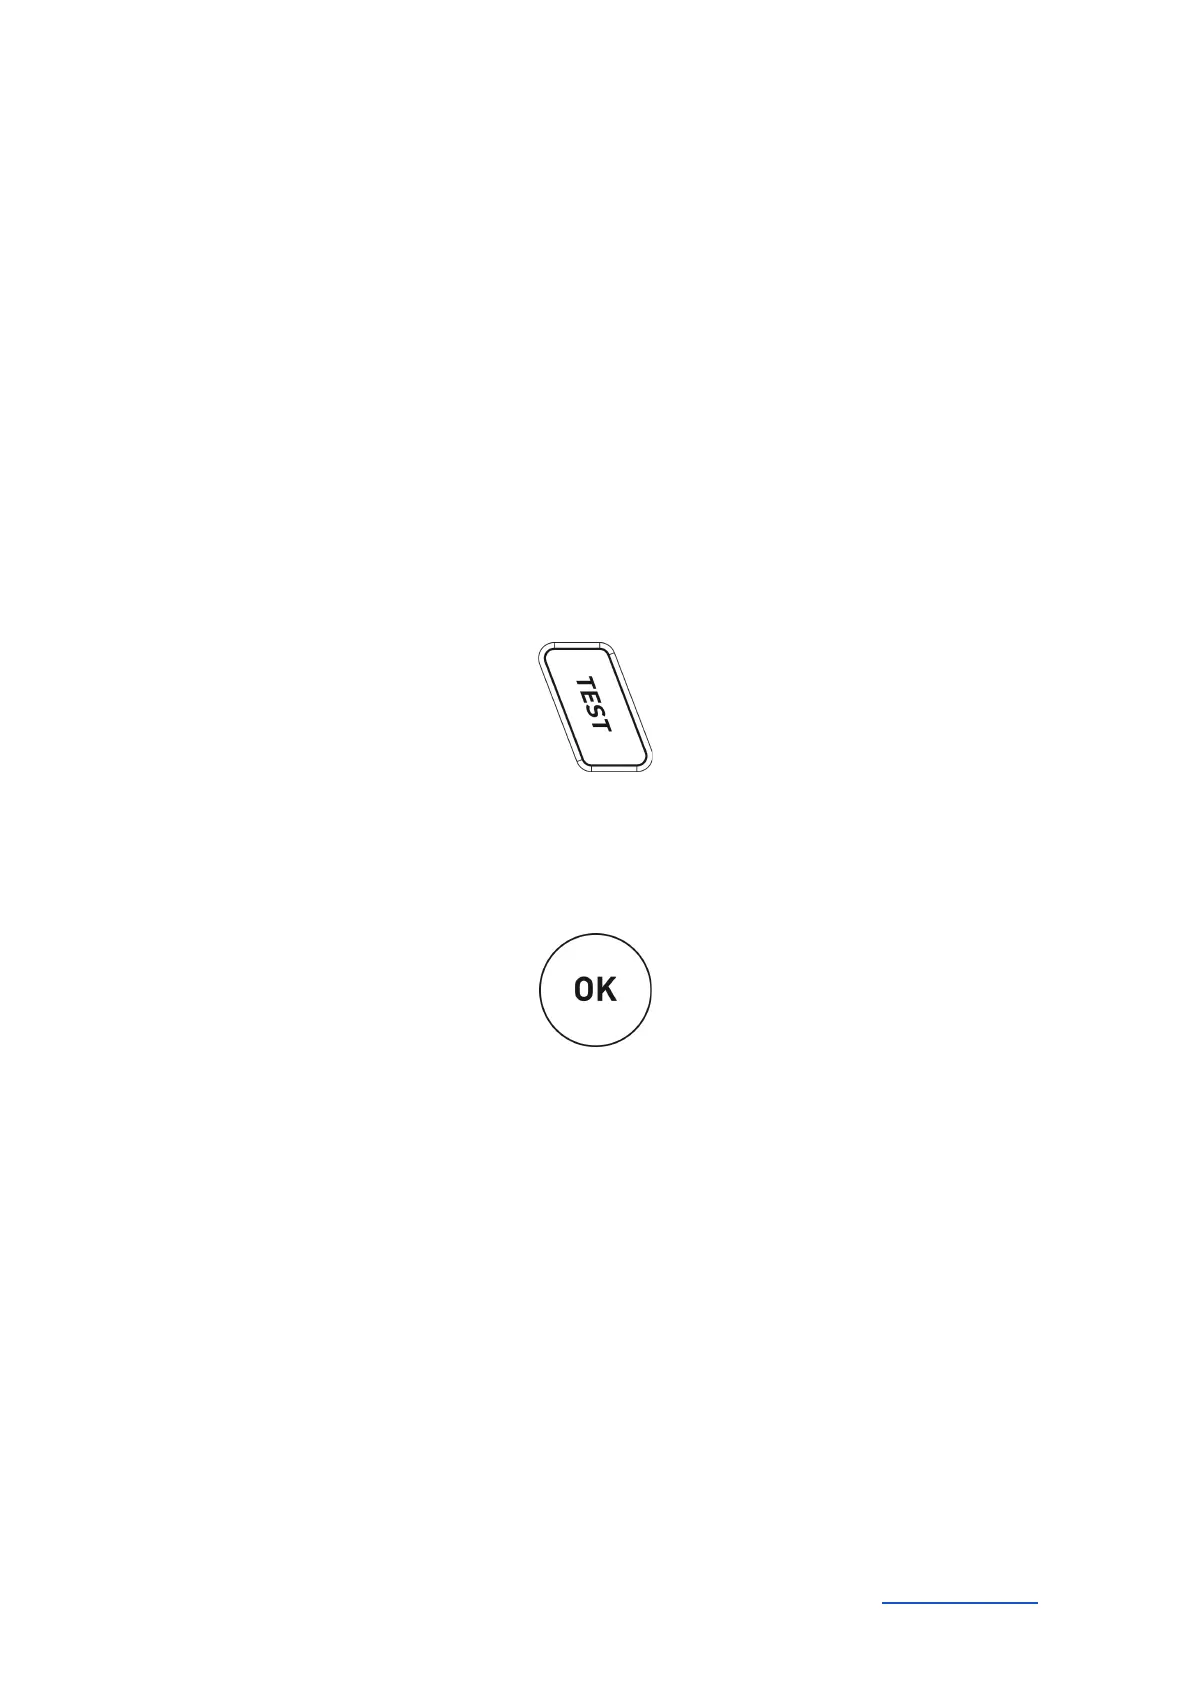
● Execute the cutting test by clicking the „Test“ button. The vinyl cutter will cut a triangle with
a rectangular border into the inserted film/vinyl at the currently saved zero point.
Afterwards, the vinyl cutter will move the film up by 20 cm, so that you can easily check the
test cut.
● You can check the adjustment of the blade holder as well as the contact pressure with this
cutting test. The inserted material should be cut cleanly and straight during the cutting test;
the carrier material should not be damaged.
● After reviewing the test cut, press "OK" to move the film back to the zero point.
● If the carrier material has been cut through, either the contact pressure is set too high or the
blade or blade holder are set incorrectly. Change these settings and perform the cutting test
again.
● Also readjust if the vinyl was cut imprecisely or to an insufficient depth.
The first cut job
● Start the cutting software DrawCut LITE.
● Create a logo or a graphic using the text tool and click on the knife holder icon in the menu
bar above.
● The menu "Send to cutting plotter" appears, click on "Cut" in the lower right section of the
window.
● Now, the "Vinyl Spooler" opens and displays a preview of the cut job on the right side. Now
click on "Cut" and confirm the question with "Yes".
● Start the cutting process!
Secabo GmbH Hochstatt 6-8 85283 Wolnzach Germany mail@secabo.com www.secabo.com
11