Do you have a question about the Sega MARIO & SONIC AT THE RIO 2016 OLYMPIC GAMES and is the answer not in the manual?
| Brand | Sega |
|---|---|
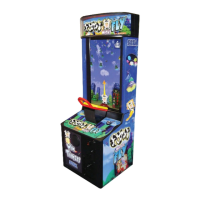
| Model | MARIO & SONIC AT THE RIO 2016 OLYMPIC GAMES |
| Category | Arcade Game Machines |
| Language | English |
Explains warning labels on the product for safety and accident prevention.
Covers electrical specifications, wiring, and breaker requirements for safe operation.
Specifies minimum entrance dimensions and required space for operation.
Outlines safety checks and procedures to perform before operating the product.
Guidelines for monitoring players and ensuring safe operation during gameplay.
Step-by-step guide for securely positioning and stabilizing the main cabinet.
Instructions for attaching the billboard assembly to the main cabinet.
Detailed steps for assembling the floor unit components.
Procedures for connecting the assembled floor to the main cabinet.
Instructions for connecting the power supply and other necessary cables.
Steps for connecting multiple cabinets for networked gameplay.
Configuration options for game settings, coin acceptance, and volume.
Step-by-step guide for safely removing and replacing a lever button.
Instructions for safely disassembling and replacing the game lever assembly.
Procedures for cleaning the coin selector mechanism and its parts.
Troubleshooting guide for common coin acceptor faults and their causes.
Instructions for configuring game prices using the Excel Credit Board.
Step-by-step procedure for safely replacing the floor mat.
Instructions for replacing the left and right side foot pressure sensors.
Procedures for replacing jump sensors, including transmitter and receiver pairs.
Steps for diagnosing and resolving issues without error messages.
Safety guidelines for handling the IC board, including static discharge.
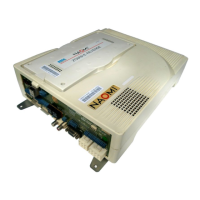
Instructions for locating and safely removing the Nu1.1 game board.
Step-by-step guide for replacing the Nu 1.1 game board.