
S
Stephanie SchaeferAug 4, 2025
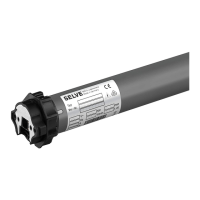
Why Selve SE Plus 1/6 Engine motor does not work?
- TtsanchezAug 4, 2025
If your Selve Engine motor isn't working, there could be a couple of reasons. First, check the electrical connection to ensure it's properly connected. Second, the thermal protection switch might have been activated. If this is the case, wait for 5 to 20 minutes to allow the switch to reset.