Page 3 of 8
Doc 6001051, Rev C
2 – Mounting the Cabinet
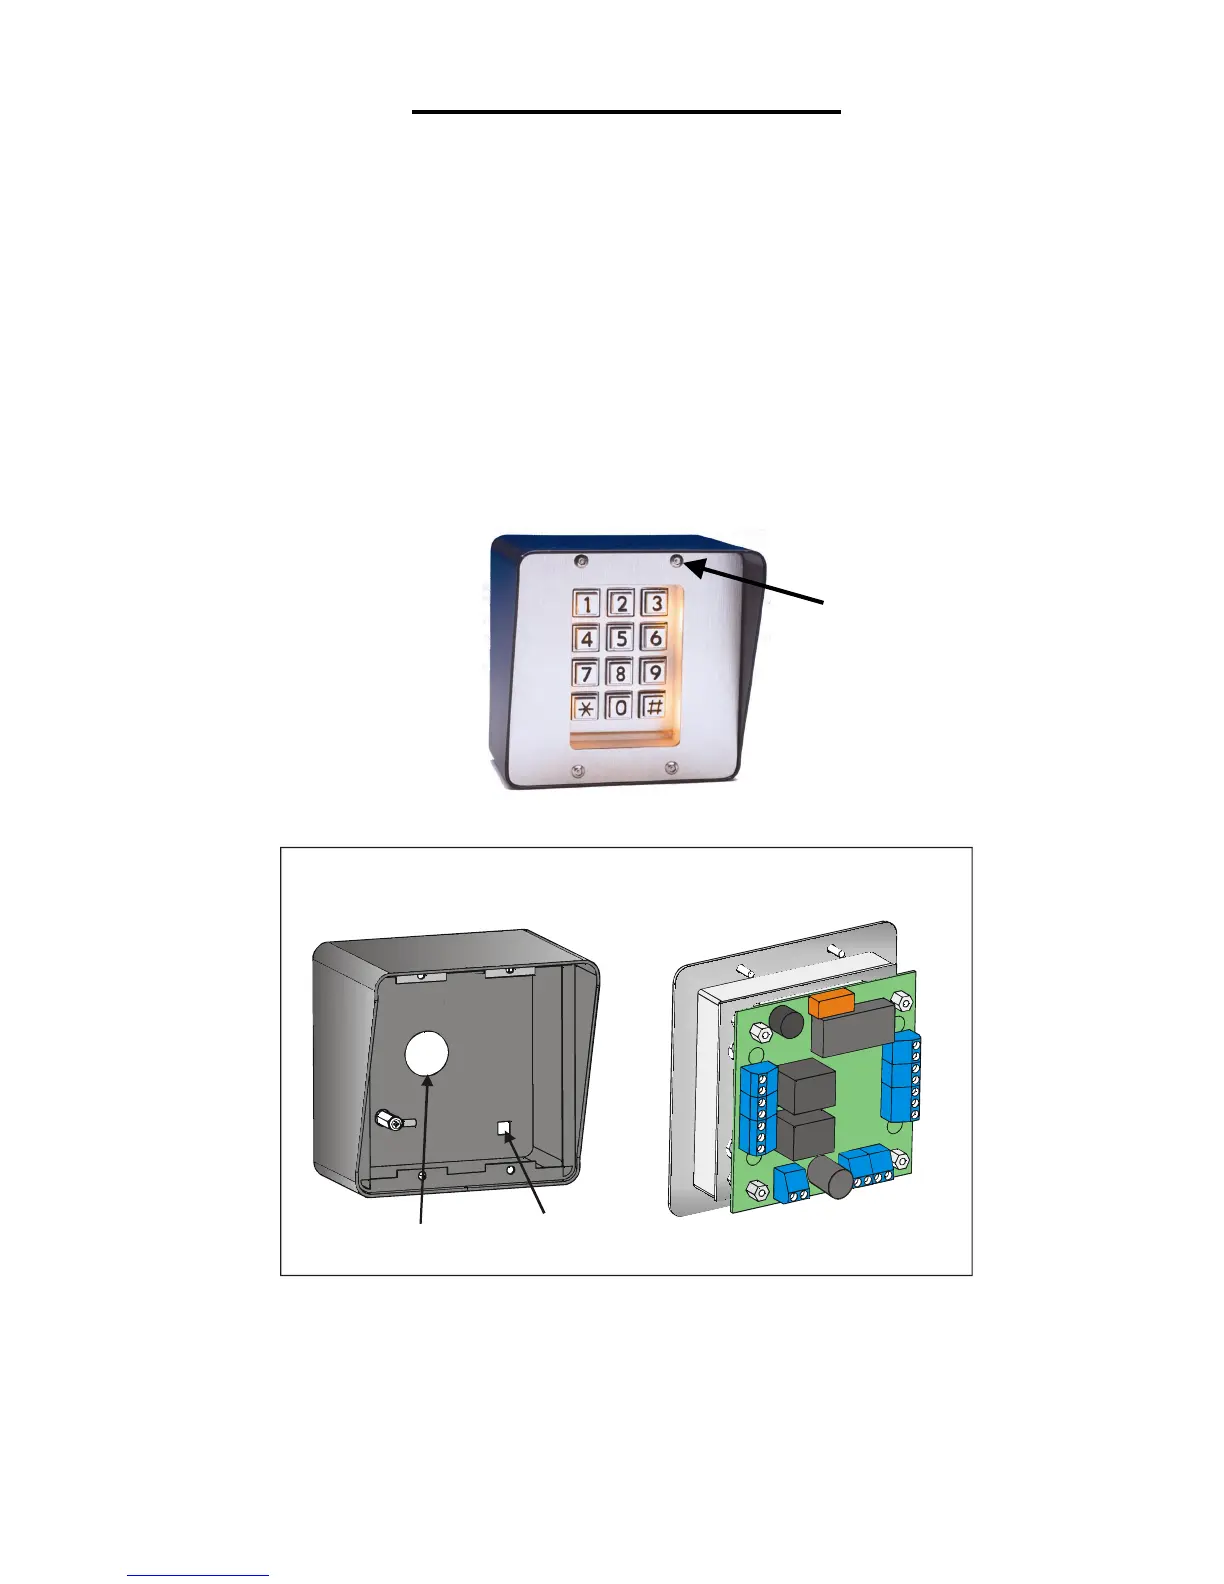
1. Remove the four (4) screws from the Mini-Key’s front panel with the provided hex tool. Carefully remove
the keypad and the boards from the cabinet and set aside onto a static-free surface.
Discharge any static that you may have built up before handling the board.
2. Use the knockout (back of enclosure) to run wires into the cabinet.
If the installation does not allow you to run the wires through the knockout, drill a 7/8” diameter hole
through the bottom of the enclosure to accommodate a 1/2" conduit. Be sure to securely connect the
conduit to the unit. Note: Wires run through the bottom of the enclosure will be more prone to tampering
or vandalism.
3. Securely mount the unit on the wall or pedestal. Mounting hardware is provided if you are using Sentex's
pedestal mount post. Do not put the keypad and the circuit board back into the cabinet until all connections
are made as described in the following sections.
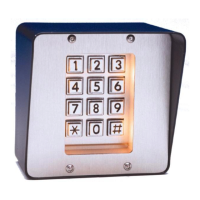
Figure 3: Mini-Key Unit
Mini-Key Enclosure
Mini-Key Keypad
& Circuit Board
Knockout
Mounting
Hole (4)
1051F2
Figure 4: Mini-Key Enclosure and Keypad
Front Panel
Screw (4)