14 — 20626704 B
Step 3: Connect the Oxygen Supply Tubing or Nasal
Cannula to the Oxygen Outlet
Replace the cannula and oxygen supply tubing regularly, as recommended by
your home care provider. Consult your home care provider for cannula and
supply tubing cleaning and replacement information.
Note: Ensure the cannula is fully inserted and secure. This ensures that the
Oxygen Concentrator can properly detect inspiration for oxygen delivery.
During inhalation, you should hear or feel oxygen flow to the prongs of
the nasal cannula.
Step 4: Select the Flow Mode
Press the Flow Mode button to select the desired mode. Pressing
this button repeatedly will toggle you back and forth between
Pulse Dose Mode and Continuous Flow Mode. The proper
mode and proper setting should be prescribed for you by your
physician.
Continuous Flow Mode Operation:
When operating in the Continuous Flow Mode, a continuous
supply of oxygen measured in liters per minute (LPM) will ow
through your tubing and nasal cannula.
Pulse Dose Mode Operation:
When operating in Pulse Mode, a bolus of oxygen, measured in
milliliters (mL), is delivered upon inspiration. DO NOT use a
humidier in the Pulse Dose Mode.
To ensure proper saturations, secure a prescription for pulse dose
from your physician with consideration to your needs at rest,
during exercise, and when traveling at altitude. Contact your care
provider for prescription and boarding forms.
When operating in pulse dose mode, the Eclipse supplies a
continuous ow of oxygen if a breath is not detected. The device
will continually check for an inspiratory effort every 15 seconds.
Once an inspiration is detected, the device reverts to measured
bolus delivery. To exit Pulse Dose Mode and engage Continuous
Flow Mode, push the ow mode button.
First Time Eclipse Operation
Step 1: Positioning Your Eclipse for Use
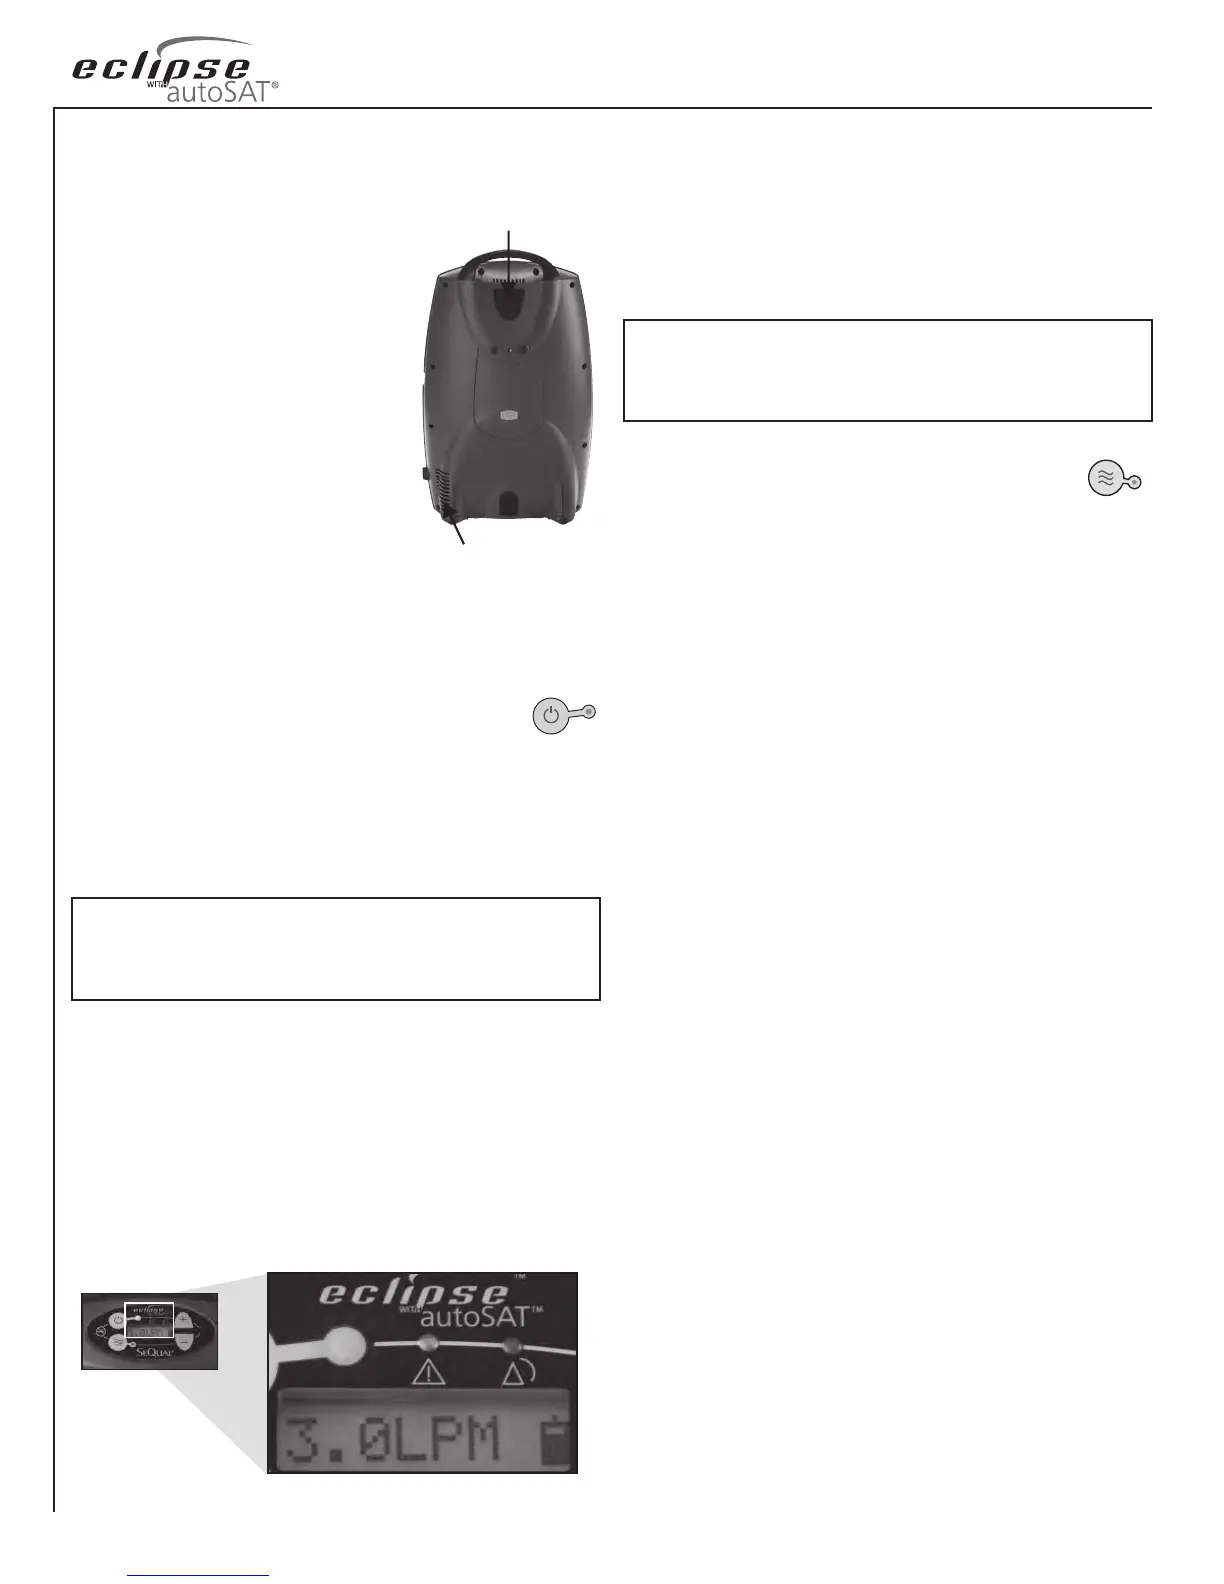
Place the Eclipse in a well-ventilated, well
lit area. Be sure the air inlet and exhaust
vents are not obstructed.
Position the Eclipse so that all audible and
visual indicators or alarms can be easily
seen and heard.
Be sure the air inlet lter is in place before
operating your Eclipse. If the air inlet
lter is missing, contact your home care
provider. If the air inlet lter is dirty, wash
with warm soapy water, rinse with clear
water and allow it to dry before placing
the air inlet lter back in the device. If
necessary, replace it with a new, clean air inlet lter.
Plug the device into a grounded AC Power outlet, a DC Power
source, or be sure there is a fully charged Battery installed.
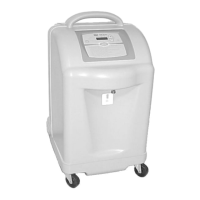
Step 2: Power ON the Device and Allow it to
Warm-Up
Press and hold the “ON/OFF” Button for two (2) seconds to
power ON your Eclipse. A brief audible and visual power-on self-
test will occur. Verify that all the power verication indicators
are illuminated and that a buzzer sounds to indicate the device is
operating properly.
Exhaust Vent
Air Inlet Filter
The Eclipse has an oxygen concentration status indicator
(OCSI) built in to the device. The OCSI continually monitors
the oxygen output of the device and incorporates a green light
(normal), yellow light (alert), red light (alarm) and a buzzer.
These indicators will all illuminate during the power-on self-test
at start-up. After initially powering ON the device, please allow
up to ve (5) minutes for the device to reach its performance
specications. When only the green indicator light is illuminated,
the device has reached its performance specications.
Note: If there are three beeps at start-up, this indicates a low battery
condition for the 9-volt battery inside the cabinet of the Eclipse. Please
contact your home care provider and request that the 9-volt battery be
replaced.