26
GB
1. Press the “ ” button for 2 seconds. You will see “ ” and “ ”
ashing on the display.
2. Press the “
” button.
→ : Blooming function switched on
→
: Blooming function switched off
→ Wait a few seconds. The most recent option displayed will be
applied.
TIP
The display switches off 5 minutes after making cof-
fee or, if coffee is not made, 1 minute after the last
entry. To switch it on again, press the “ ” button.
TIP
You can interrupt the brewing function at any time
by pressing the “ ” button. Water remains in the
water tank when you interrupt the brewing function.
Empty the water tank by removing the disposable
coffee lter or permanent lter from the lter insert,
placing the empty vacuum jug into the device and
continuing operation after pressing the “ ” button
followed by the “ ”.
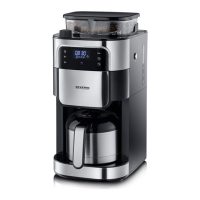
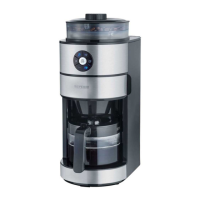
5.1 With coee beans
CAUTION!
Make sure that the water tank is closed when lling
the bean container to prevent the obstruction of the
water system with coffee beans.
1. Remove the bean container lid.
CAUTION!
Do not use unroasted, caramelised or sugar-coated
coffee beans.
2. Add no more than 200 g of coffee beans to the bean container.
3. Replace and rmly press down the lid.
4. Press the “OPEN” button on the side of the appliance to open the swing-
out lter.
5. Place the lter insert in the swing-out lter.
6. Place a disposable coffee lter in the lter insert.
TIP
You can also use the permanent lter instead of a
disposable coffee lter.
7. Fit the lter ring onto the lter insert.
8. Close the swing-out lter.
9. Remove the vacuum jug.
TIP
Fill the vacuum jug only up to the required number
of cups as all the water is used for brewing. One cup
is approx. 125 ml.
10. Fill the vacuum jug with cold tap water up to the required number of cups.
11. Open the water tank.
12. Pour the water into the water tank until it reaches the desired amount of
cups.
13. Empty out residual water inside the vacuum jug.
14. Place the vacuum jug with lid into the device.
 Loading...