27
GB
15. Plug the power plug into the socket. Press the “ ” button.
 The appliance switches on automatically. The time and the current
settings are shown on the display.
16. Press the “
” button to set the number of cups matching the amount
of water.
17. Press the “
” button to set the strength of the coffee:
•
: mild
• : medium
• : strong
18. Press the “ ” button.
 The “
” and “ ” buttons will light up. The appliance starts the
brewing process by initially grinding the coffee beans. The “ ”
symbols appears on the display when the appliance starts brewing
the coffee.
19. Wait until the appliance beeps 3 times and the “
” symbol goes out.
 The coffee is ready. Push down the ap on the jug lid in order to
pour out coffee.
Adjusting the grind
CAUTION!
Adjust the grind only while the appliance is grinding
the coffee beans otherwise the grinder may be
damaged.
TIP
A ne grind is recommended for a light roast and a
coarse grind for a dark roast. The roast is normally
printed on the coffee packaging.
1. Prepare coffee with coffee beans, ►“5.1 With coffee beans” on page
26.
2. Wait until the appliance grinds the beans.
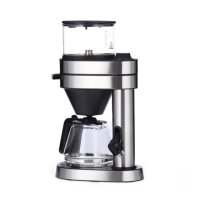
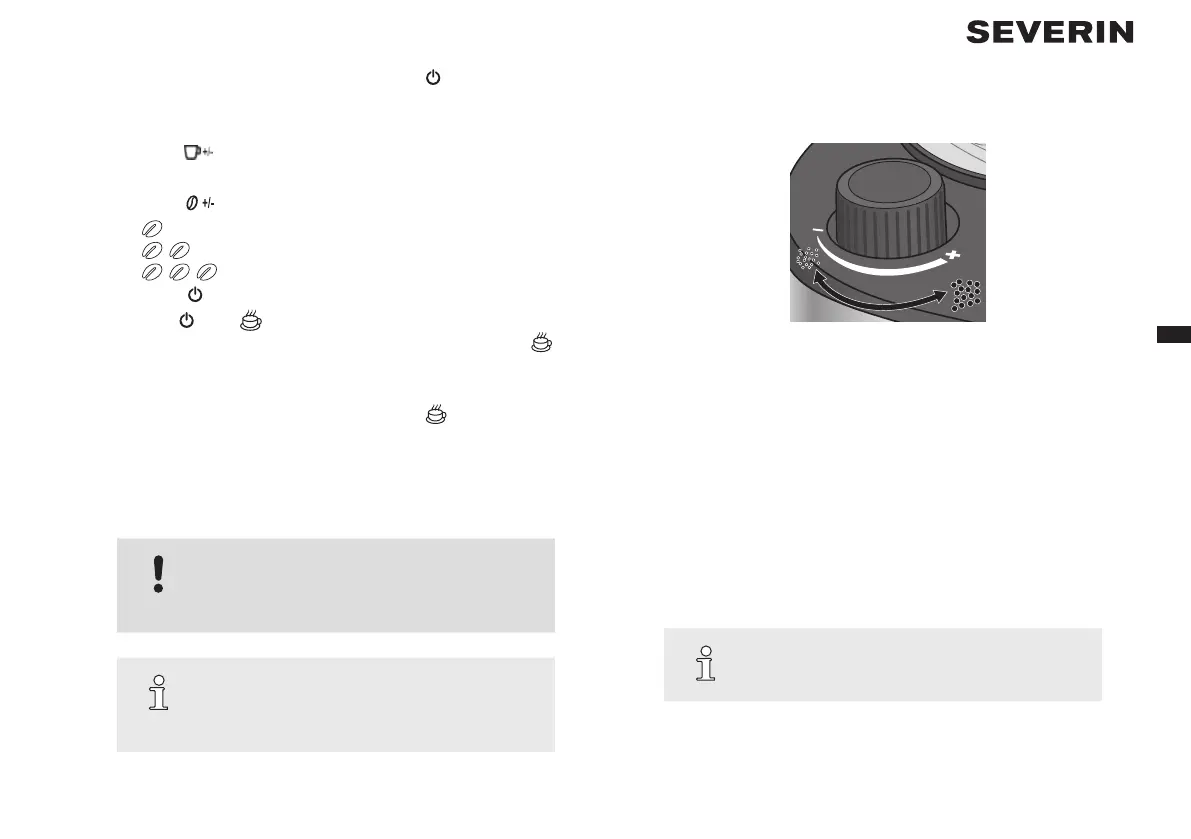
Fig. 2: Adjusting the grind
3. Set the grind regulator to the required grind.
• Turn the regulator clockwise towards “–” to grind the coffee ner.
• Turn the regulator anticlockwise towards “+” to grind the coffee
coarser.
5.2 With ground coee
1. Press the “OPEN” button on the side of the appliance to open the swing-
out lter.
2. Place the lter insert in the swing-out lter.
3. Place a disposable coffee lter in the lter insert.
TIP
You can also use the permanent lter instead of a
disposable coffee lter.
4. Add the ground coffee to the disposable coffee lter. Use the supplied
measuring scoop for this purpose. Refer to the following table for
the required amount:
 Loading...