Do you have a question about the Shark AI Ultra RV2502AE and is the answer not in the manual?
Attach side brushes to the robot and remove protective film.
Place base on bare floor near wall, away from obstacles, plug in.
Place robot on base for 6 hours; check charging indicator.
Clear cords, small obstacles, and open interior doors.
Unlock features like UltraClean Mode, Scheduling, and No-Go Zones.
Check dust bin fill level and understand robot's threshold climbing.
Steps to restart phone, robot, or router for Wi-Fi connection issues.
Solutions for common error codes like brushroll blockages, stuck wheels, or cliff sensors.
Solutions for battery low indicator and dust bin blockage.
Establish no-go zones for safety and avoid putting hands into openings.
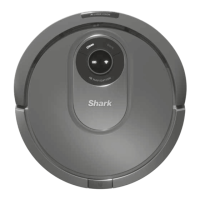
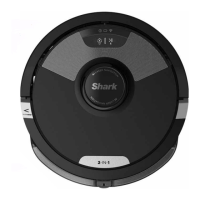
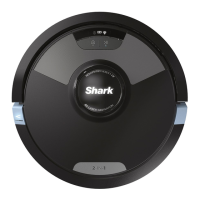
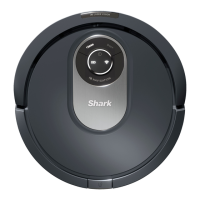
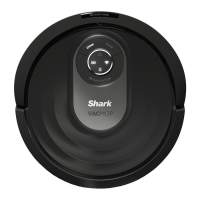
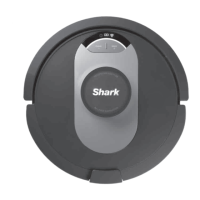
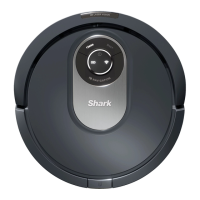
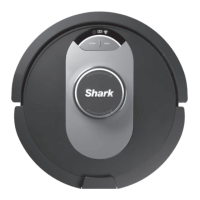
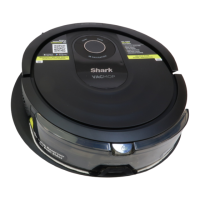
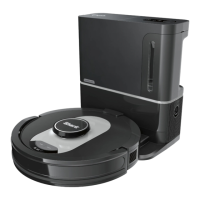
This document outlines the setup, usage, and maintenance of a robotic vacuum cleaner, designed to simplify home cleaning through automated operation and smart features. The device, referred to as "robot" throughout the manual, is equipped with side brushes for thorough cleaning and a self-empty base that significantly reduces the frequency of manual dustbin emptying.
The primary function of this robot vacuum is to autonomously clean floors in your home. It navigates through rooms, picking up debris and dust, and then returns to its self-empty base to deposit the collected dirt. This base also serves as the charging station for the robot. The device is designed to operate with minimal human intervention once set up, offering features like scheduled cleaning, spot cleaning for targeted areas, and the ability to define "No-Go Zones" to restrict access to certain areas.
The robot utilizes a mapping feature to understand the layout of your home, which is crucial for efficient cleaning and for implementing advanced features like room selection. This mapping capability allows the robot to navigate systematically, ensuring comprehensive coverage. The self-empty base is a key component, automatically transferring debris from the robot's internal dustbin into a larger bag within the base, which can hold up to 60 days of debris under normal usage. This automation minimizes the need for frequent manual emptying, enhancing convenience.
The robot is designed to handle various floor types and can climb over most thresholds, although thresholds higher than 0.75 inches may require a "No-Go Zone" to prevent the robot from getting stuck. Its cleaning process is optimized through features like "UltraClean Mode™" for a more thorough clean and "Room Select" for cleaning specific areas of your home. The device is also equipped with sensors to detect cliffs and obstacles, preventing falls and collisions.
Setting up the robot involves a few straightforward steps. First, protective film must be removed from both the robot and its self-empty base. The side brushes need to be attached to the posts on the bottom of the robot. The self-empty base requires a permanent location in a central area of your home with a strong Wi-Fi signal. It's important to ensure there are no objects within 3 feet of either side of the base or within 5 feet of its front to allow the robot unobstructed access. The base should be placed on a bare floor against a wall and plugged into an outlet, with its power switch in the "ON" position.
Initial charging of the robot is crucial and takes approximately 6 hours. The robot should be placed on the base, ensuring it is properly aligned with its back against the base. A charging icon on the top right side of the base and a battery icon on the robot will illuminate to indicate proper alignment and charging. To turn on the robot, it can be placed on the base or the CLEAN button can be pressed and held for 5 to 7 seconds until indicator lights turn on.
Before initiating cleaning, it's recommended to prepare your home by clearing cords and removing small obstacles like clothing or toys that are less than 3.5 inches tall. Opening interior doors in rooms you want cleaned will allow the robot to access those areas.
The full potential of the robot is unlocked by downloading the SharkClean™ app. This app provides access to advanced features such as "UltraClean Mode™", spot cleaning, scheduling, "No-Go Zones", and room selection. The app also facilitates connecting the robot to your home Wi-Fi network, which is essential for smart control.
During cleaning, it's important not to pick up or move the robot, or move the charging base, as this can disrupt the robot's ability to map your home accurately. If the robot encounters an issue, the manual provides troubleshooting steps based on error codes indicated by the robot's lights. For example, a red flashing CLEAN light might indicate a brushroll blockage, while a red flashing DOCK light could signal a stuck side brush.
The robot is designed to be user-friendly, with visual indicators for charging status and error conditions. The base power indicator icon illuminates when the base has power, and the charging icon on the base, along with the battery icon on the robot, confirms that the robot is properly charging.
Regular maintenance is key to ensuring the robot's optimal performance and longevity. The self-empty base is designed to hold up to 60 days of debris, but during initial use or if the robot is picking up more debris than usual, the fill level should be checked more frequently. The manual advises checking the fill level regularly to know when to empty the base.
Troubleshooting steps are provided for common issues, many of which involve clearing blockages. For instance, if the CLEAN light is red and alternating with a red exclamation mark, it indicates a brushroll blockage. The solution involves removing any debris from around and inside the brushroll to allow it to spin freely. Similarly, if the DOCK light is red and flashing with a red exclamation mark, it suggests a stuck side brush, requiring debris removal from around the side brushes.
Drive wheel blockages are indicated by a red flashing CLEAN, DOCK, and exclamation mark. In this case, the wheels need to be cleaned, and any debris wrapped around the axles should be removed. A red flashing DOCK light alone might signify a jammed front bumper, which requires cleaning the bumper and ensuring it moves freely.
Cliff sensor errors, indicated by a red flashing CLEAN and DOCK light with a white exclamation mark, require moving the robot to a new location and cleaning its cliff sensors. If the robot is stuck on an obstacle, indicated by a red flashing CLEAN light, it should be moved to a new location on a level surface.
Battery-related issues, such as a critically low battery, are indicated by a red flashing BATTERY ICON. The solution is to place the robot on the base to recharge, ensuring the charging indicator on the base illuminates. If there's a blockage in the dustbin, indicated by a red flashing DOCK light and a solid red exclamation mark, both the base and robot dustbins should be checked for clogs, and any debris cleared before reinstalling the dustbin, ensuring it clicks into place.
The manual also provides guidance for Wi-Fi connectivity issues, recommending restarting the phone, rebooting the robot, and rebooting the router. These steps help re-establish the connection between the app, robot, and home network.
For ongoing support and information, users are directed to contact customer service or visit the manufacturer's website, where how-to videos, FAQs, and additional troubleshooting tips are available. This comprehensive support system ensures that users can maintain their robot vacuum effectively and resolve any issues that may arise, contributing to a seamless cleaning experience.
| Model | RV2502AE |
|---|---|
| Category | Vacuum Cleaner |
| Self-Emptying | Yes |
| App Control | Yes |
| Battery Life | Up to 120 minutes |
| Type | Robot Vacuum |
| Wi-Fi Connectivity | Yes |
| Mopping Function | No |
| Auto-Recharge | Yes |
| Navigation | LIDAR |
| Cleaning Modes | Auto, Spot |
| Voice Control | Yes (Alexa, Google Assistant) |