4 TOLL FREE: 1-800-798-7398 5www.sharkclean.com
IMPORTANT:
For suction to reach the Floor
Power Nozzle, the Cleaning
Wand and Super Stretch Hose
must be attached securely on
the vacuum body.
10 To carry the vacuum:
With the unit in the standing
position, lift by the Dust Cup
Handle.
CAUTION: When lifting or
carrying, DO NOT press Dust
Cup Assembly release button.
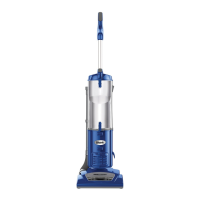
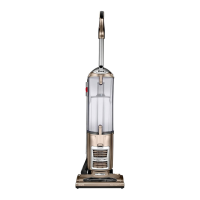
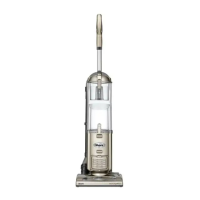
FIRST THING’S FIRST, YOU
NEED TO KNOW WHAT’S IN THE
BOX YOU JUST OPENED:
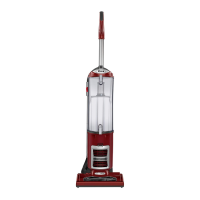
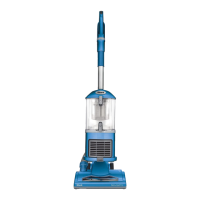
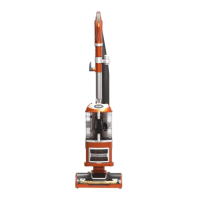
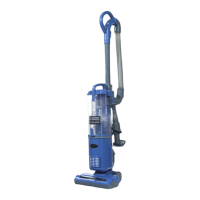
A Vacuum Body
B Floor Power Nozzle
C Handle Assembly
D Super Stretch Hose
E Cleaning Wand
F Pet Hair Power Brush
G Cleaning Attachments
H 24” Crevice Tool
I Extended Reach Kit
J Accessory Bag (not shown)
*
Note: Optional tools are available for sale
for any UV410 model: 1-800-798-7398.
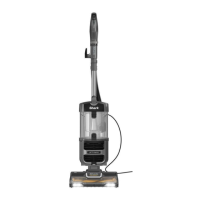
Getting Started
Your Shark
®
Navigator
™
Upright is easy to assemble:
1 Lay your vacuum body on a
level surface.
2 Slide the electrical connection
from the power nozzle into the
main body to click into place.
3 Connect the hose from the main
body to the power nozzle; push
with a slight turning motion to
create a snug fit.
4 Slide the handle assembly
into the upright unit aligning
the hose hook on the handle
assembly with the power cord
hooks on the back of the unit.
5 Secure the handle assembly in
place with included nut/bolt
(shipped attached to handle
assembly).
6 Place the vacuum in the upright
position.
7 Store the Crevice Tool, Dusting
Brush and Cleaning Wand on
the unit.
8 Attach the Super Stretch Hose:
a) Snap hose into swivel
connector
b) Route under anti-tip hook
c) Route over upper hose
holder
d) Press securely onto cleaning
wand
IMPORTANT:
To prevent vacuum from
tipping, secure hose under the
anti-tip hose hook.
9 To store the vacuum:
When storing your vacuum,
wind the cord around the two
cord holders and secure with
cord clip:
• Quick Cord release at the
top of the unit – place in the
upright position.
• Cord holder near the base –
turn it until it is pointing down.
To release the cord, turn the Quick
Cord release to the left or right.
Store the Extended Reach Kit,
the Pet Hair Power Brush and
the 24" Crevice Tool in the
accessory bag when not in use.
A C
c
E
4
5
3
7
8 9
2
G
H
B
F
D
d
b
a
I
 Loading...