Do you have a question about the Sharp Accu-Set SPC1010ODX and is the answer not in the manual?
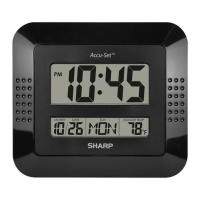
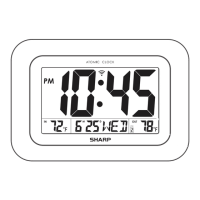
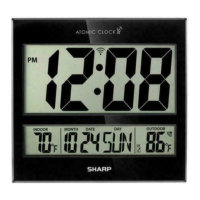
The primary screen for displaying time, date, and temperature.
Design feature allowing the clock to be hung on a wall.
Button used to advance settings or switch between 12/24 hour display.
Button used to initiate and confirm time setting adjustments.
Button used to initiate and confirm calendar setting adjustments.
Compartment housing the CR2032 battery for time memory backup.
Compartment for the 2 AA/LR6 batteries that power the clock.
Button used to decrease settings or switch temperature units (°C/°F).
Integrated stand for placing the clock on a flat surface.
Switch to select the appropriate time zone for accurate time display.
Button used to reset the clock to its initial mode, often via a pinhole.
Button to enable or disable the Daylight Saving Time function.
Slide Time Zone switch, enable DST if applicable, and insert batteries.
Use TIME SET, UP, and DOWN buttons to adjust hours and minutes.
Use CAL. SET, UP, and DOWN buttons to adjust year, month, and date.
Shows indoor temperature, switchable between Celsius and Fahrenheit.
Toggle between 12-hour and 24-hour time format.
Clock automatically adjusts for Daylight Saving Time if enabled.
Replace CR2032 lithium battery (approx. 3-year life) for time memory.
Clean with a soft cloth; avoid harsh cleansers and water exposure.
Use a pin to press the RESET hole to return the clock to initial mode.
Equipment complies with Class B digital device limits for radio frequency energy.
Toll-free number and hours for customer assistance.
Covers defects in materials and workmanship for one year from purchase date.
The SHARP SPC1010ODX Accu-Set Digital Wall Clock is a versatile timepiece designed for indoor use, offering both wall-mount and table-stand options. It features an LCD display that shows time, date, day, and indoor temperature. The clock is powered by two AA/LR6 batteries for primary operation and a CR2032 lithium button cell battery for maintaining the Accu-Set time memory.
The primary function of this clock is to display accurate time and date, along with indoor temperature. It incorporates an "Accu-Set" feature, which automatically sets the time and adjusts for Daylight Saving Time (DST) based on the selected time zone. This automatic setting is maintained by a 3V lithium battery, ensuring that time memory is preserved even when the main AA batteries are replaced or depleted.