16
DW-71-H
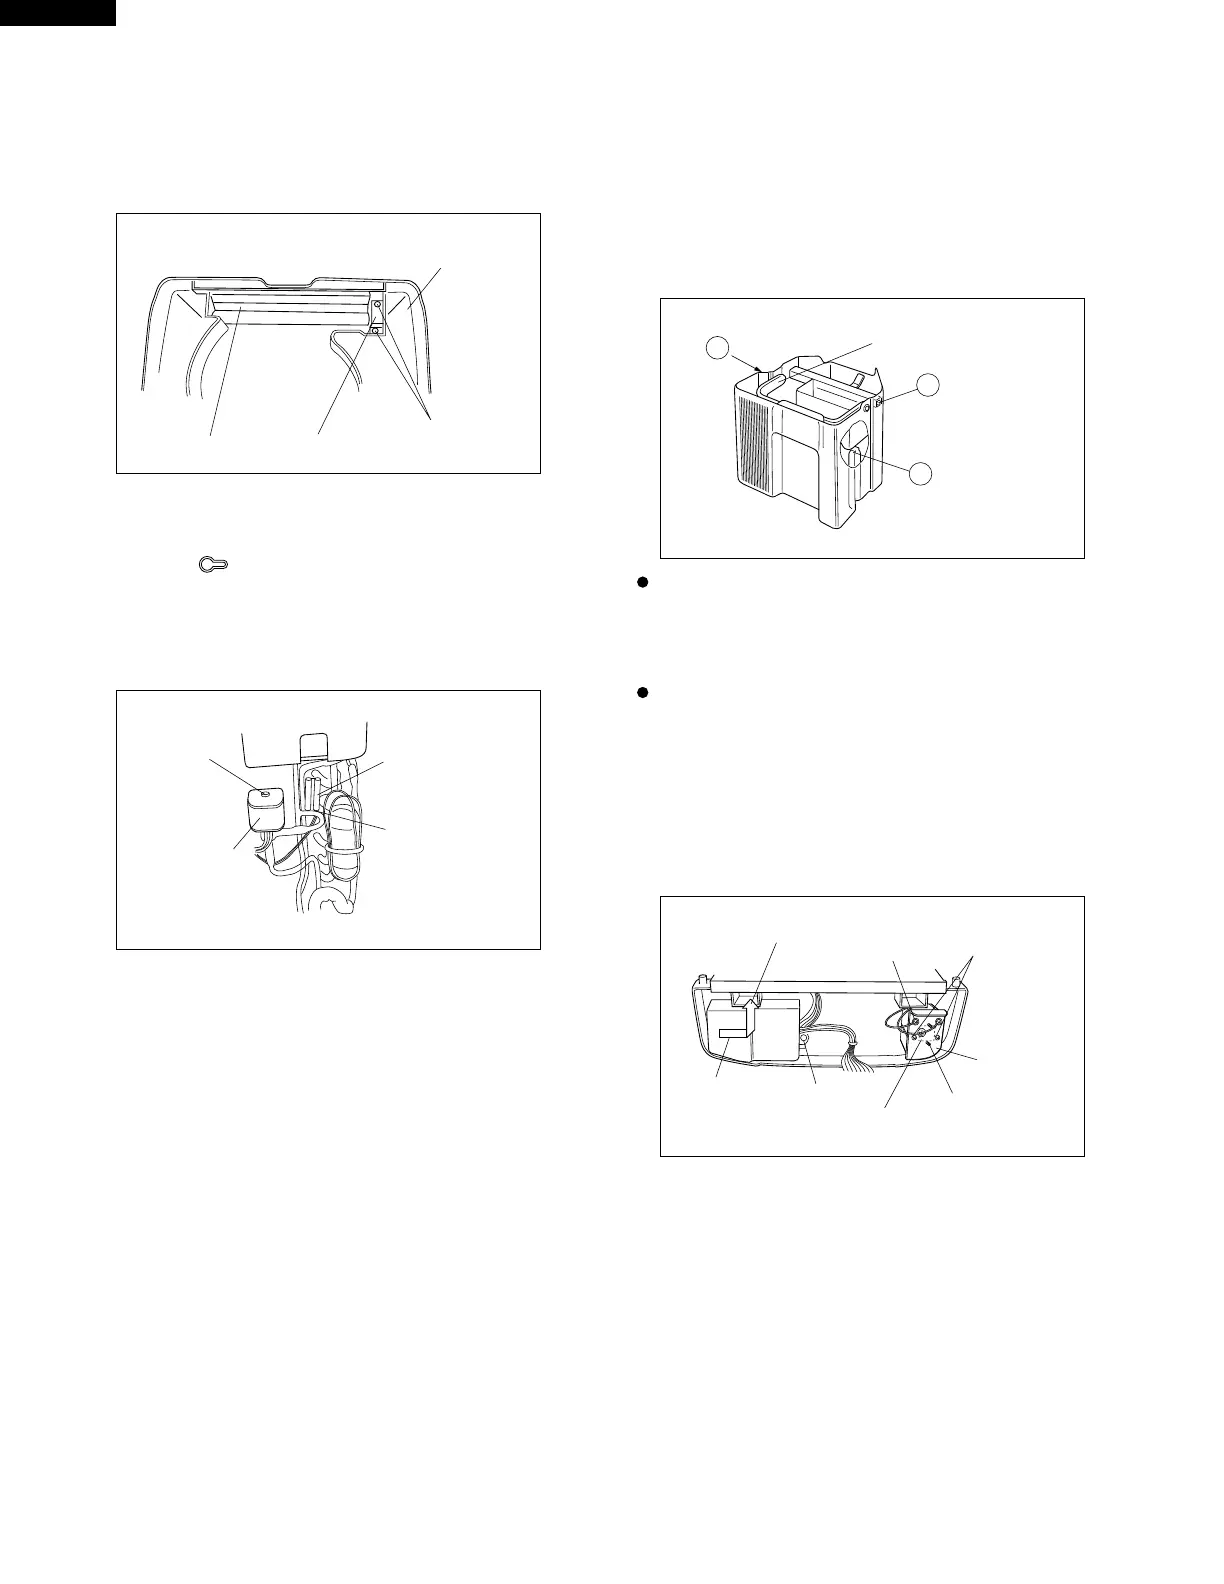
10. Removing the damper (for air direction change)
After removing the rear part of main unit remove the
screws (2 pcs.) fixing the damper support.
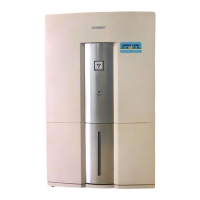
13.Removing the water tank handle and float
(1) Fit the protrusion of handle to the dent of water
tank, and tilt the handle inward to withdraw it.
(2) Widen the water tank, release the protrusion of
float, and remove the float. (Be sure to hold the
flout horizontally. Fit the lower resting part of float
to the supporting part of water tank.)
12. Removing the magnetic coil
Removing the front and rear parts of main unit
(1) Remove the hex screw fixing the magnetic coil with
pliers.
(2) Remove the power supply cover, and remove the
connector.
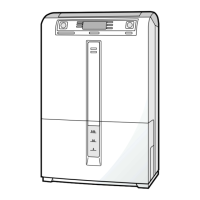
Installing the float
Insert the float into the hole (1) as shown in the
figure, put the float flange on the protrusion (2) of
water tank, and insert the opposite side into the
hole (3).
Be sure to ascertain that the float flange lies on the
protrusion of water tank. Unless it lies on the
protrusion, operation is disabled.
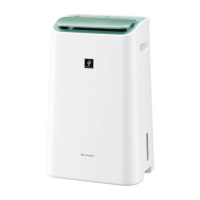
14. Removing the transformer
(1) Remove the front and rear parts of main unit.
(2) Remove the power supply cover.
(3) Remove the screws (2 pcs.) fixing the transformer
cover.
(4) Disconnect the connector of power supply PWB.
11. Removing the defrosting thermistor
Removing the front and rear parts of main unit
(1) Fit the front end of slotted head screwdriver into the
root of shaped tube into which the thermistor
has been mounted, and widen it to remove the
thermistor.
(After replacing tighten the root with pliers.)
(2) Remove the power supply cover, and remove the
connector.
Rear part of main unit
Screw (2 pcs.)
Damper supportDamper
1
2
3
Protrusion of water tank
Handle
Screw
Up
Screw
Transformer
cover
Transformer
mounting screw
Transformer
Earth terminal
screw
To the right
Hex screw
Solenoid coil
Insertion tube
(glasses-shaped)
Thermistor