11
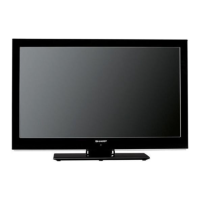
LC-22AD1E
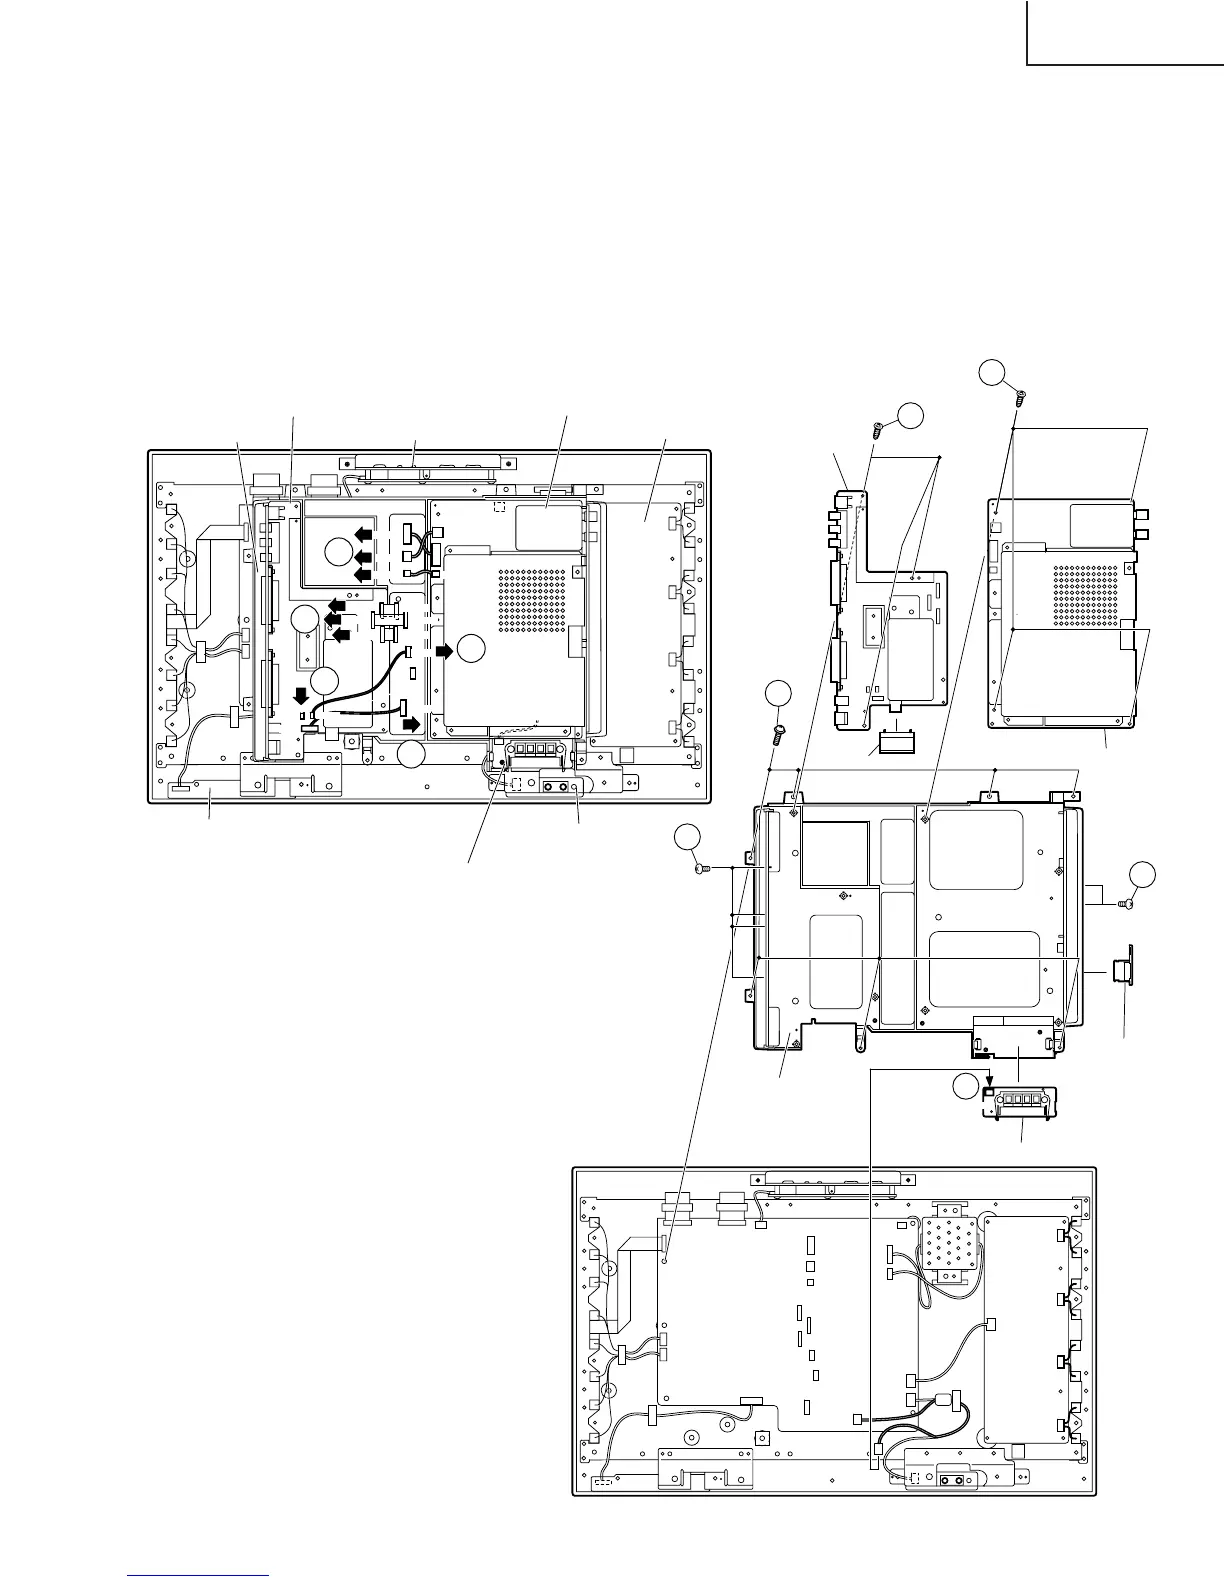
8. Remove the tape for fixing the wire.
9. Remove the individual connectors from the AV PWB and EU-DIGITAL PWB.
10. Remove the 4 AV PWB terminal fixing screws.
11. Remove the 2 EU-DIGITAL PWB terminal fixing screws and the PC card cover.
12. Disconnect the connector connecting the EXT-SP TERMINAL PWB and MAIN PWB. Then loosen the PWB
fixing claw to detach the EXT-SP TERMINAL PWB.
13. Remove the 3 AV PQB fixing screws to detach the AV PWB. Then remove the cassis frame cover from the AV
PWB.
14. Remove the 4 EU-DIGITAL PWB fixing screws to detach the EU-DIGITAL PWB.
15. Remove the 7 chassis frame fixing screws to detach the chassis frame.
1600
SC2504
SC903
SC2500
P904
P701
MG
P2501
P3703
P3704
SC2502
1503
SC904
SC2503
SC2501
SC905
MG
9
9
9
9
9
AV PWB
MAIN PWB
OPERATION PWB
EU-DIGITAL PWB
INVERTER PWB
EXT-SP TERMINAL PWB
SP-JACK PWB
R/C, LED PWB
P404
P202
12
10
11
15
13
14
AV PWB
EU-DIGITAL PWB
Chassis
Frame Cover
Chassis Frame
MAIN PWB
EXT-SP TERMINAL PWB
PC Card Cover