LC-32D41U/LC-32M41U/LC-40C32U
5 – 2
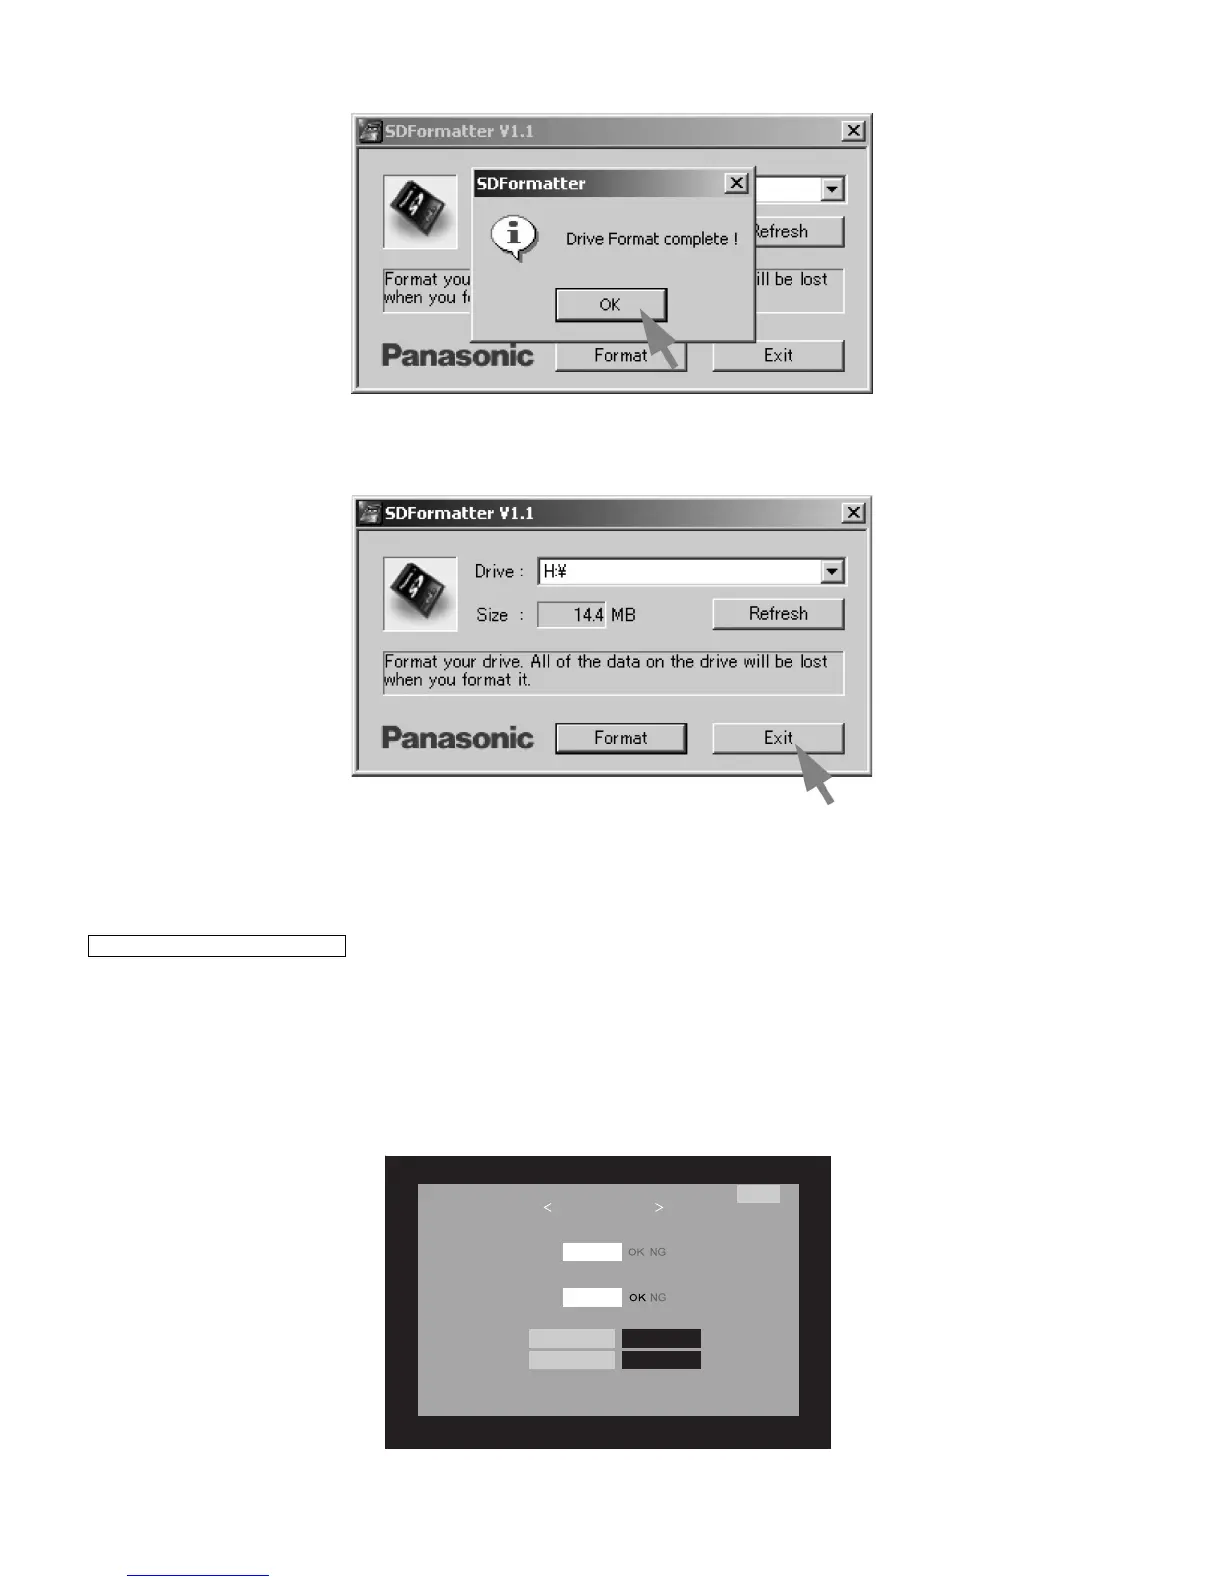
2. When the formatting is over, the following window appears. Click [OK].
3. Click [Exit] to finish the formatting.
NOTE: When you are done, take out the SD card once to make sure it is finished, and then insert it again.
4. Copy the binary image file D41(D41U, M41U, 40C32)UAxxx.SDC (named temporarily) for version upgrade to the root directory (folder) of the SD
card drive.
NOTE: In the SD card drive, do not store other folders or unrelated files, or more than one binary image files for version upgrade.
Now the SD card for version upgrade is ready.
5. Shut off the AC power (i.e. unplug the AC cord).
6. Insert the SD card for version upgrade (prepared as above) into the service socket located lower side from center at terminals, above S-VIDEO
terminal in the rear of the unit, in a way that the cut corner of the SD card comes at the upper side.
NOTE: If the SD card is inserted in a wrong way, the card will go deep inside the unit beyond retrieval. Take due care to insert the SD card correctly.
7. Turn on the AC power (i.e. plug in the AC cord).
8. After the unit startup, the system upgrade screen as shown below appears within 20-40 seconds.
How to upgrade the software
SYSTEM UPGRADE
Program
EEPROM
12%
Part Init
U0601051OLD Version
NEW Version U0601241
M150