MX-M182 ADJUSTMENT 6-8
<Adjustment specification>
Note: A judgment must be made with 200mm width, and must not be
made with 100mm width.
(6) Sub scanning direction (scanning direction)
magnification ratio adjustment (SIM 48-1, SIM 48-5)
a. OC mode in copying (SIM48-1)
Note:Before performing this adjustment, be sure to check that the CCD
unit is properly installed.
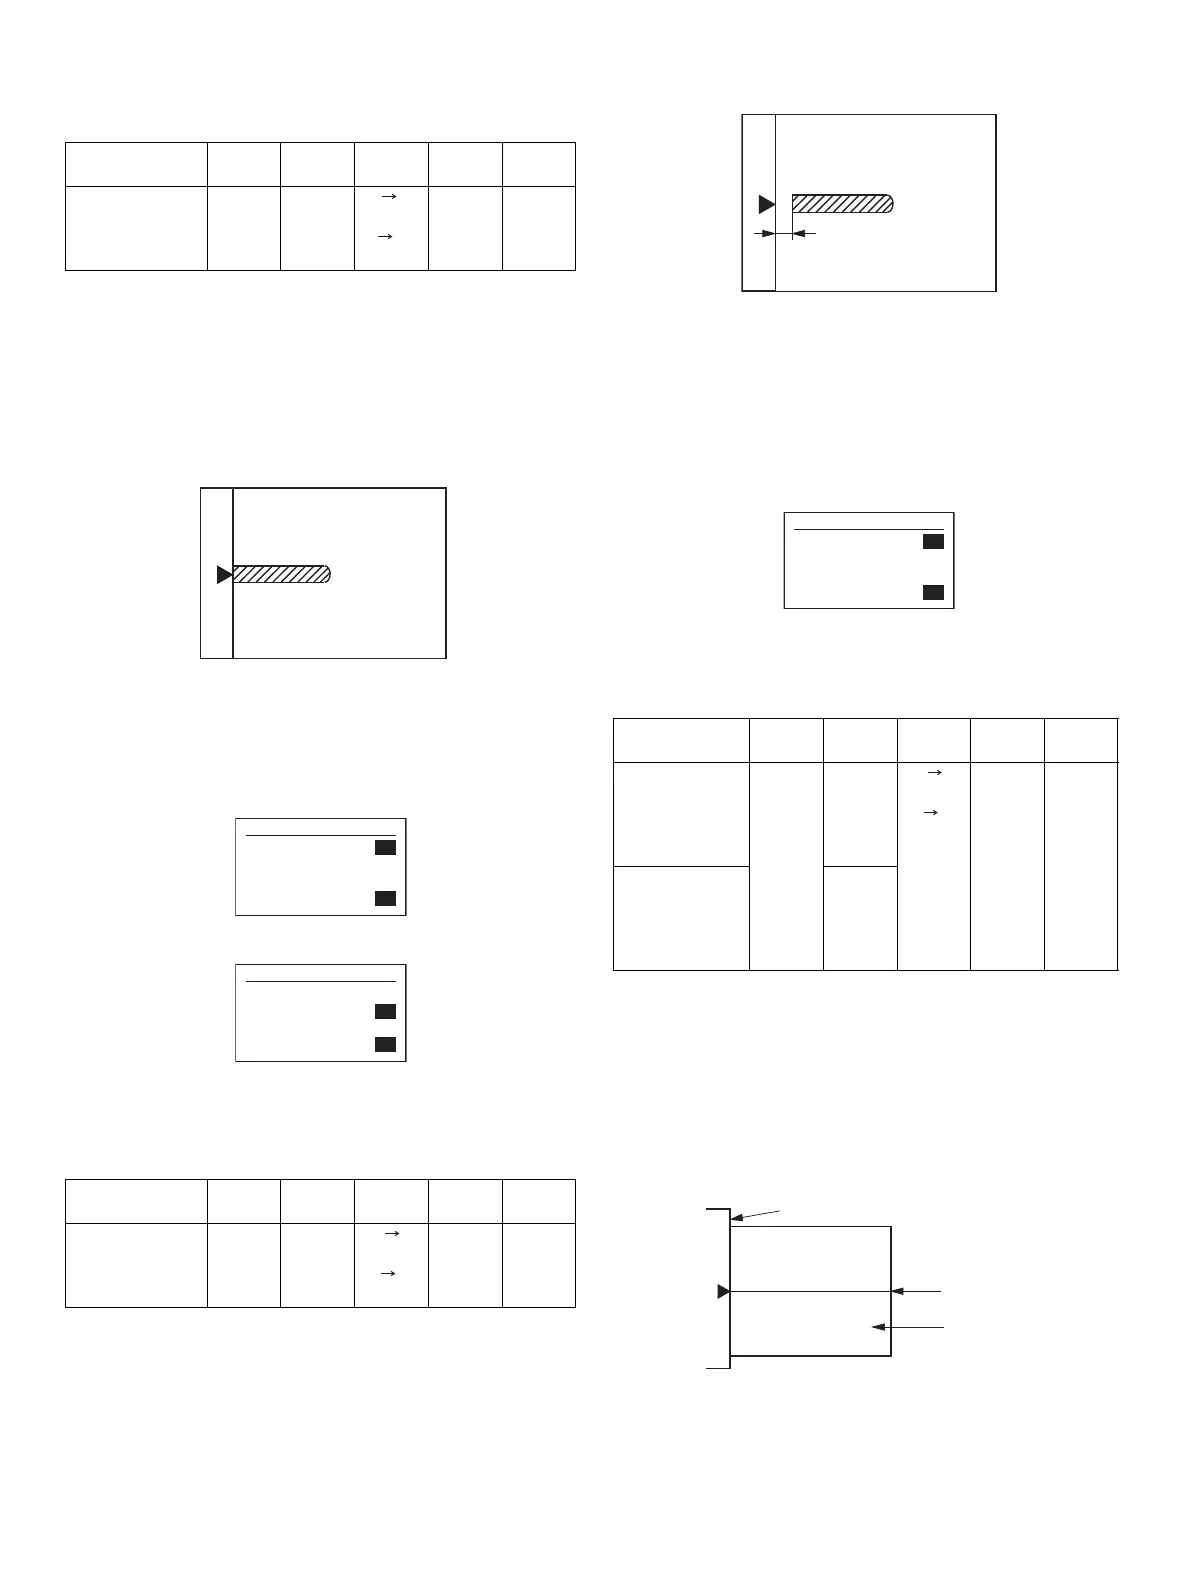
1) Put a scale on the original table as shown below, and make a normal
(100%) copy.
2) Compare the scale image and the actual image. If necessary,
perform the following adjustment procedures.
3) Execute SIM 48-1.
4) After completion of warming up, shading is operated and the current
correction value of the sub scanning direction magnification ratio is
displayed on the screen.
5) Select [2.SCAN] mode with the cross cursor.
6) Enter the set value and press the start key.
The set value is stored and a copy is made.
<Adjustment specification>
b. RSPF sub scanning direction magnification ratio (SIM48-5)
Note:
•Before performing this adjustment, be sure to check that the CCD unit is
properly installed.
•Before performing this adjustment, the OC mode adjustment in copying
must be completed.
1) Put a scale on the original table as shown below, and make a normal
(100%) copy to make a test chart.
Note:Since the printed copy is used as a test chart, put the scale in
parallel with the edge lines.
2) Set the test chart on the SPF and make a normal (100%) copy.
3) Compare the scale image and the actual image. If necessary,
perform the following adjustment procedures.
4) Execute SIM 48-5.
5) After warm-up, shading is performed.
6) Check to confirm that the RSPF (SIDE1) mode is selected with the
cross cursor.
7) Enter the set value and press the start key.
The set value is stored and a copy is made.
<Adjustment specification>
* "RSPF (SIDE2)" is displayed only when the RSPF is installed.
(7) Off center adjustment (SIM 50-12)
a. OC mode (SIM50-12)
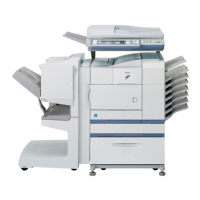
1) Make a test chart as shown below and set it so that its center line is
fit with the original guide center mark.
* To make a test chart, draw a line on A3 or 11" x 17" paper at the center
in the paper transport direction.
2) Make a normal copy from the manual paper feed tray, and compare
the copy and the test chart.
If necessary, perform the following adjustment procedures.
3) Execute SIM 50-12.
Adjustment mode SIM Display
text array
Set
value
Specifi-
cations
Set
range
Main scanning
direction magnifi
-
cation ratio
48-1 F-R +1
+0.1%
-1
0.1%
Normal ±
1.0%
1 - 99
Adjustment mode SIM Display
text array
Set
value
Specifi-
cations
Set
range
Sub scanning
direction
magnification ratio
OC mode
48-1 SCAN +1
+0.1%
-1
0.1%
Normal ±
1.0%
1 - 99
Sim48-1 COPY MAG.
1:F-R
2:SCAN
[ 1- 99]
50
50
50
Sim48-1 COPY MAG.
1:F-R
2:SCAN
[ 1- 99]
50
50
50
Adjustment mode SIM Display
text array
Set
value
Specifi-
cations
Set
range
Sub scanning
direction
magnification
ratio
(Front surface)
48-5 RSPF
(SIDE1)
+1
+0.1%
-1
0.1%
Normal ±
1.0%
1 - 99
Sub scanning
direction
magnification
ratio
(Back surface)
RSPF
(SIDE2)
Sim48-5 (R)SPF ZOOM
1:RSPF(SIDE1)
2:RSPF(SIDE2)
[ 1- 99]
50
50
50
Center
Original guide
Copy paper
(A3 or 17" x 11")