8
E
• Wheninstalling,removingormovingthemonitor,ensurethatthisiscarriedoutbyatleast4people.
• Besuretouseawall-mountbracketdesignedordesignatedformountingthemonitor.
• ToattachaVESA-compliantmountingbracket,useM6screwsthatare5/16inch(8mm)to3/8inch(10mm)longerthanthe
thickness of the mounting bracket.
• Thismonitorisdesignedtobeinstalledonaconcretewallorpillar.Reinforcedworkmightbenecessaryforsomematerials
such as plaster / thin plastic board / wood before starting installation.
This monitor and bracket must be installed on a wall which can endure at least 4 times or more the weight of the monitor.
Install by the most suitable method for the material and the structure.
• Aftermounting,pleasecarefullyensurethemonitorissecure,andnotabletocomeloosefromthewallormount.
• DonotuseanyscrewholesotherthanVESAholesforinstallation.
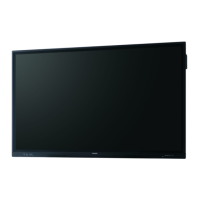
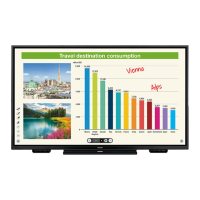
Model PN-L702B
Power requirement AC100V-240V,2.8A,50/60Hz
Operating temperature
*
41°Fto95°F(5°Cto35°C)
Operating humidity 20% to 80% (no condensation)
Power consumption (Maximum) 235W[WhenPN-ZB01(optional)isattached:240W]
Dimensions(excludingprotrusions) inch (mm)
Approx. 64-7/8(W)x4-9/16(D)x38-11/16 (H) (1,648 x 116 x 982)
Weight lbs. (kg)
Approx. 154.3 (70)
[PN-ZB01(optional):
Approx.
1.102(0.5)]
* Temperature condition may change when using the monitor together with the optional equipments recommended by SHARP.
Insuchcases,pleasecheckthetemperatureconditionspeciedbytheoptionalequipments.
Specications
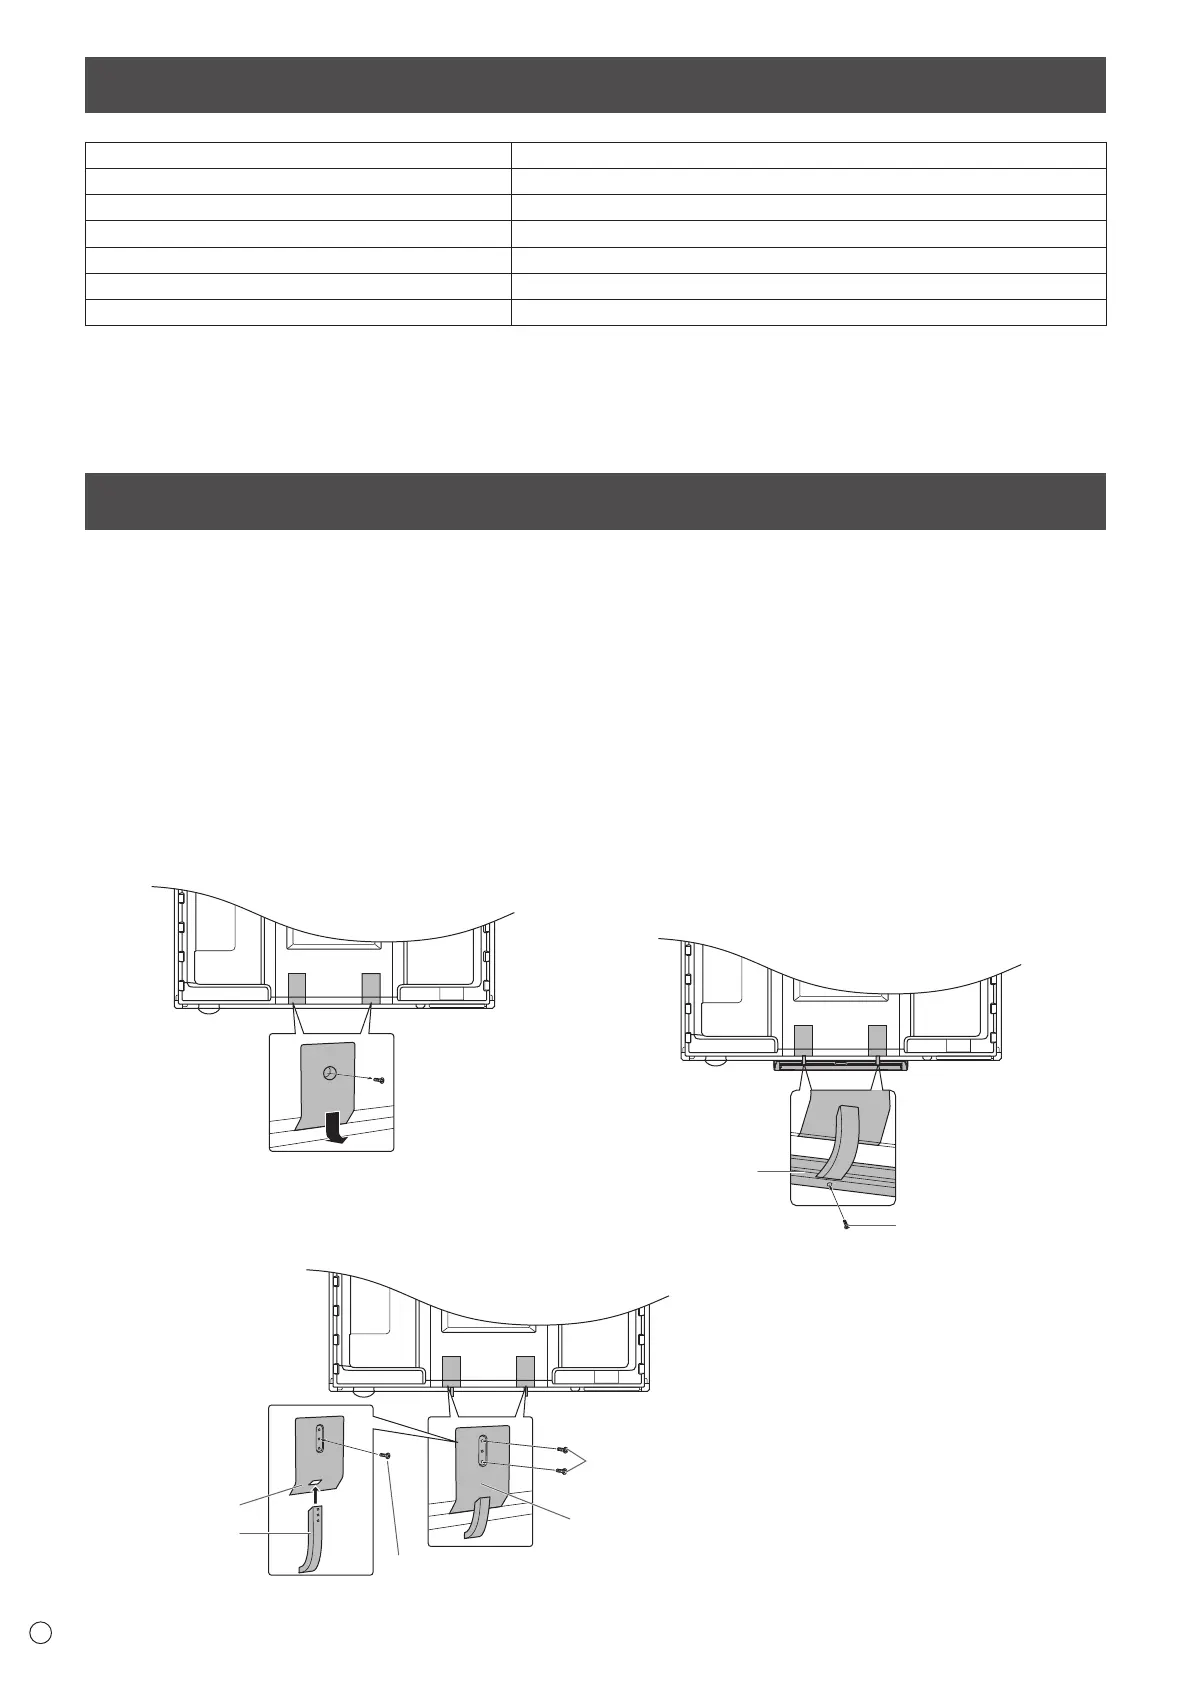
Mounting Precautions (For SHARP dealers and service engineers)
n
Attaching the Tray
1. Remove the cover from the back of the monitor.
2. Securethetraymountingtting.
Secureusingthescrewremovedinstep1and2M5tray
mounting screws (supplied).
Screw removed in step 1
Cover (supplied)
Bracket (supplied)
M5 tray mounting screws
(supplied)
Tray mounting
fitting
(3)
(2)
(1)
3. Secure the tray.
Insertthetrayintothetraymountingttingandsecurewith
2 M4 tray mounting screws (supplied).
Tray
(supplied)
M4 tray mounting screws
(supplied)