ENGLISH
5
E
Supplied Components
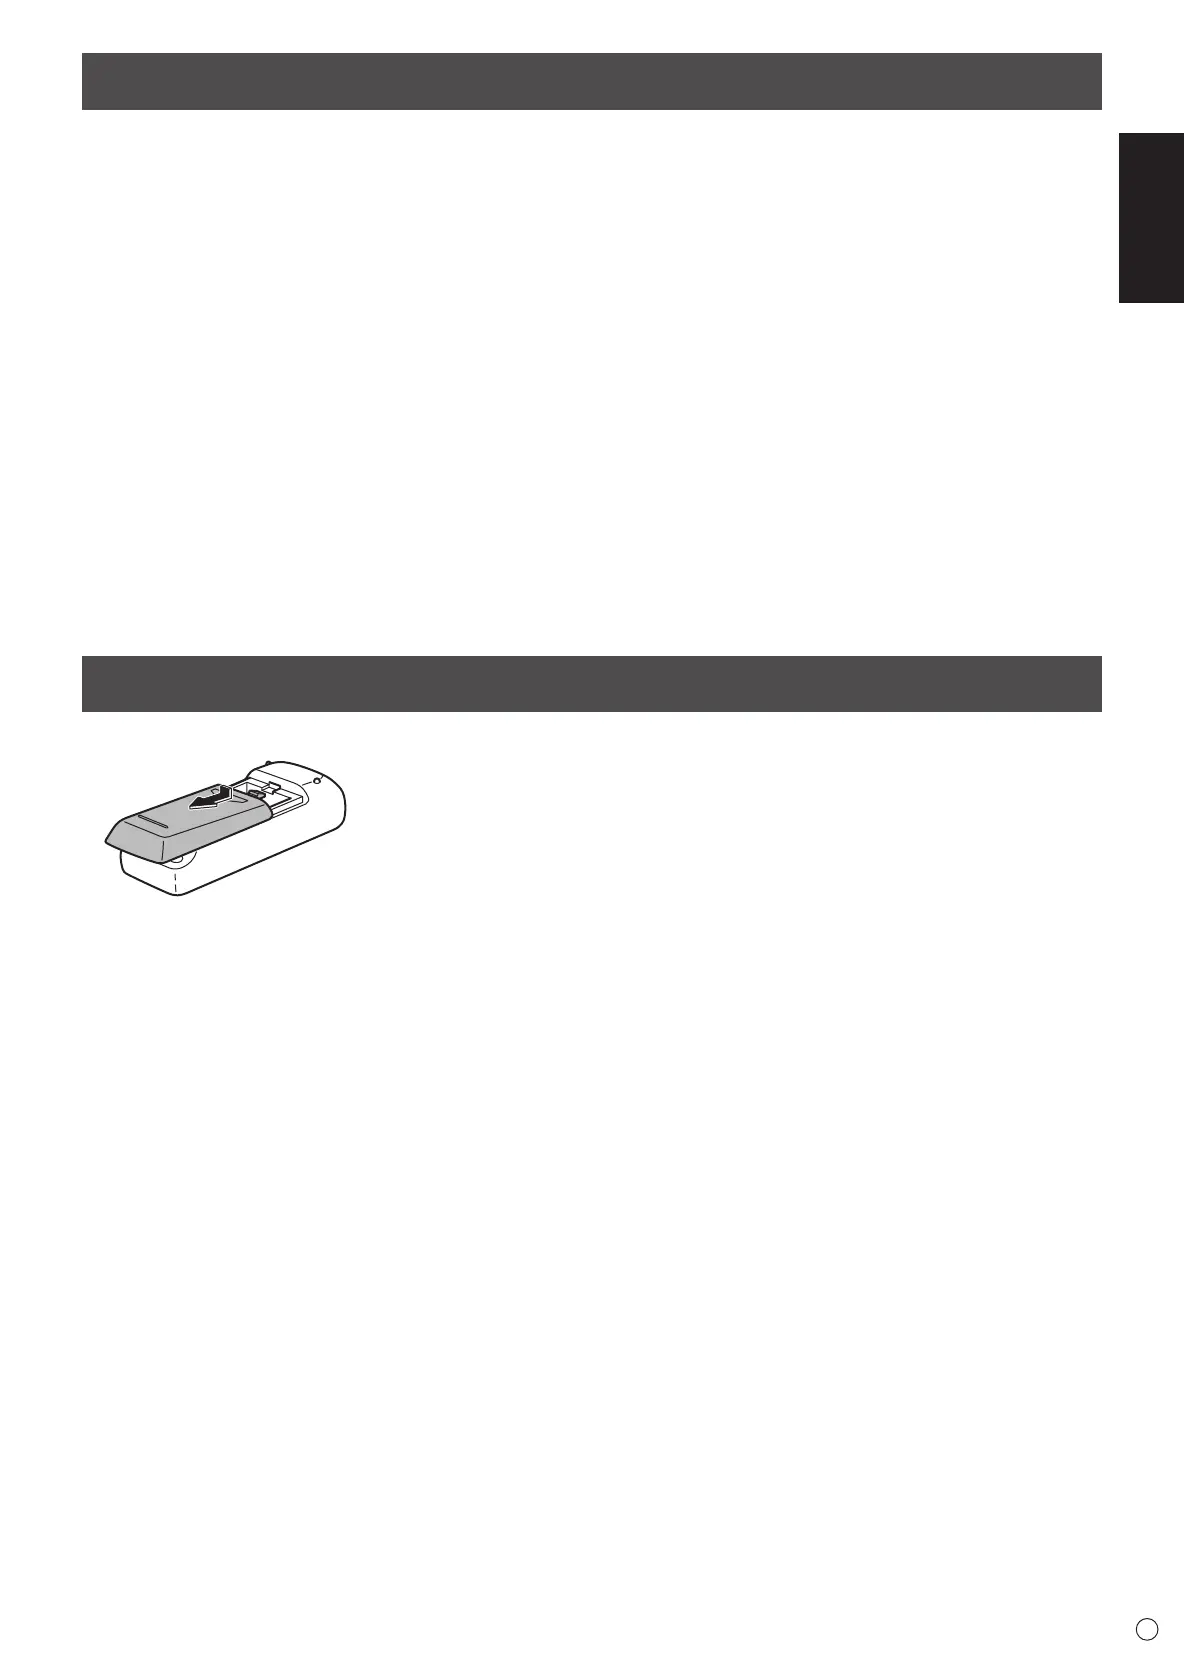
Preparing the Remote Control Unit
1. Press the cover gently and slide it in the direction of the arrow.
2. See the instructions in the compartment and put in the supplied batteries (R-6 (“AA” size) x 2) with their plus (+) and minus (-)
sides oriented correctly.
3. Close the cover.
If any component should be missing, please contact your dealer.
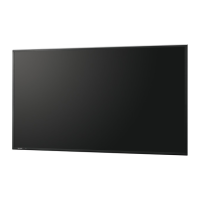
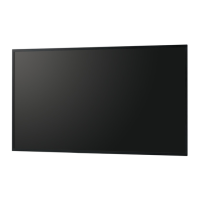
Liquid Crystal Display Monitor: 1
Remote control unit: 1
Cable clamp: 3
Power cord: 1
R-6 battery (“AA” size): 2
CD-ROM (Utility Disk for Windows): 1
Setup Manual (this manual): 1
Cover: 2
Cover screws: 4
Screw masking sheet: 4
Vertical sticker (Operation panel): 1
Vertical sticker (Logo): 1
Cover SHARP logo: 1
Place this sticker onto the SHARP logo to cover the logo.
* SHARP Corporation holds authorship rights to the Utility Disk program. Do not reproduce it without permission.
* For environmental protection!
Do not dispose of batteries in household waste. Follow the disposal instructions for your area.